
How to make a planter box out of cedar fence pickets
My wife asked me to make a planter box for our front porch. I showed her the Ice Chest/Cooler box and said imagine this wider and shallower. She like the basic idea but wanted it lower to the ground and shallower. I redesigned the box to fit her wishes and came up with the planter below. I used 6 – 1 x 6 x 72 cedar fence pickets to make this planter.
You can download full plans here
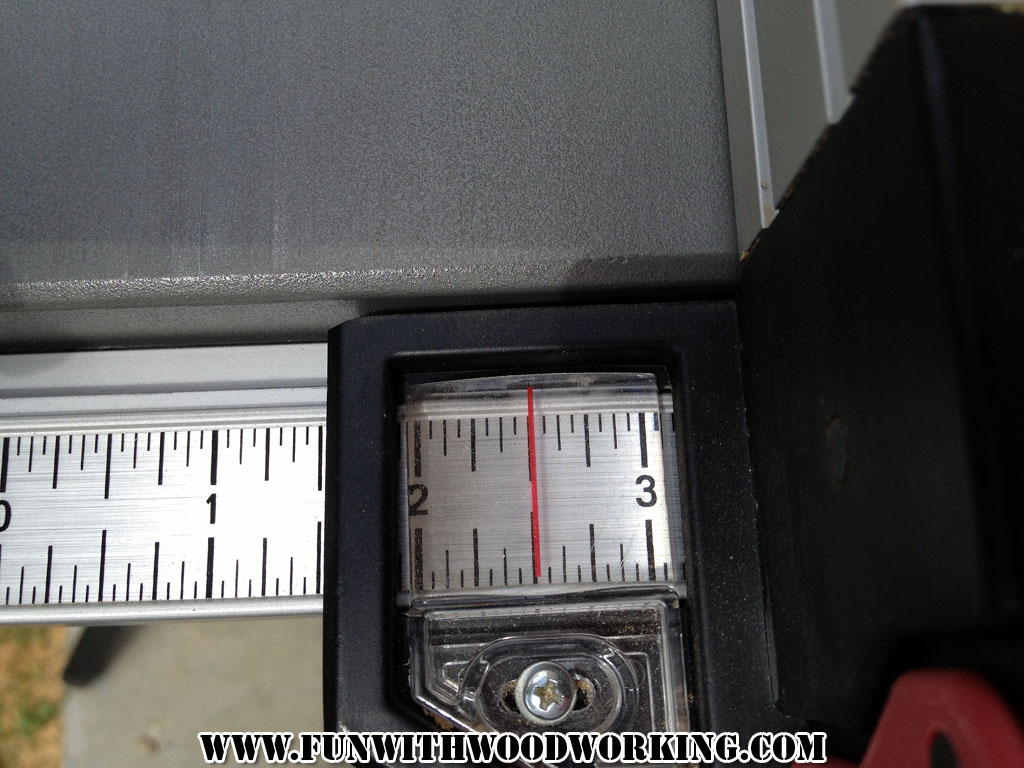
I started out by setting up a stop block on my miter saw at 16″.
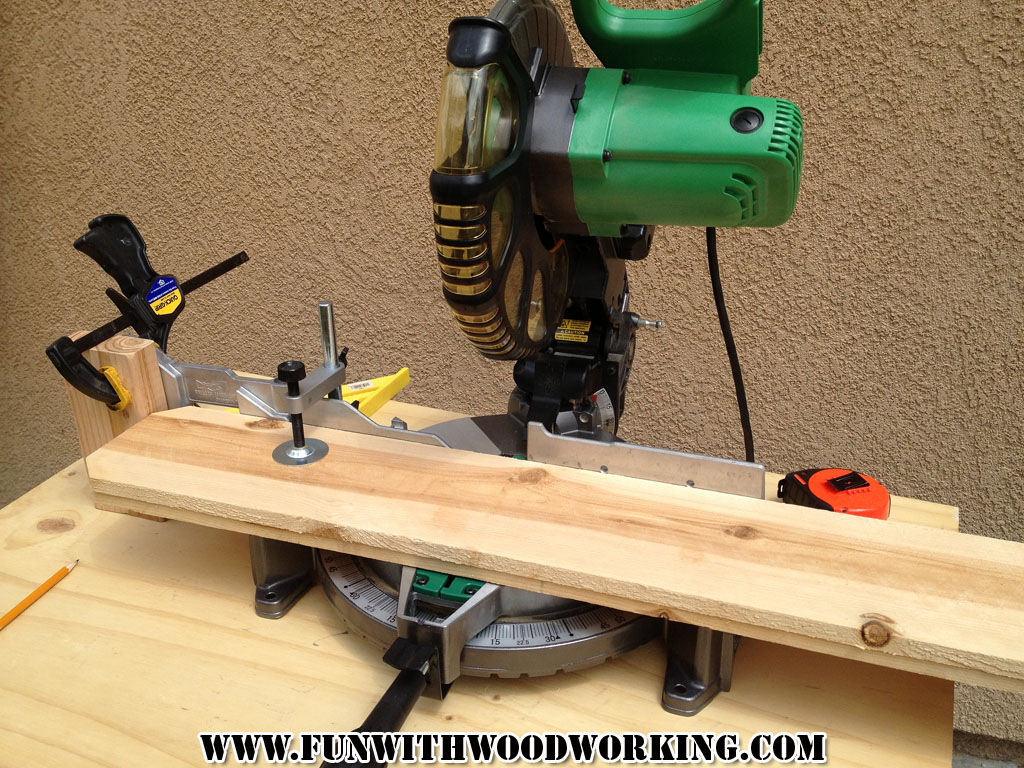
I cut the bottoms off of all 6 pickets to use as legs. This leaves me with six 56″ boards.
I then cut three of these at 39″. These will be used for the sides. I ripped one board into two 2 1/2″ strips. Each side will have one 5 1/2″ board and one 2 1/2″ board.
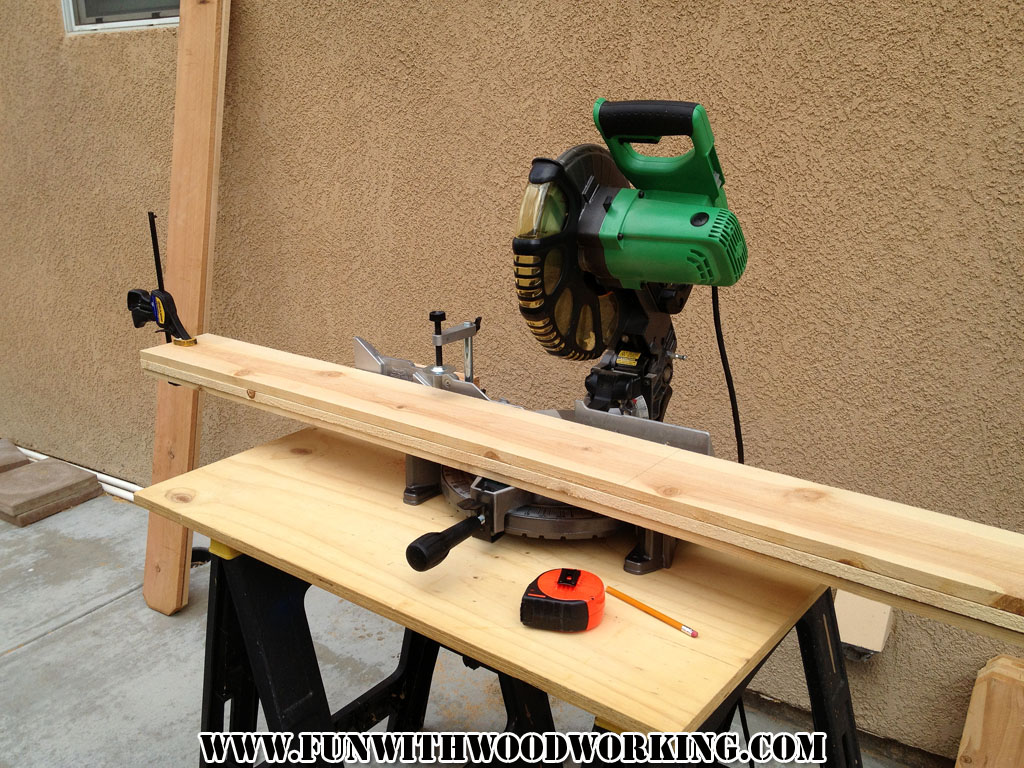
I reset the stop block at 13″. I got three pieces from the leftover after cutting the 39″ pieces and then got eight more from two more pickets with the bottom cut off. This leaves me with one more picket at a length of 56″.

This gave me 11 boards to work with. I will be using 3 for the ends and 8 for the bottom.

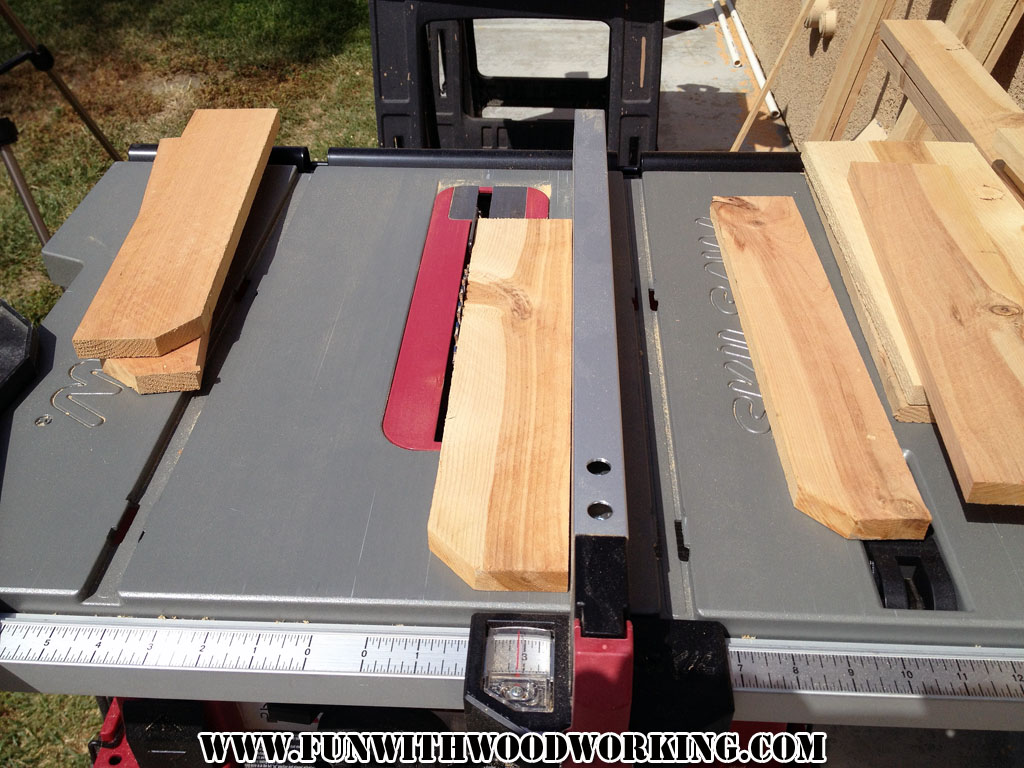
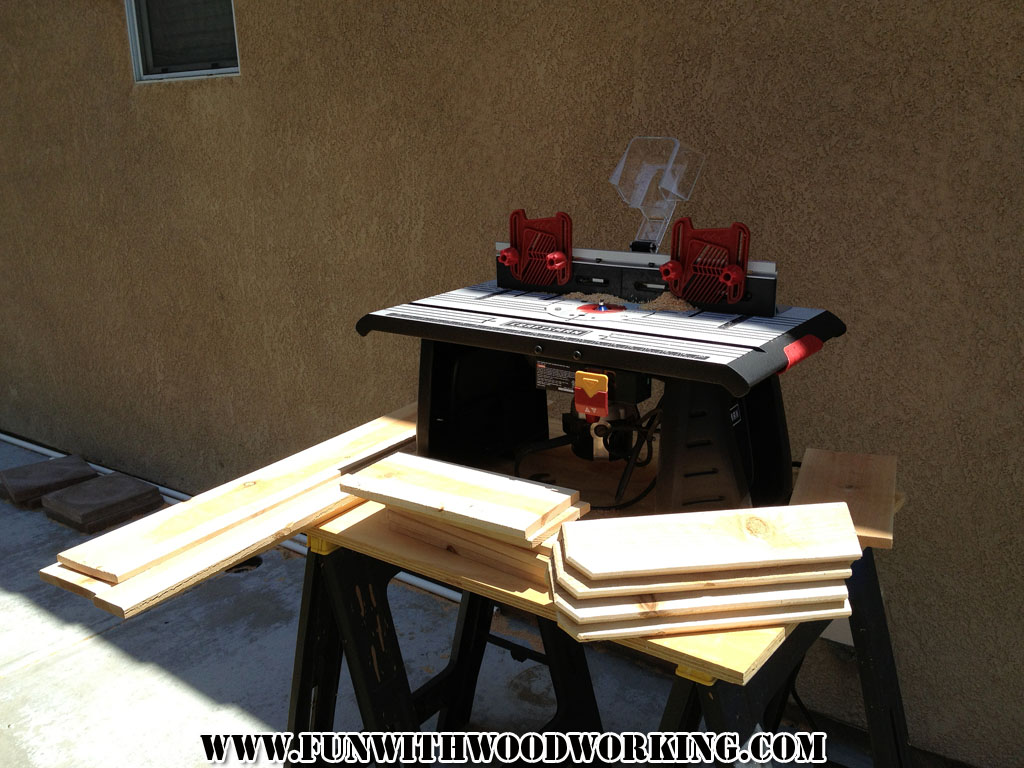
I set my table saw at 2 1/2″ to rip the legs and the boards for the sides and end.
I ripped four legs at 2 1/2″ and one of the 39″ sides into two 2 1/2″ wide boards and one of the 13″ ends into two 2 1/2″ wide boards. I made sure to keep the two pieces of each leg together to make matching legs.

I took the two remaining legs and ripped them to 3″ wide to be used in the center.
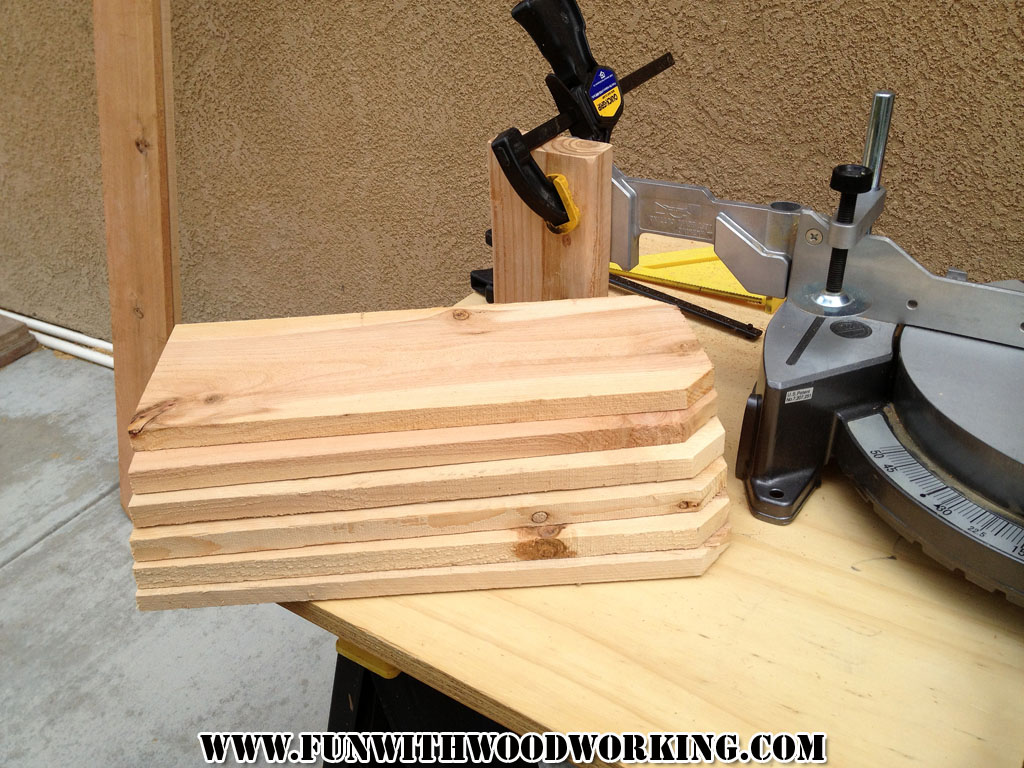
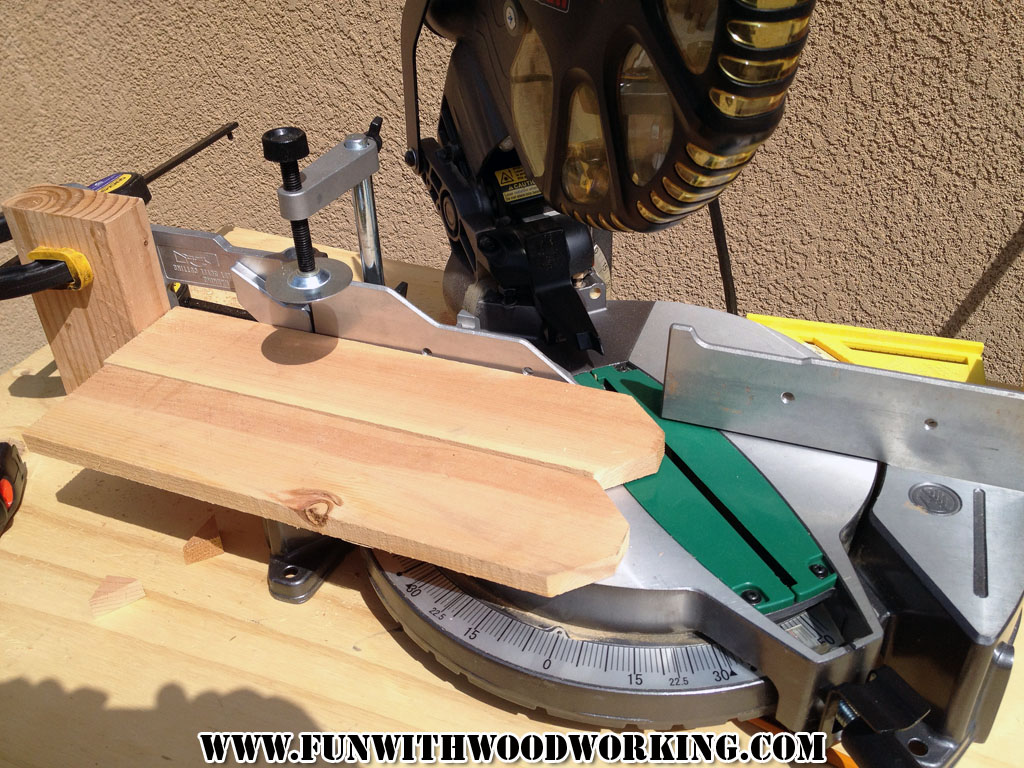
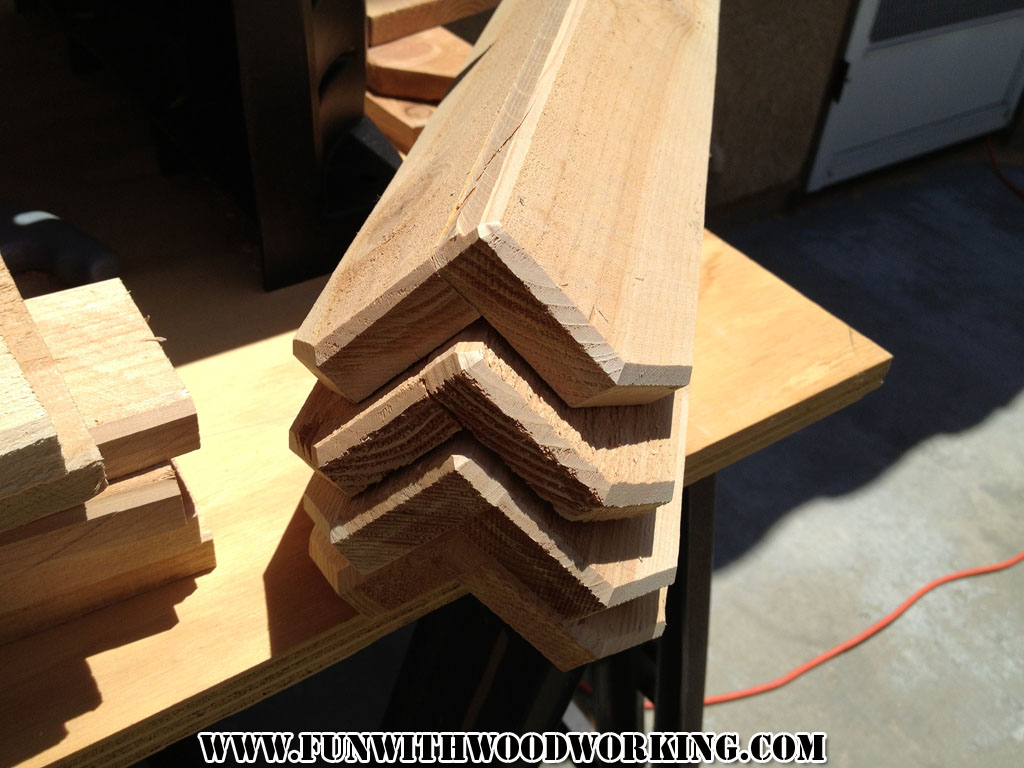
I left the stop block set at 13″ and adjusted my miter saw to 45 degrees and cut both sides of the center legs.
Here are all the pieces cut except for the top frame.
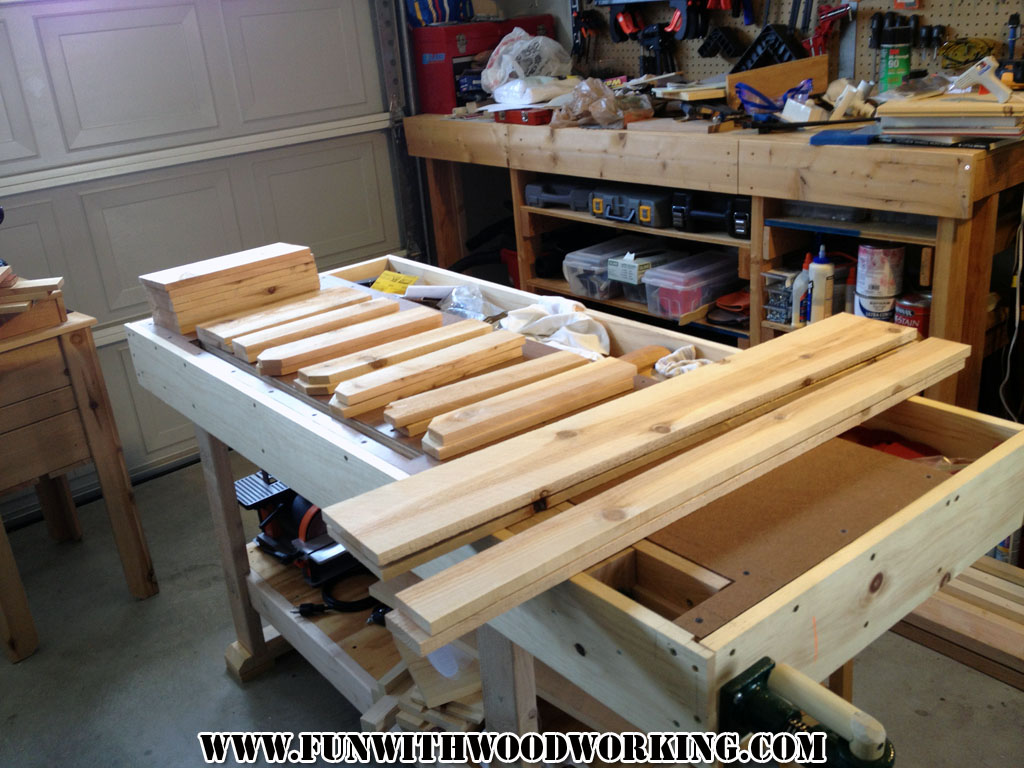
Make sure to make 2 left legs and 2 right legs.

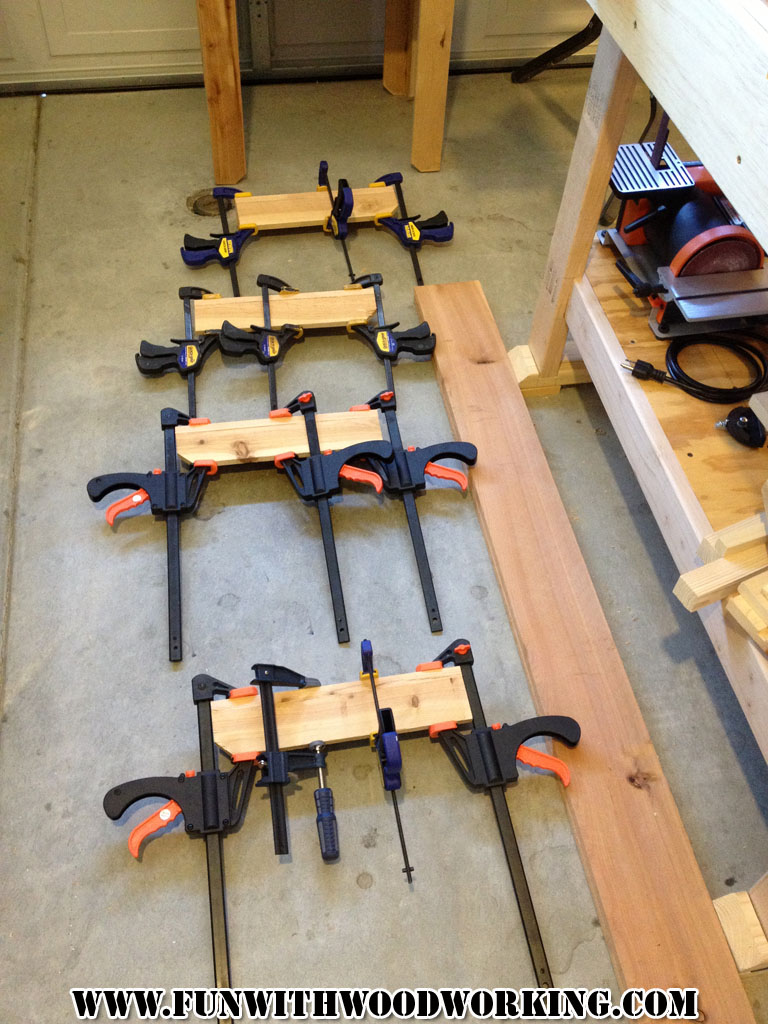
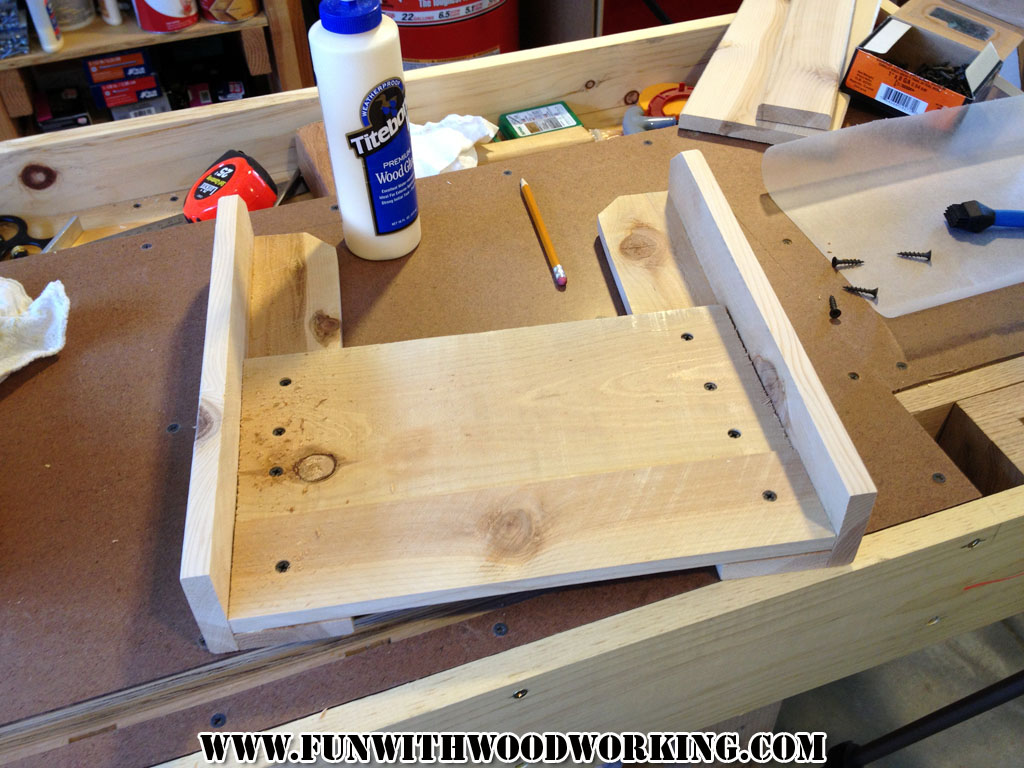
I built the legs using glue, a nail gun, and clamps.
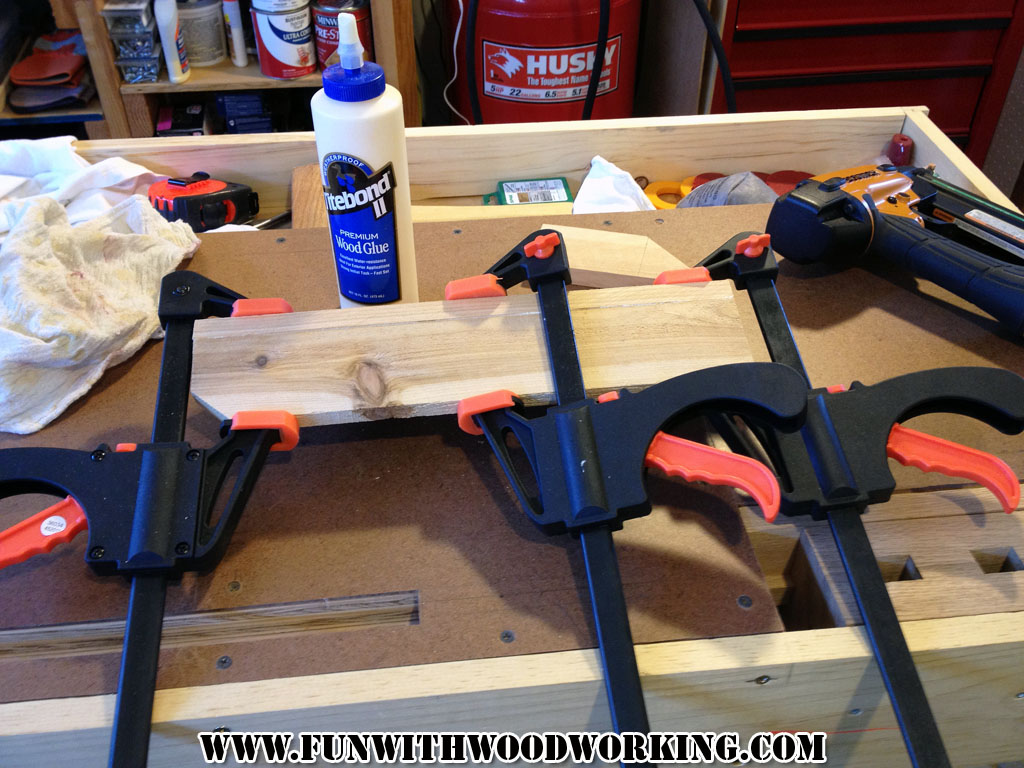
I let the legs sit for 2 hours while the glue set.
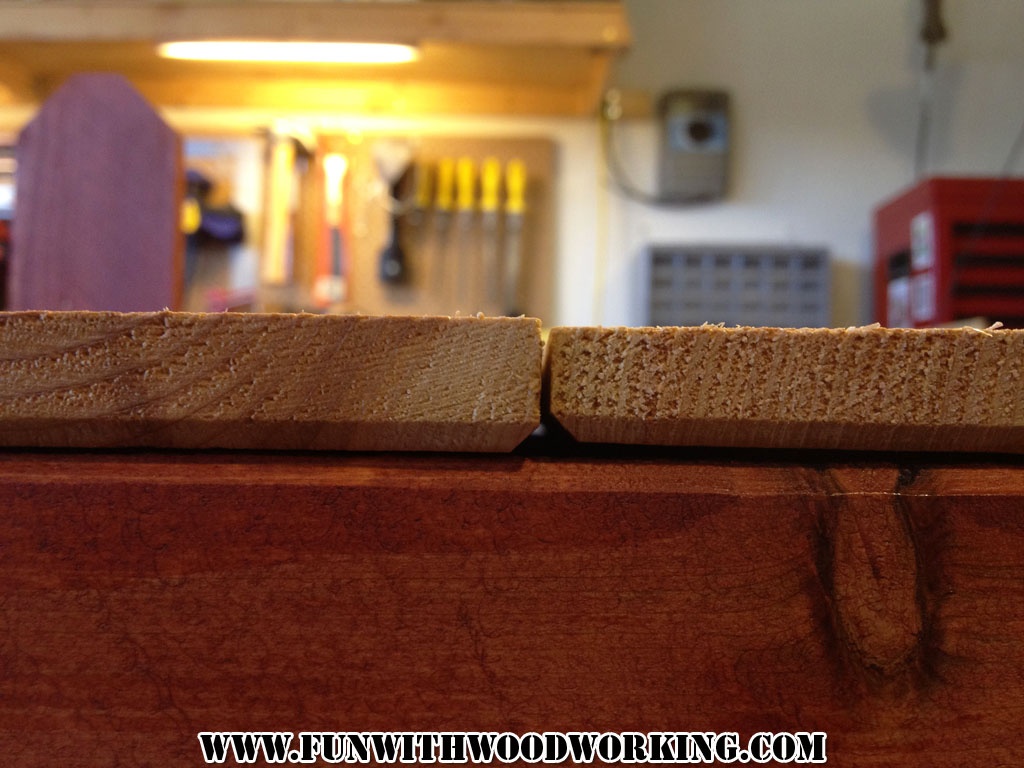
Once the legs were dry I put a slight chamfer on all the exposed edges to soften the look and minimize splinters. I also chamfered the pieces to go on the bottom to help with drainage.
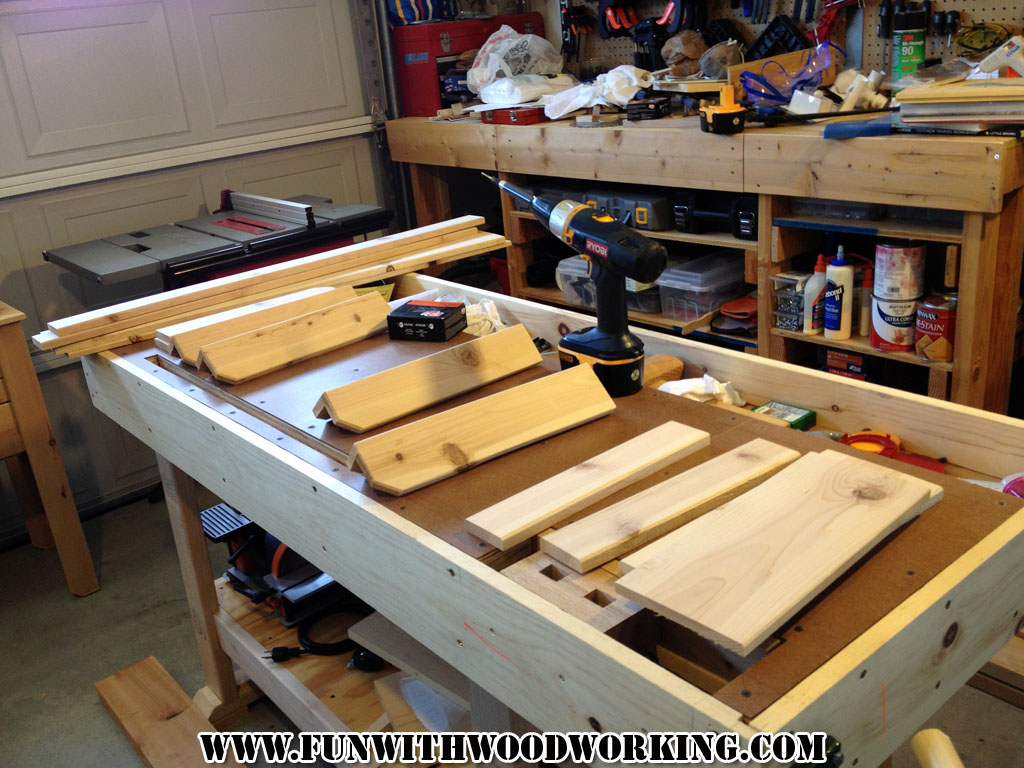
Here are all the pieces chamfered, sanded to 120 grit, and ready for assembly.
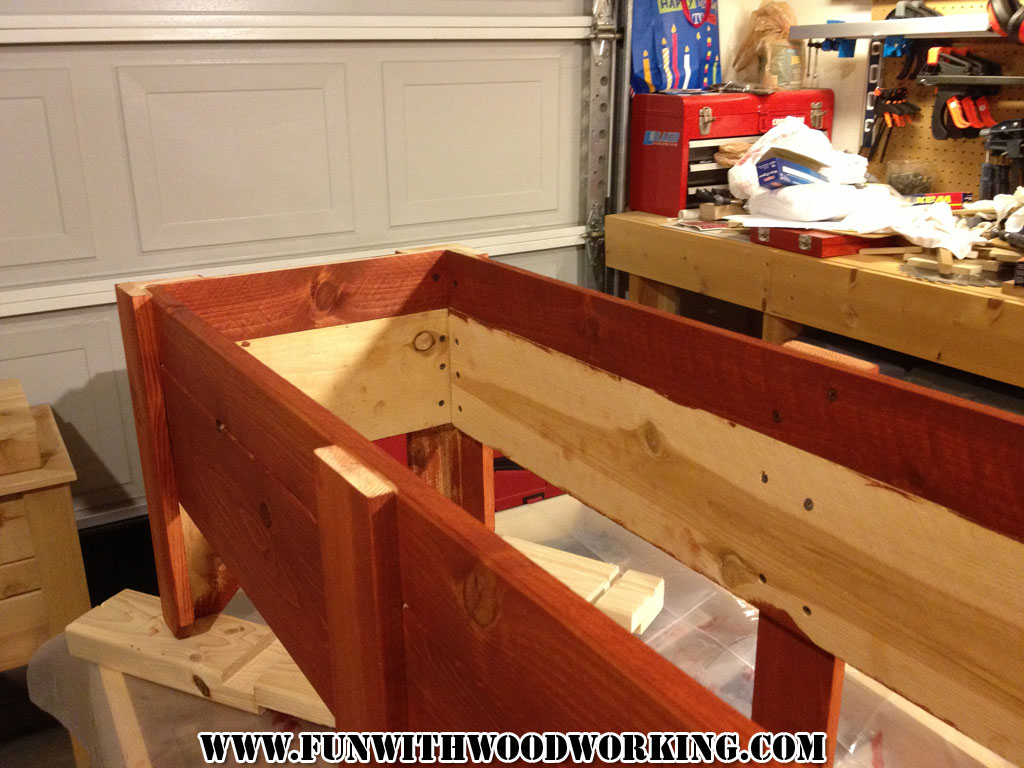
I started with the short ends so that the bottom pieces will be the right length to stretch across. I also setup the legs so that the joint will be facing the short side. When you look at the long side of the planter you will only see the full 3″ side.

I glued and screwed the 13″ boards to the top section of the legs. I put the 5 1/2″ section on the bottom. The floor pieces will be screwed into this so I wanted them attached to a board with more screws in the legs. I couldn’t find any coated deck screws in a 1″ length so I had to use drywall screws.
I then took the two sides and glued and screwed in the 39″ boards.

I marked the center of the side and the center of the middle leg.
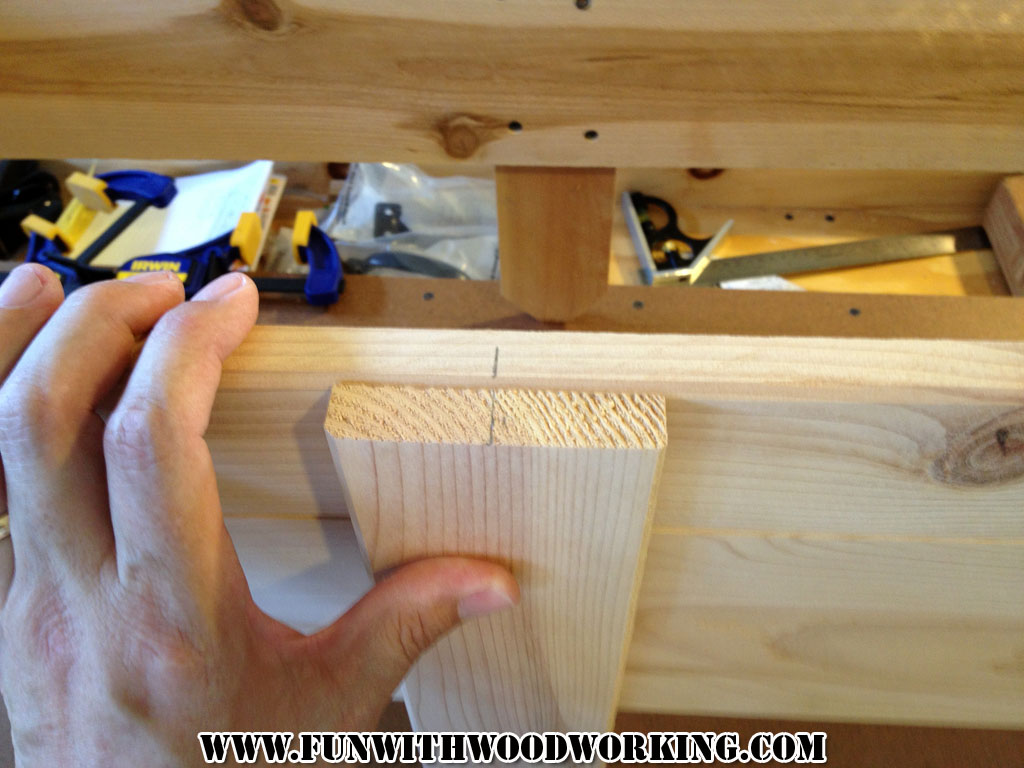
I applied some glue and then clamped it in place.

I then set the planter on it’s side and pre drilled & counter sunk the holes.

I then screwed the legs to the side..

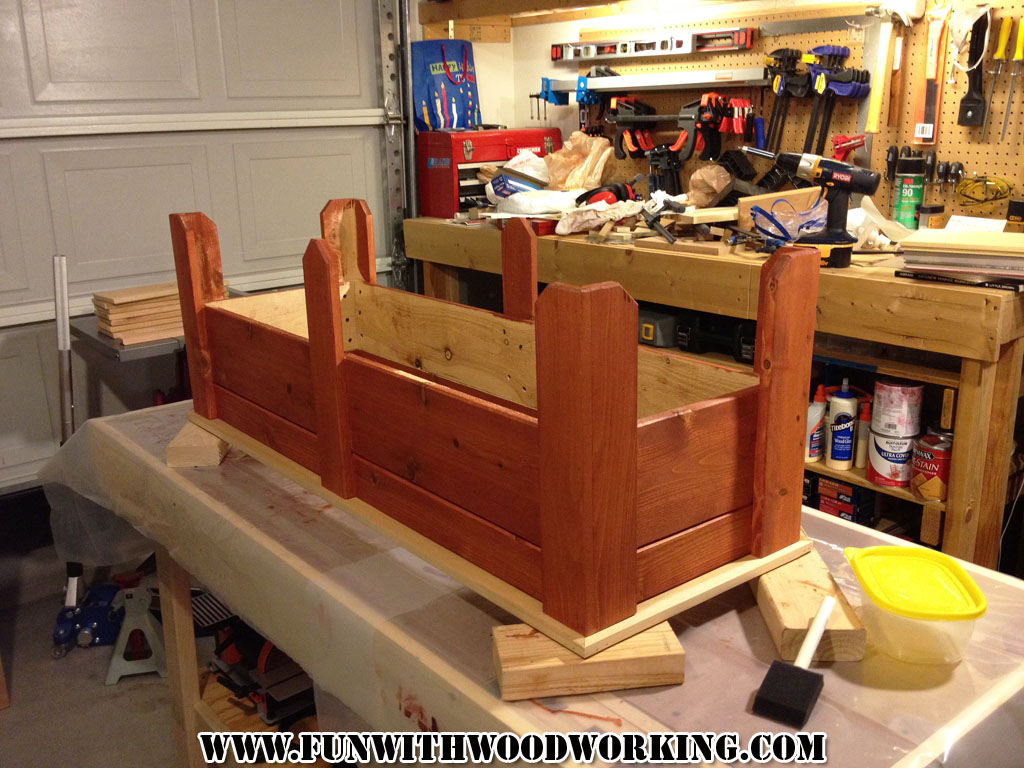
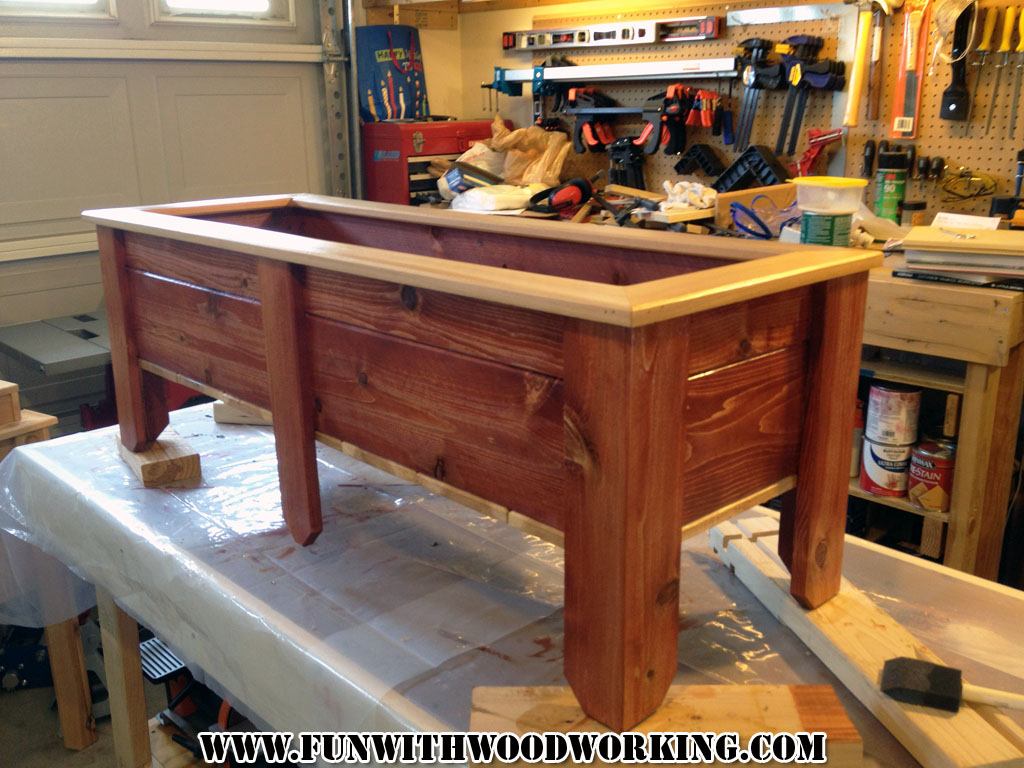
All assembled and ready for stain.

I went with a light cherry stain.
I took the last remaining 56″ piece of picket and cut it into one 14″ length and one 41″ length. I ripped each of those into two 2 1/2″ wide boards and then cut the ends at 45 degrees for a frame for the top.

I attached the frame to the top using glues, 1 1/2″ brads and clamps. I applied a heavy coat of indoor/outdoor spar urethane to the entire planter inside and out. Please note that the floor has not been installed yet.
The floor consists of seven 13″ full boards and one more cut to fit. I applied two heavy coats of indoor/outdoor urethane to these.

Here is the floor ready for assembly.

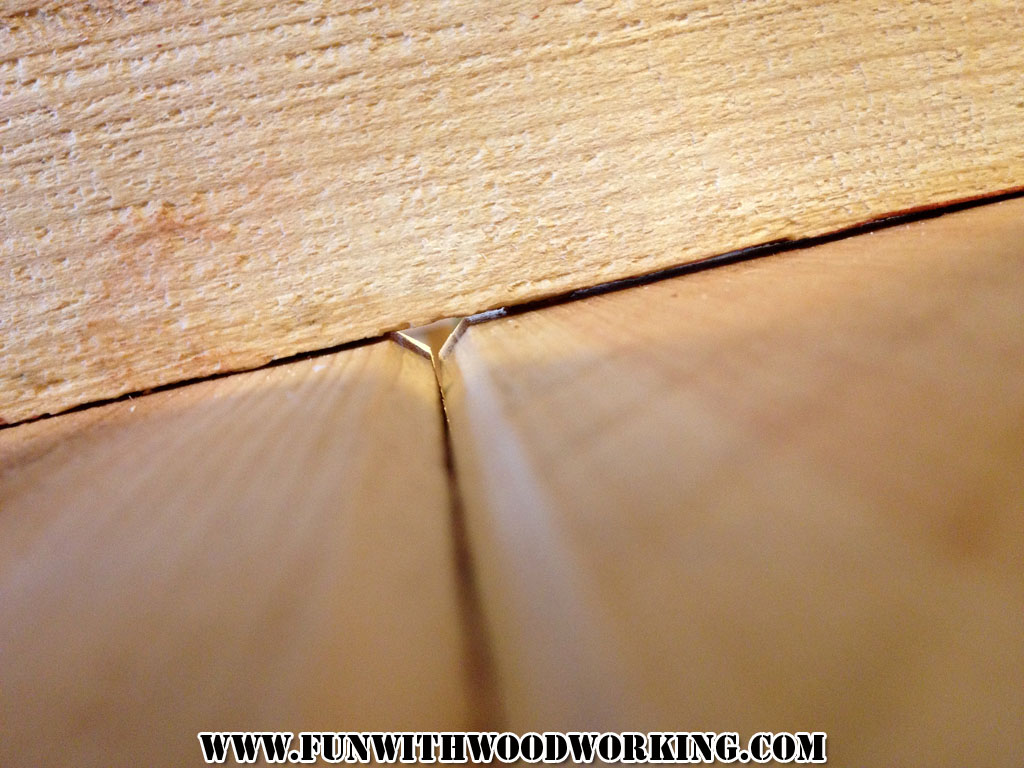
Here is the chamfer I made earlier. I am hoping that this will work for drainage.
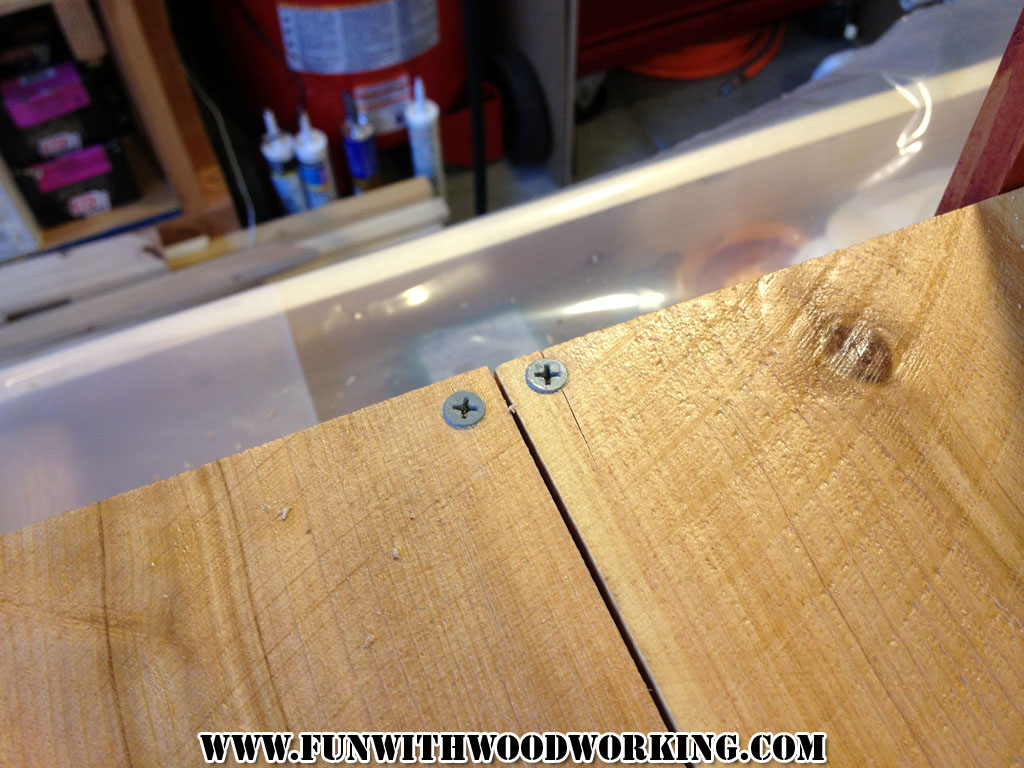
I predrilled,

and screwed the floor in. No glue.
Here is another look at one of the chamfers.
Once the floor was installed I put one more coat of the spar urethane on the whole thing. It is now ready to be installed.
Now we just need to put some flowers in it.

