My wife found a picture of a wood ice chest box on Facebook and once she showed it to me I knew that I had to make one. I wanted to make something that would be easy, relatively cheap and very rustic so I went with cedar fence pickets. They are 5/8″ thick by 5 1/2″ wide by 6 feet long. I was able to make this entire project out of 7 pickets. The pickets were $2.05 each, the hinges were $2.17 each, the handle for the front was $2.97, and the Styrofoam ice chest was $2.99. Those materials came out to $24.65 not including tax. I also used 56 one inch screws, a bunch of 1 1/2″ brads in my nail gun and some Titebond glue so I would estimate the cost of this project to be right around $30.00. It might be a little bit more if I decide to put a coat of finish on it. I am very happy with the outcome and plan on making more.
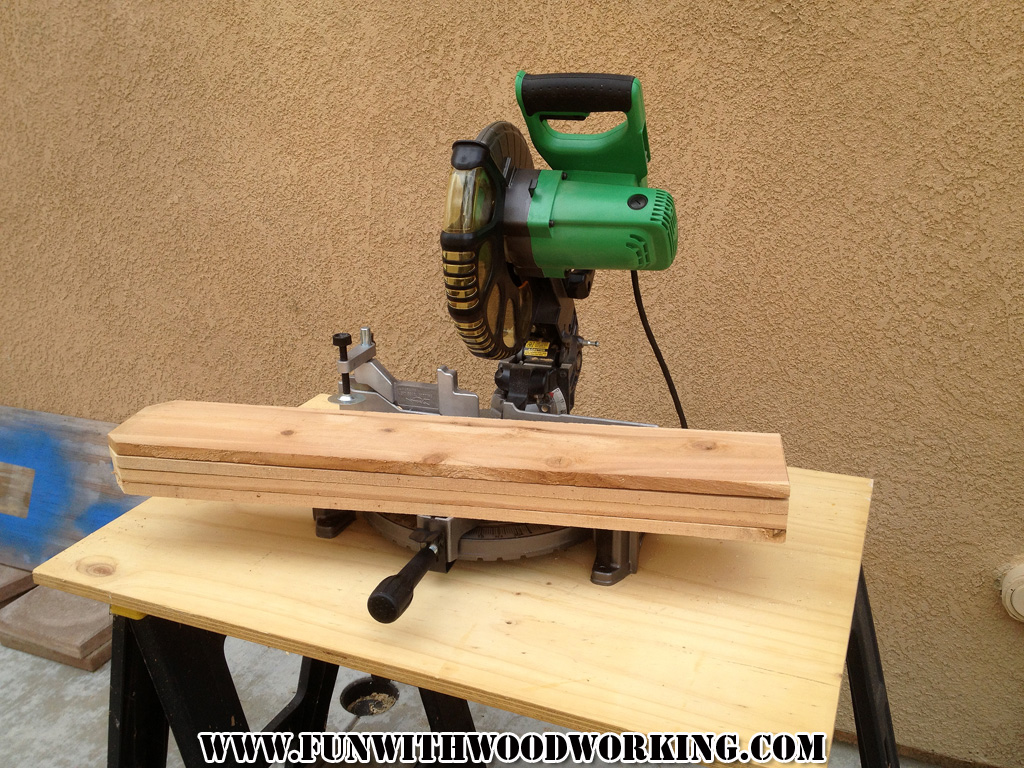
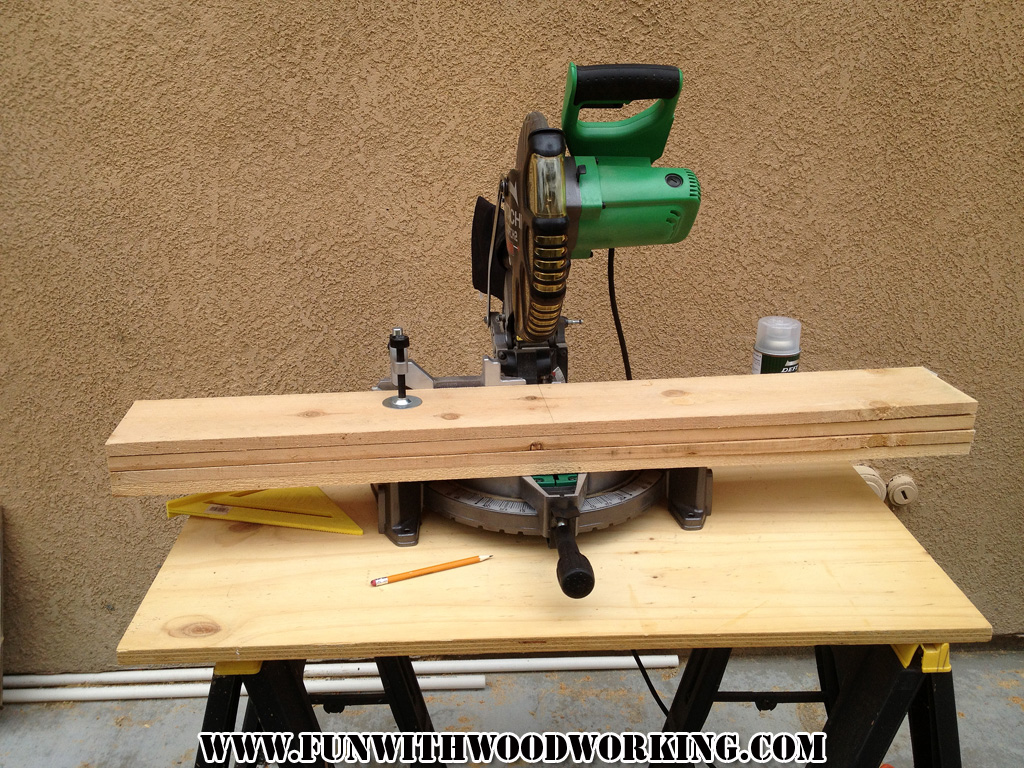
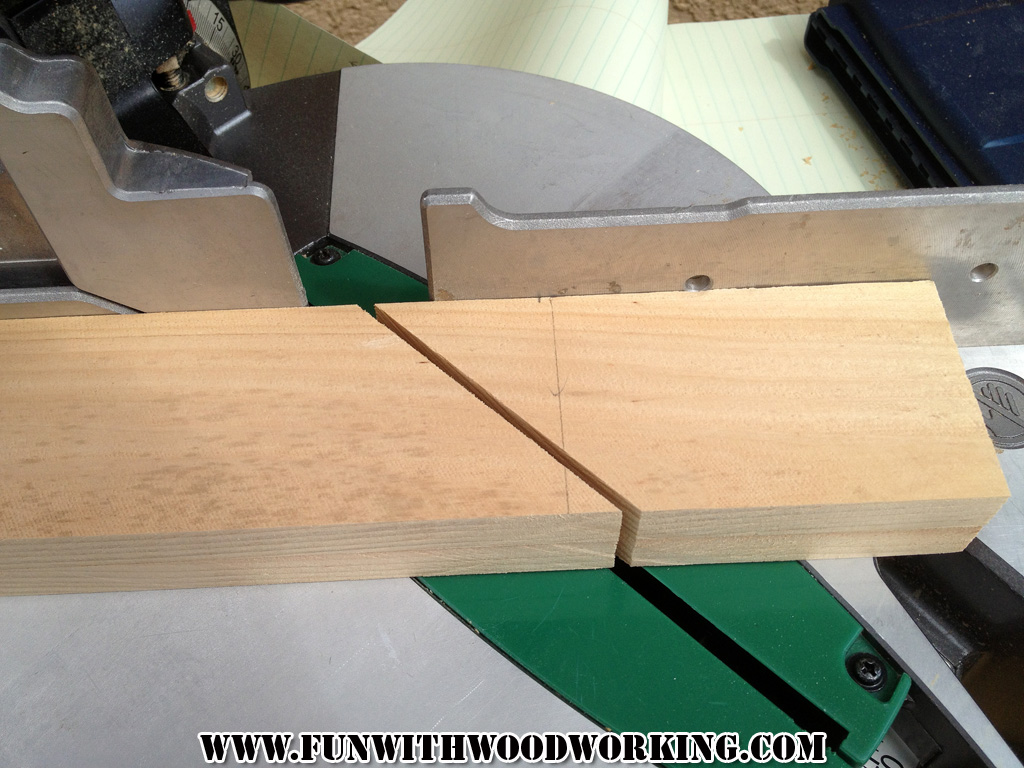
I started by cutting the legs to 31 inches making sure to keep the angled parts for the feet.
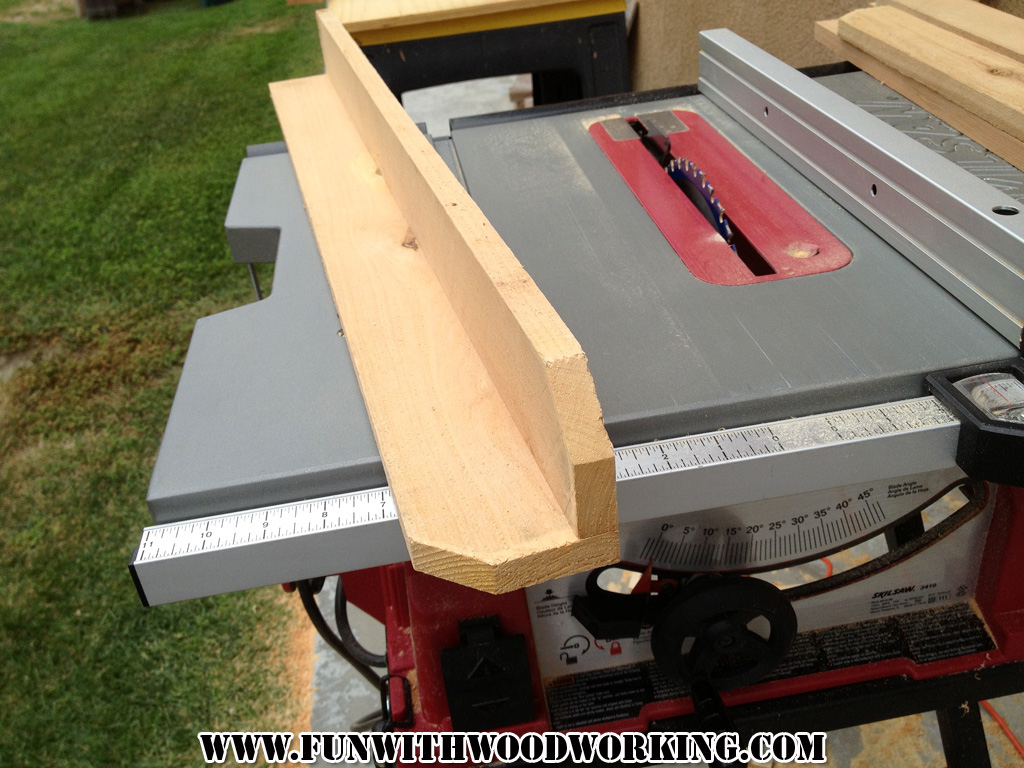
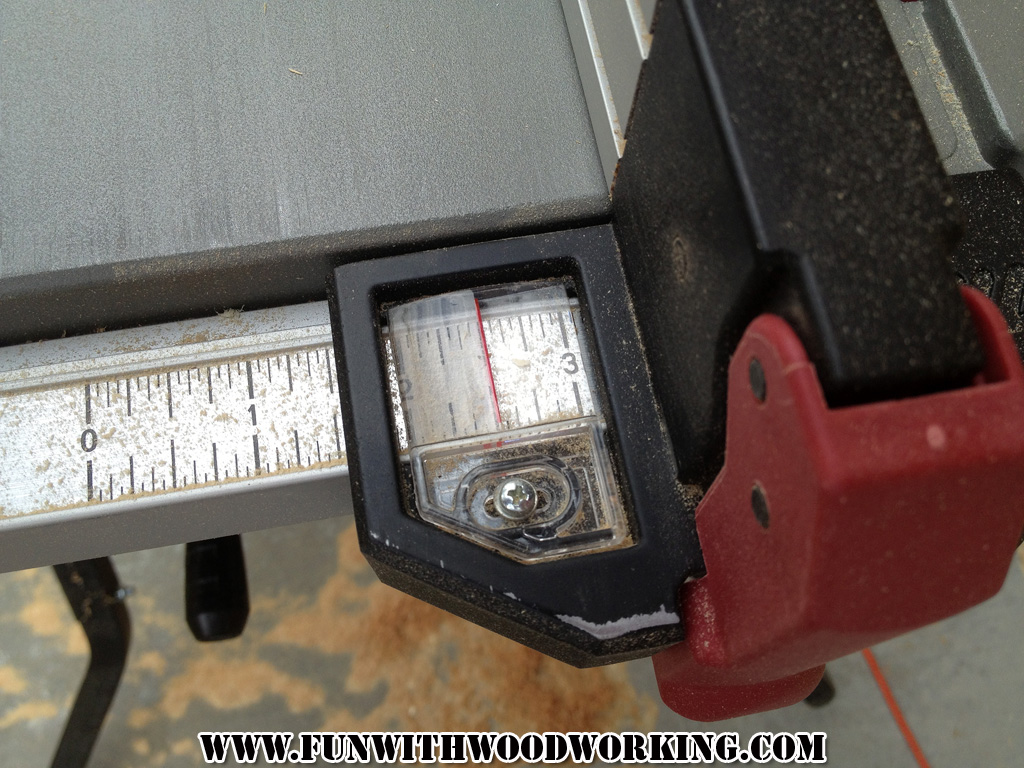
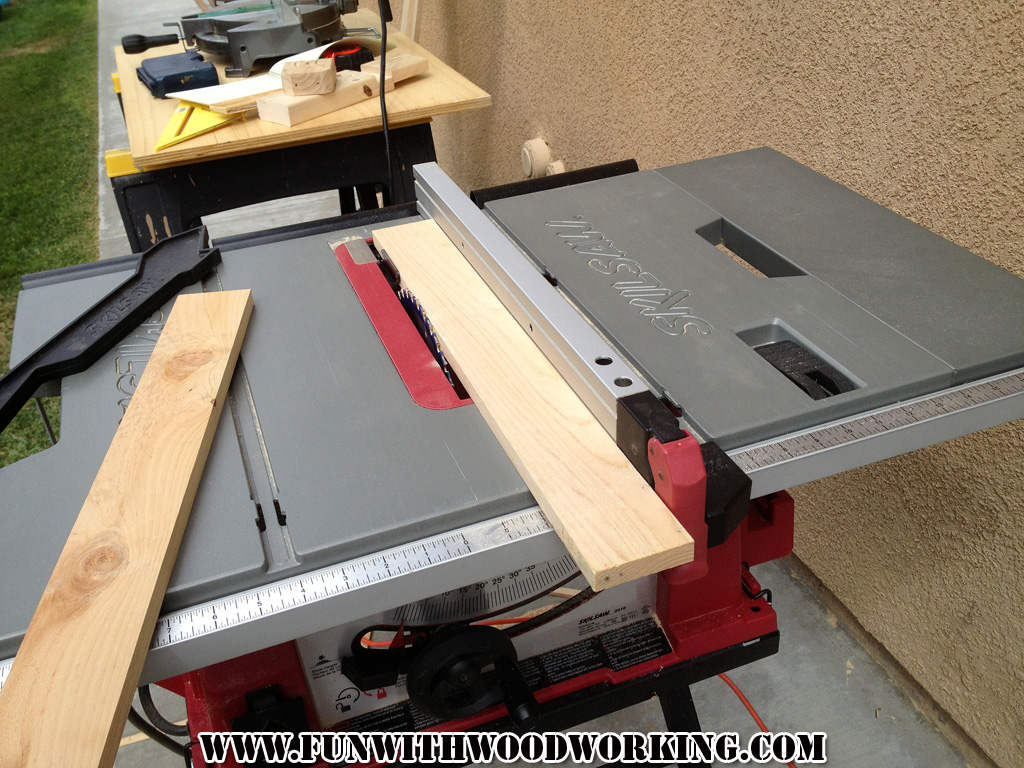
I then set my tablesaw to 3″ to cut the leg pieces.
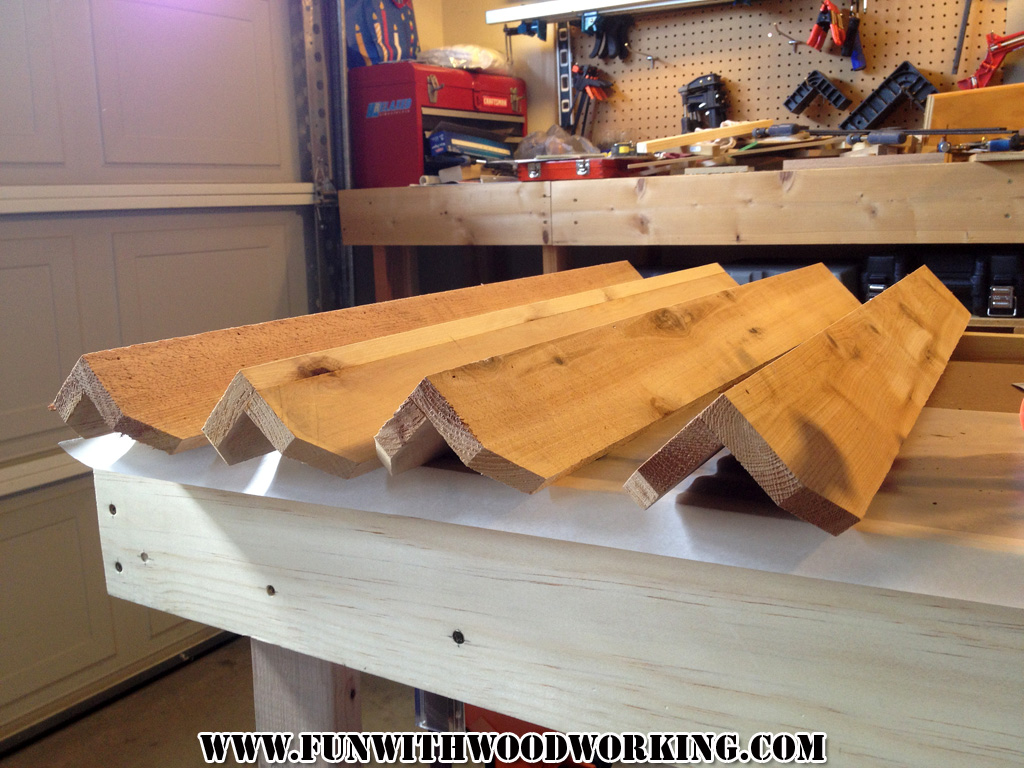
This is what the legs are going to look like. 1 board is 3″ and the other is 2 1/2″ roughly.
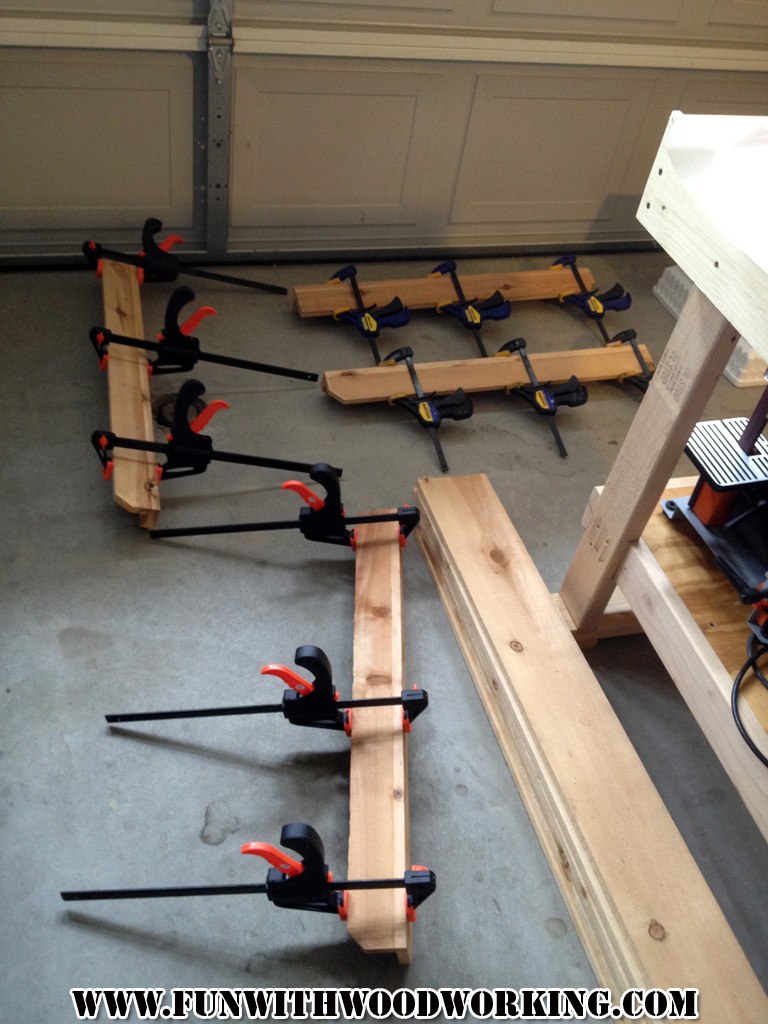
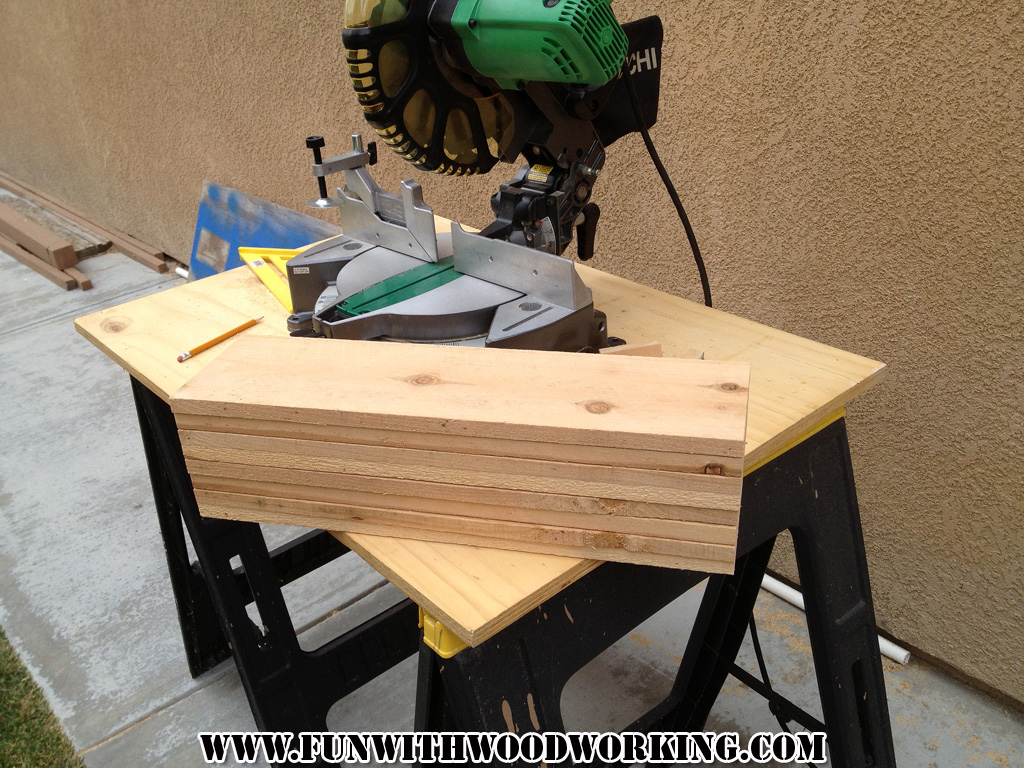
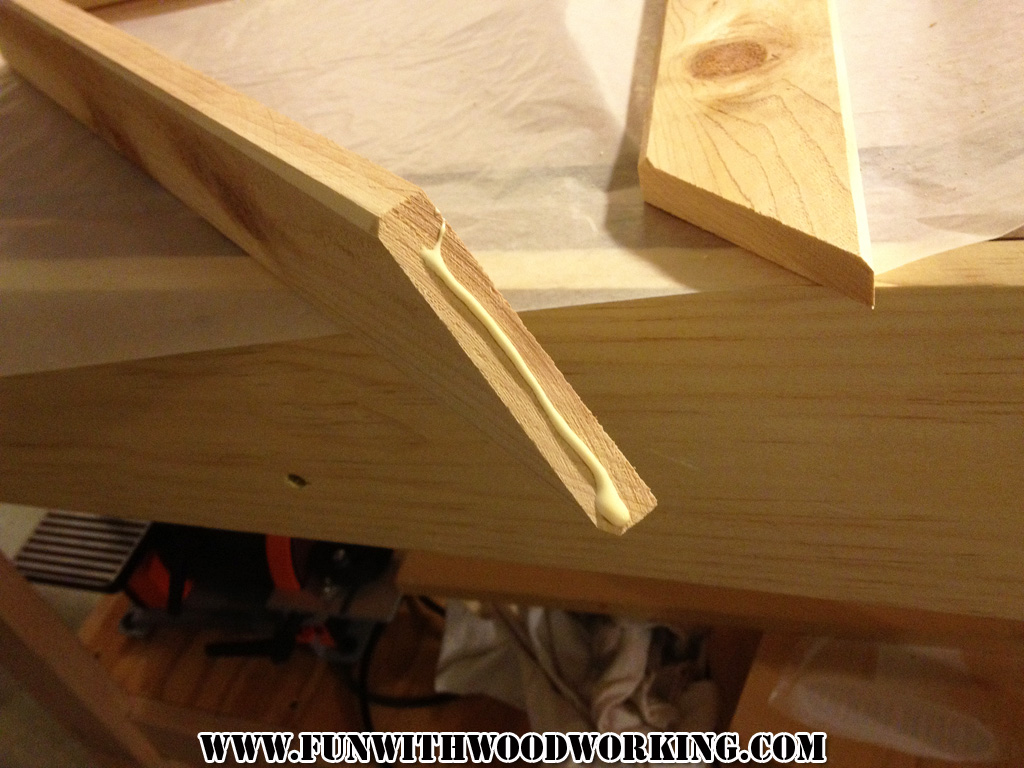
I glued and nailed all the leg pieces together and then clamped them just to play it safe. Pay attention when you glue them so that you have 2 left legs and 2 right legs. I assembled mine so that the 3″ pieces were facing forward on the front.
I took the rest of the 4 leg pickets and cu them down to 20″ for the front, back, and bottom of the box.
I got 8 pieces out of the 4 boards.
I cut a fresh picket into 5 – 13″ boards for the sides.
I cut one of the 13″ board in to two 2 1/2″ strips and one 20″ board into two 2 1/2″ strips.
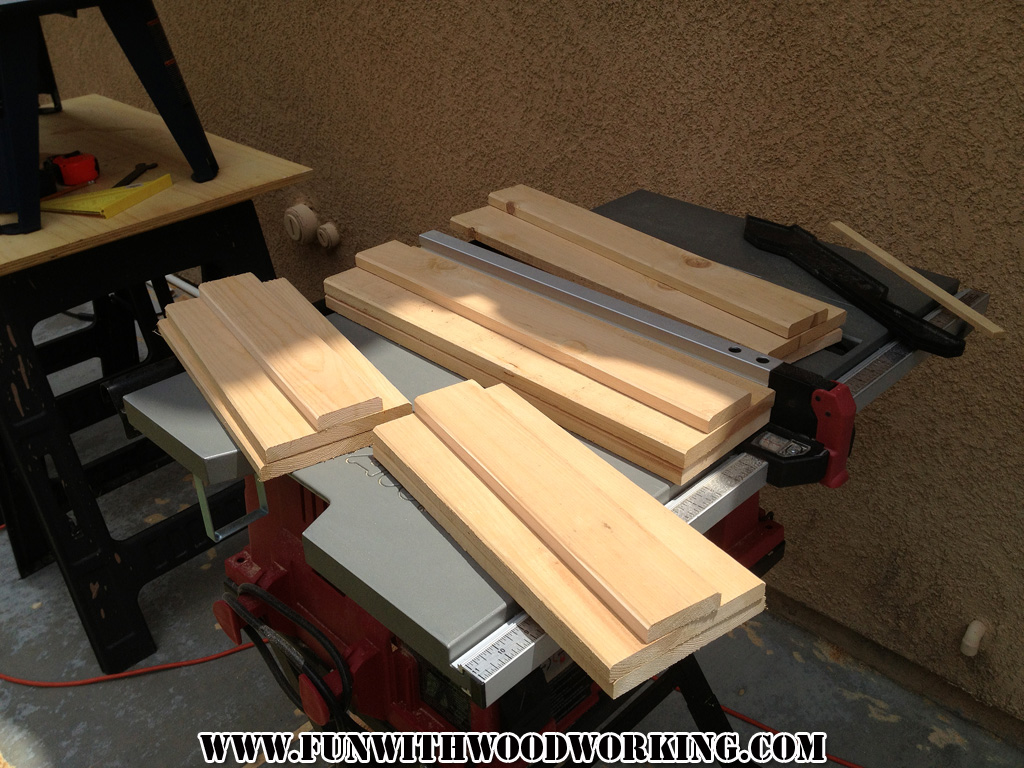
Here are all the pieces cut for the front, back, and sides.
I put a slight chamfer on all the pieces to try and minimize splinters and to add a decorative element to the front, back, and sides.
Here is everything ready for assembly.
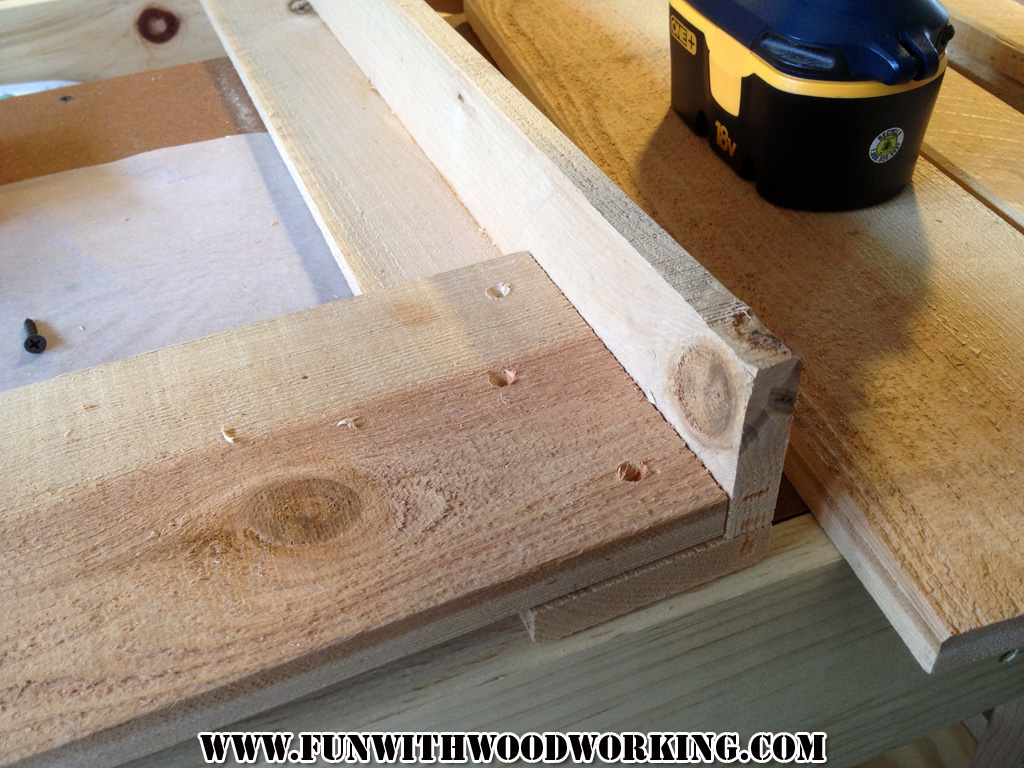
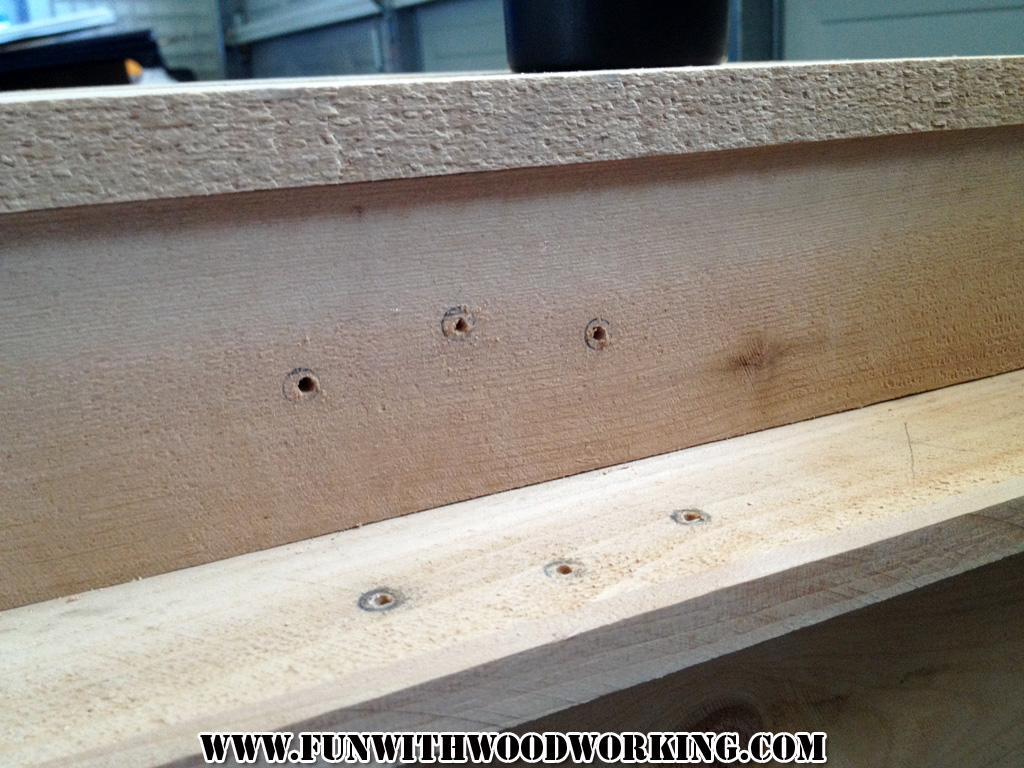
The wood is pretty soft but I predrilled and countersunk all the holes just to play it safe.
I also glued all the joints.
I made the front, back and sides out of two 5 1/2″ boards and one 2 1/2″ board.
I couldn’t find any coated screws in a 1″ size at Home Depot so I used coarse drywall screws.
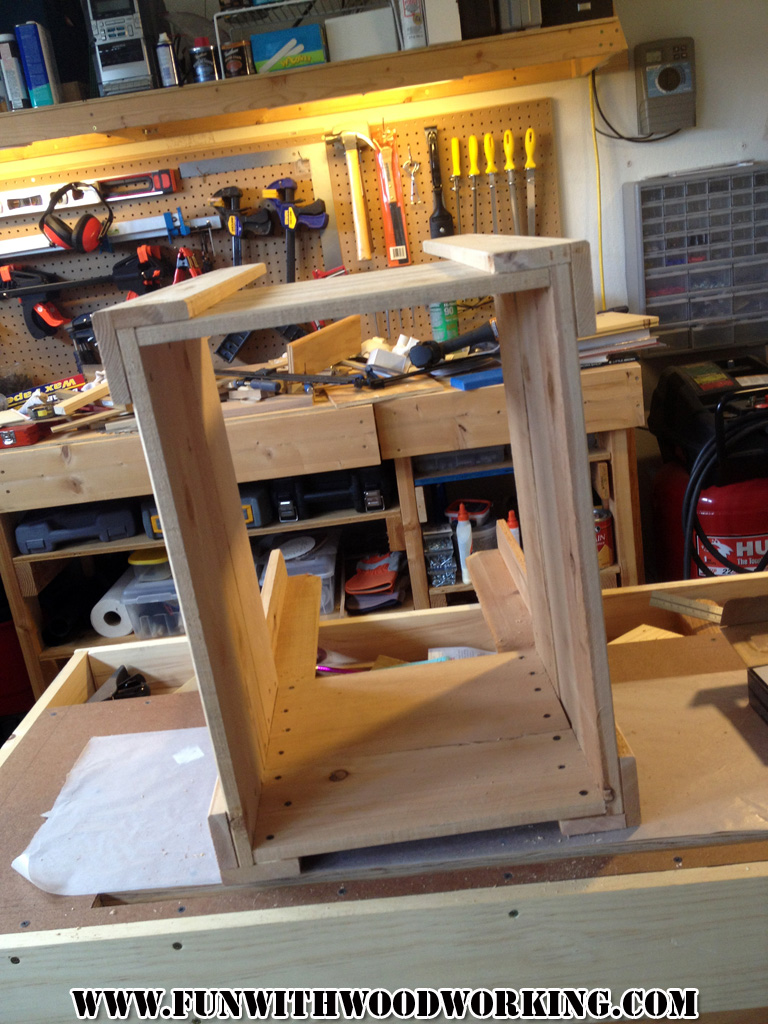
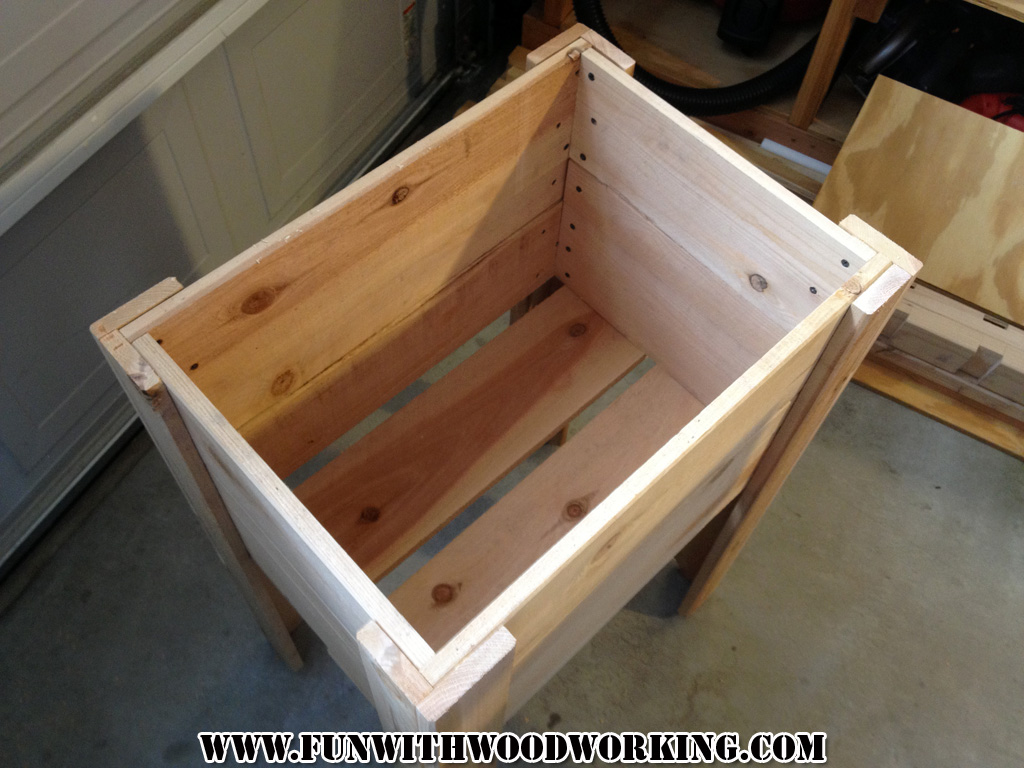
It’s starting to look like a box!
I glued and screwed two 20″ boards to the bottom. These were from the 8 that I cut at the beginning.
I was getting ready to cut some more 2 1/2″ strips when I found this staple. It always pays to check your wood before you run it through the tablesaw.
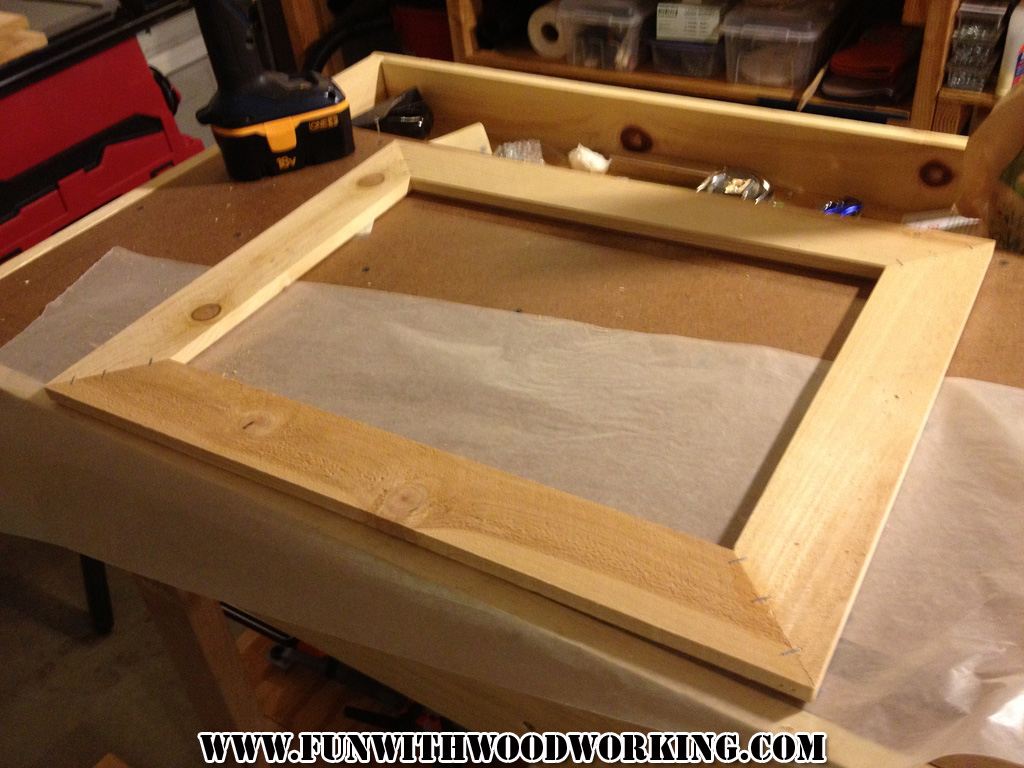
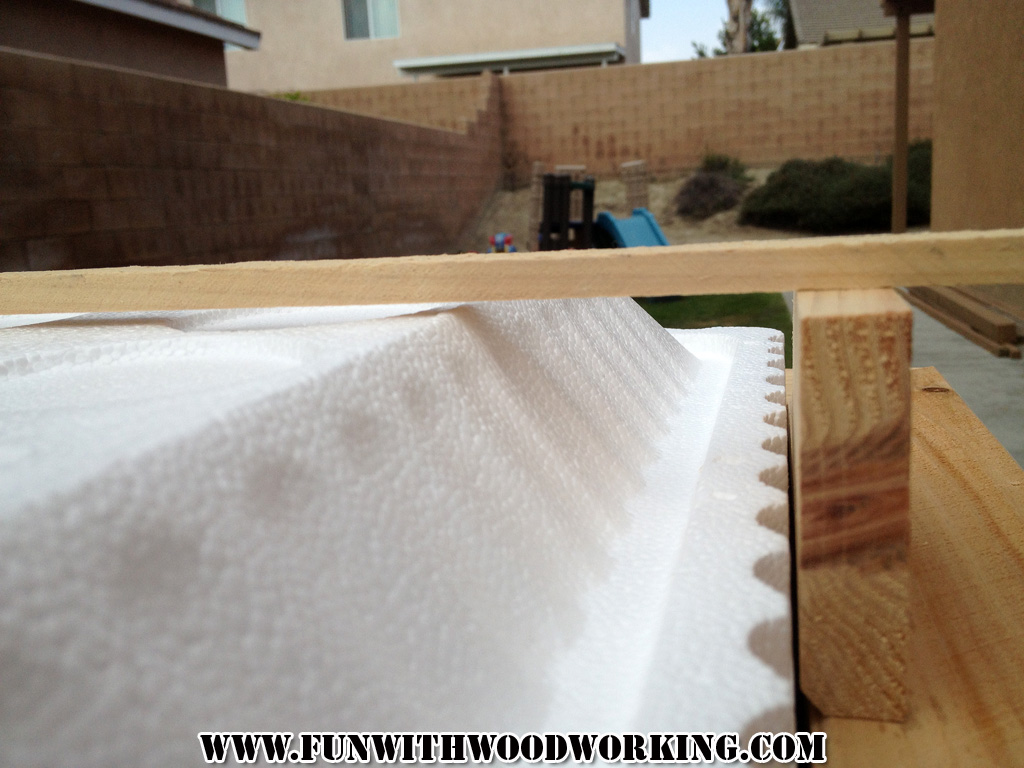
I cut more 2 1/2″ strips to make a frame for the top to close in the sides of the foam ice chest.
I made rough marks and slowly inched my way in until the frame fit tightly around the ice chest.
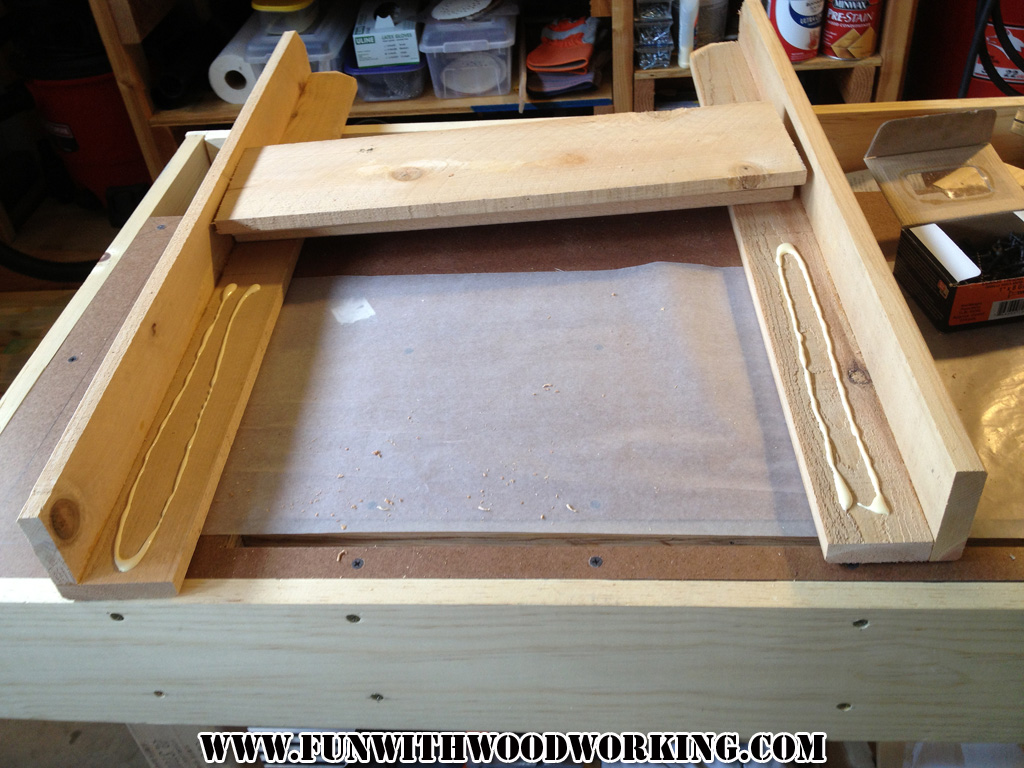
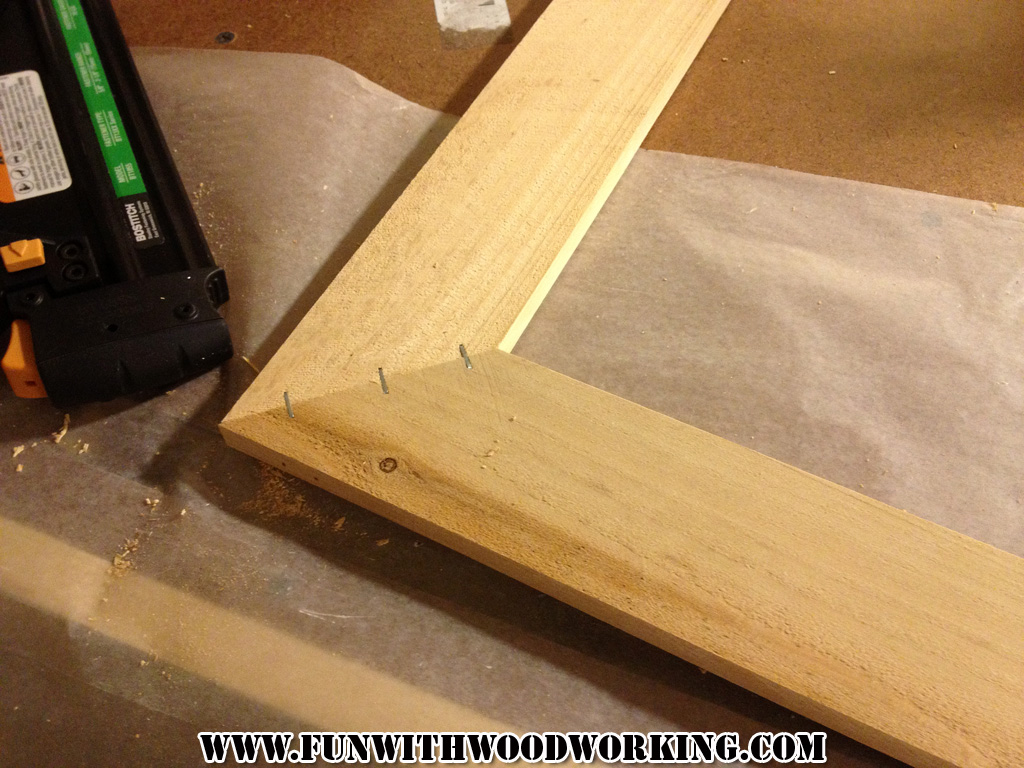
I glued,
nailed,
and stapled the frame together to make it as strong as possible.
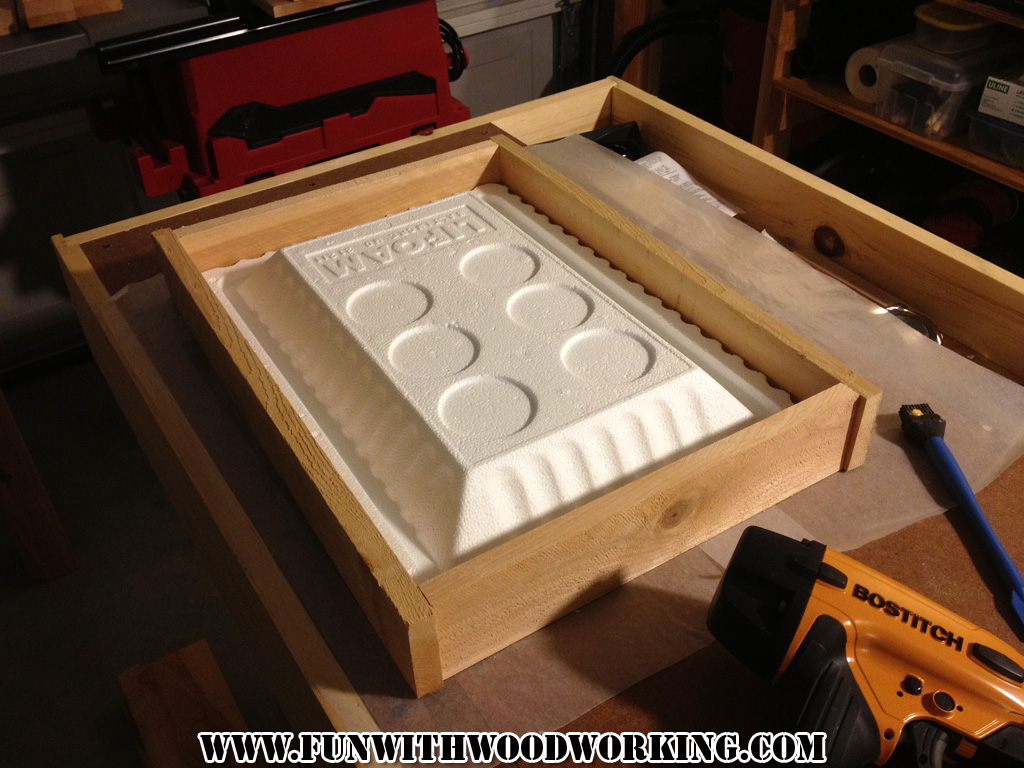
Here it is assembled and upside down.
It’s a nice tight fit. I also chamfered the inside and outside of the top of the frame.
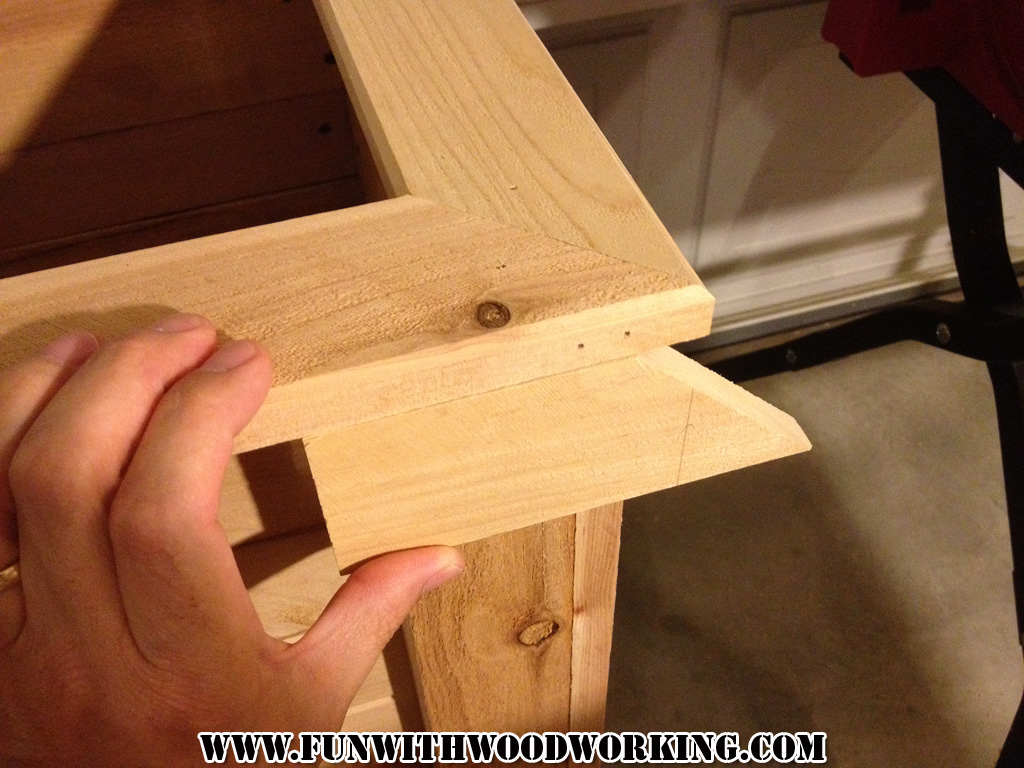
I used a piece of scrap from the frame to set how far the lip stuck out in the back.
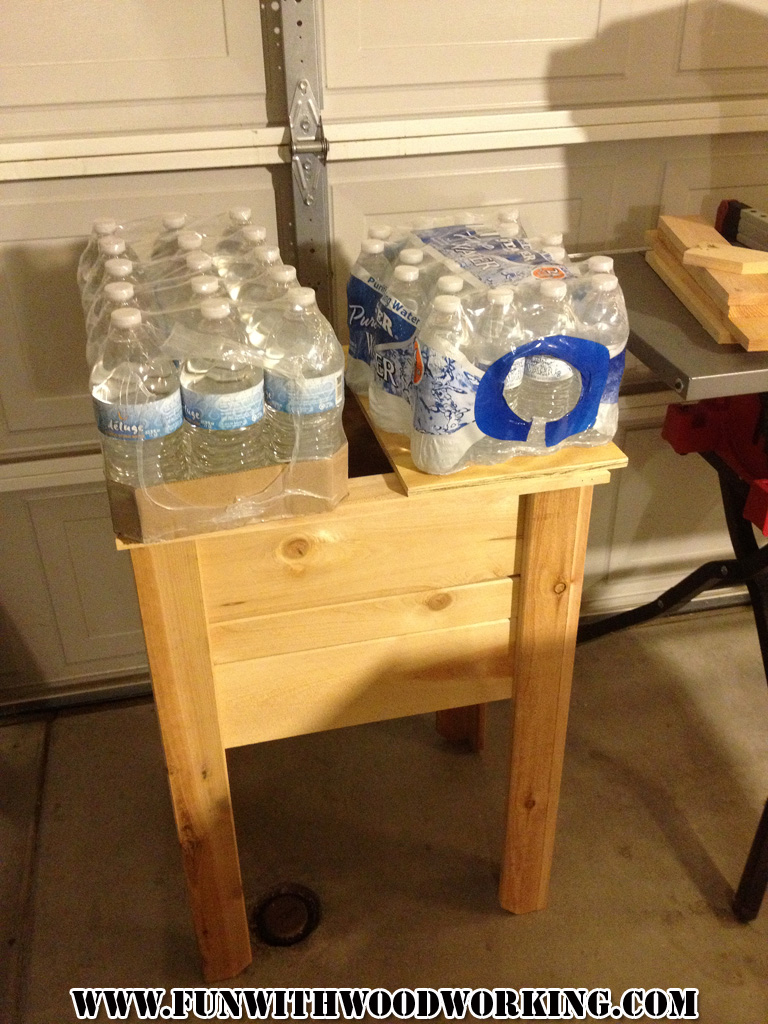
I glued and nailed the top frame and then used some water as a clamp.
I tested the height of the foam lid with a 2 1/2″ scrap and it was a good fit.
I took another board and cut it down to size to tightly surround the lid. I also ripped them down to 2 1/2″. I glued, nailed, and clamped the pieces over night.
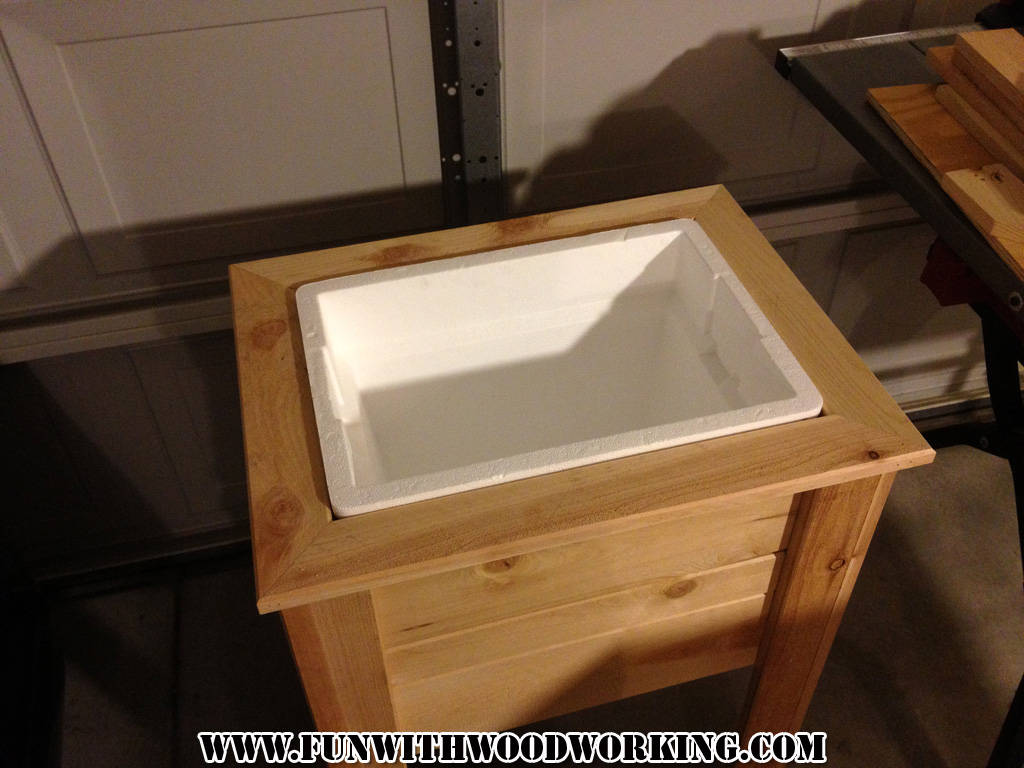
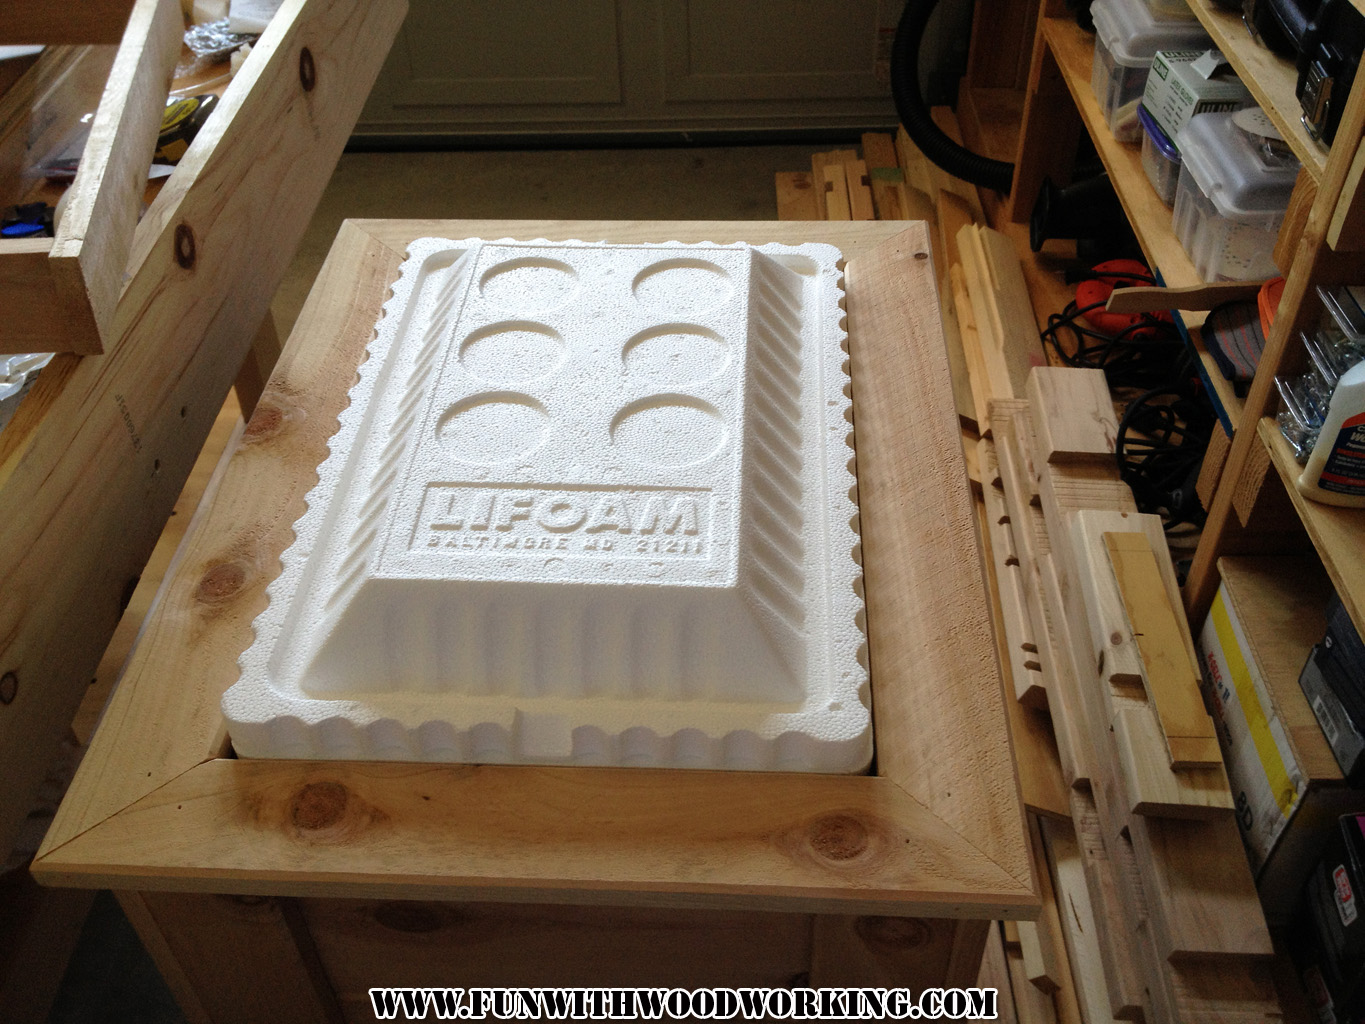
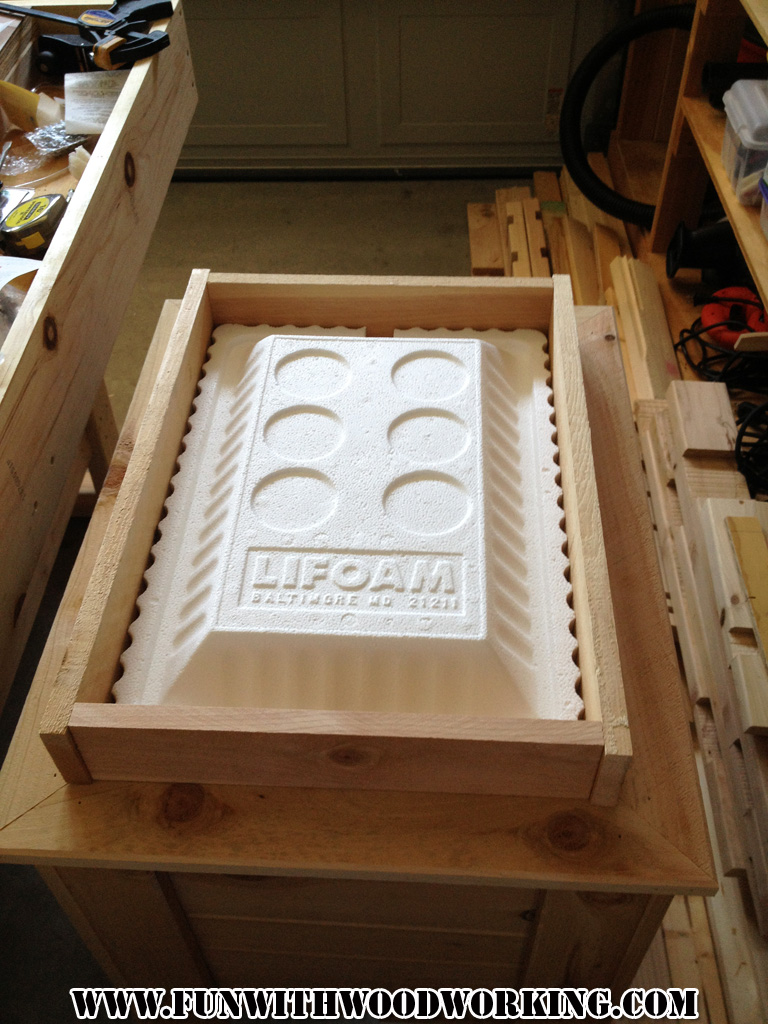
I put the lid in the cooler to get the proper sitting height,
and then put the frame around it.
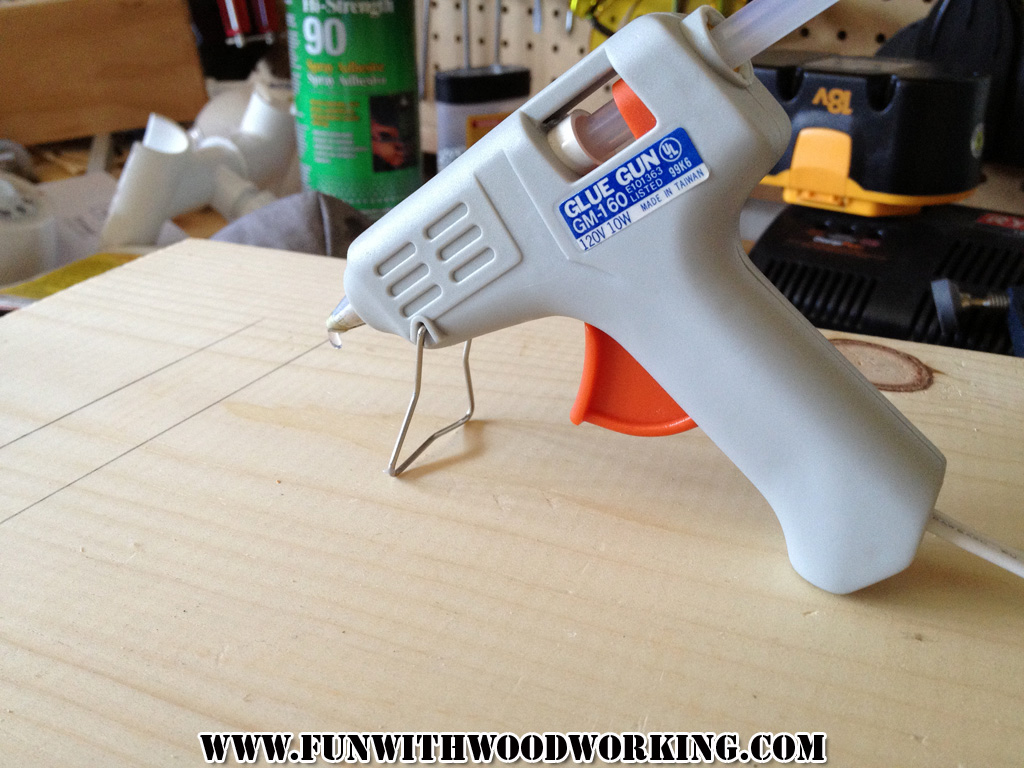
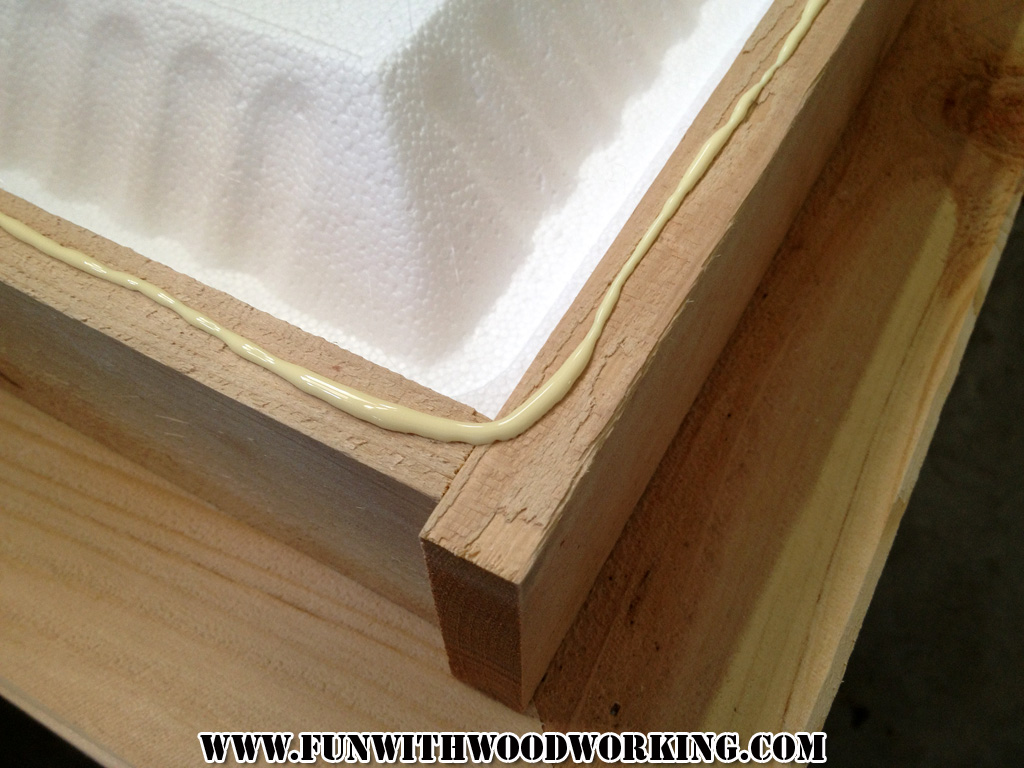
The easiest way I could think of to attach the lid to the frame was hot glue.
It worked great as long as I didn’t touch the tip of the gun to the Styrofoam.
I put a bead of glue all the way around the frame and then attached two 5 1/4″ boards and one 2 1/2″ board to keep the 3 board look throughout.
More clamping pressure.
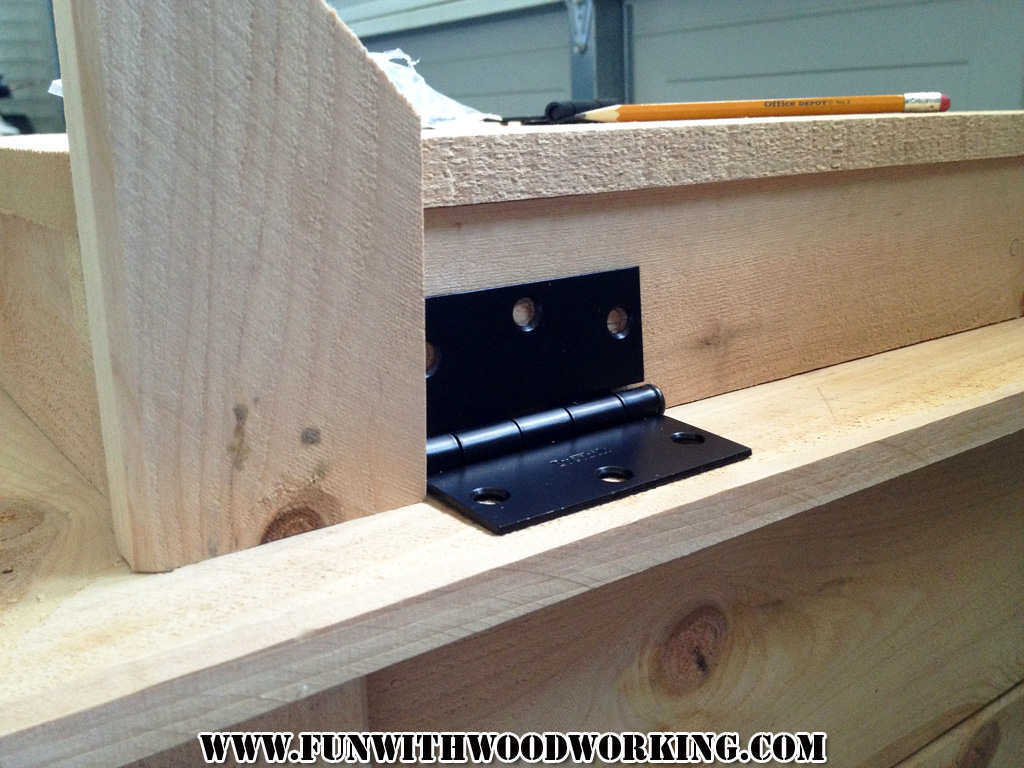
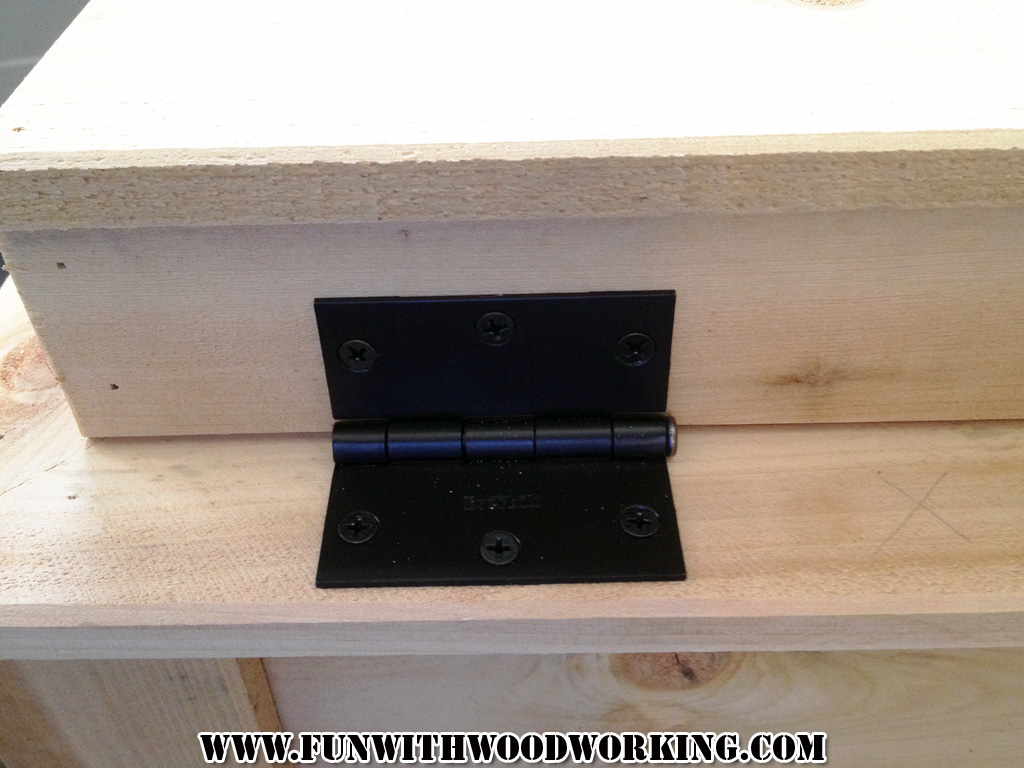
I used that same piece of scrap to set my hinges in 2 1/2″ from the ends.
I marked the holes and predrilled. The hinges came with their own screws that worked great. I had to go underneath and cut off the ends of the screws because they stuck out a little. I put a dab of hot glue over the cut pieces so hopefully they won’t rust to quickly.
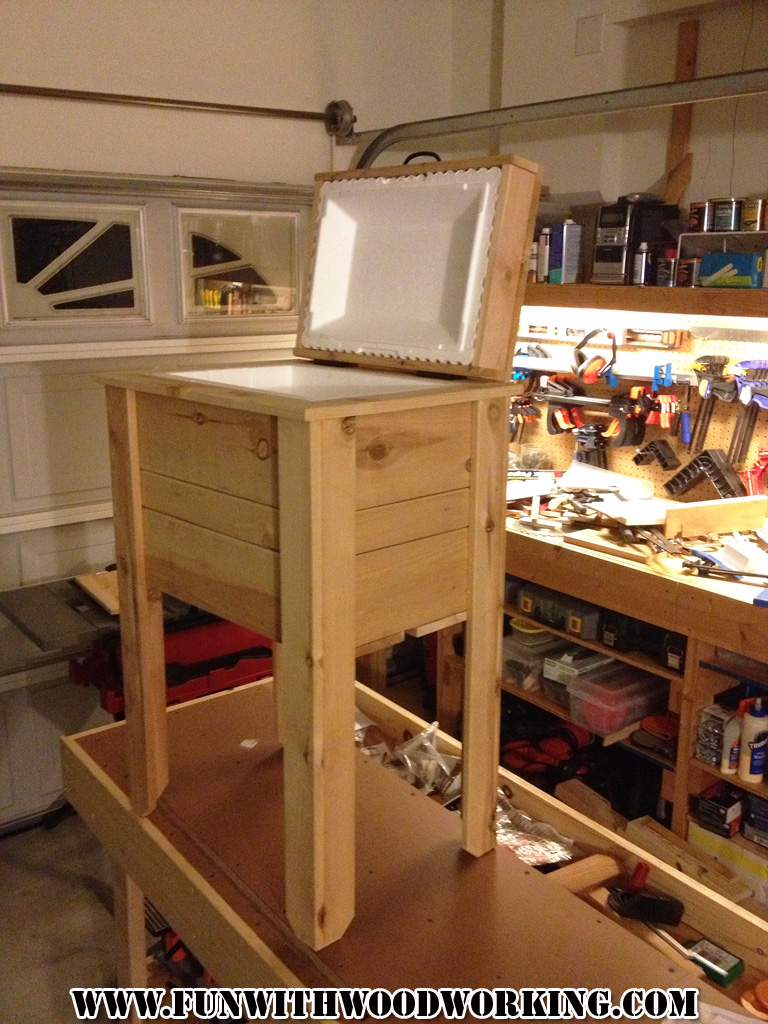
Here is the completed ice chest/cooler box!
I might put some handles on the sides but with the foam ice chest the entire thing is very light. I might also put some exterior finish on it but I am interested to see how long the untreated wood lasts so I might not.