I made my first picture frame!
My wife made a new chore chart for the family out of a piece of 20″x30″ foam board and asked me how we should hang it on the wall. I’ve been looking for an excuse to make a picture frame so I told her that I would take care of it. She had already decorated the board and the writing at the top was all the way to the edge so I had to come up with a way to frame it. My answer was to make a groove on the front of the board and just inset it in. This made the job a little harder because I had to make that groove perfect to fit the board. I just took my time and made several small cuts and inched up on it and I think that it turned out really good.
I used 2 pieces of 1×2 furring strips that I had sitting in the garage. They only cost 75¢ each so I wasn’t too worried about wasting them.
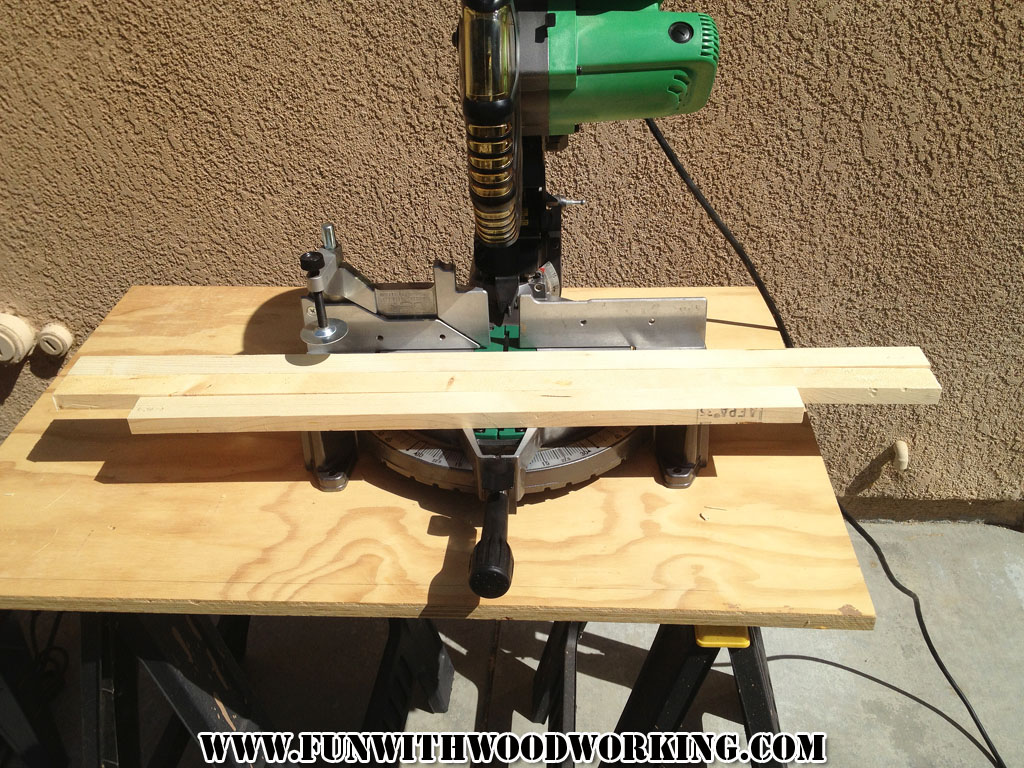
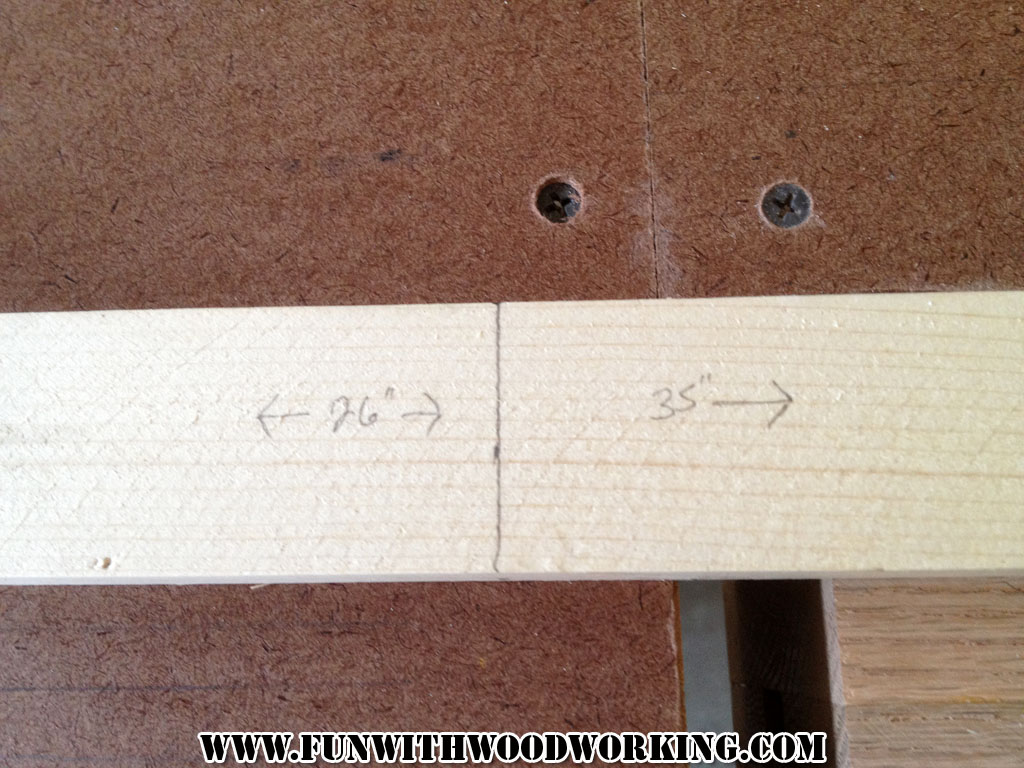
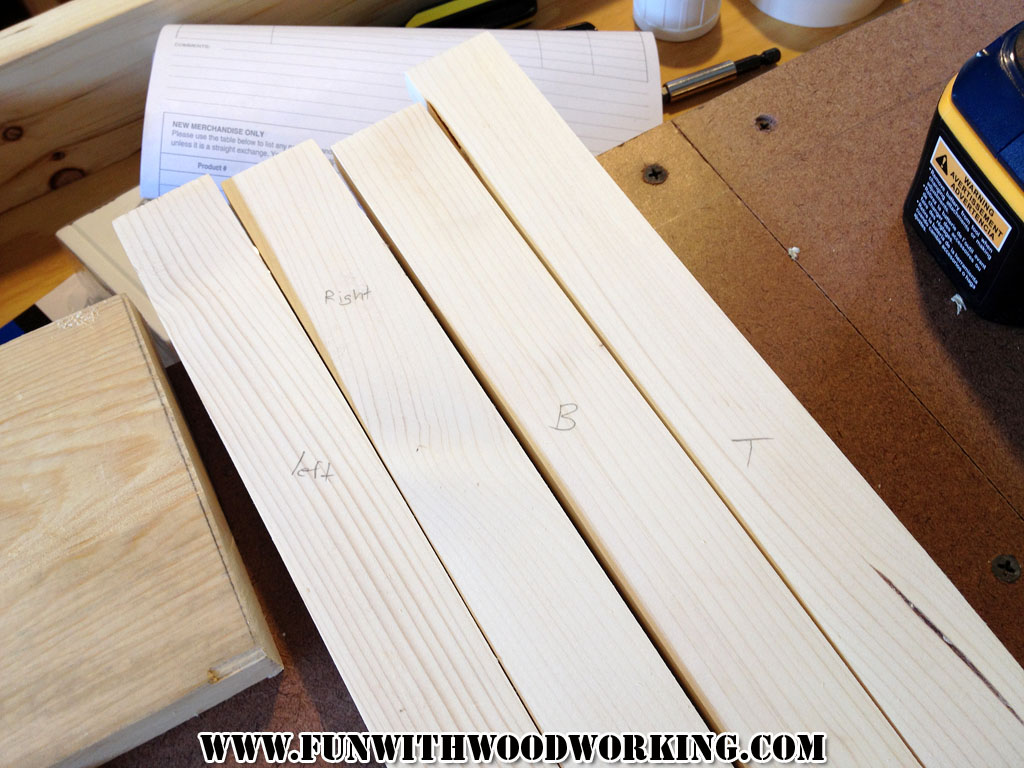
The furring strips were 8 feet long so I cut 2 pieces at 35″ and 2 at 26″ on the miter saw to have some room for mistakes.
I labeled all the good sides so that I would know which face to use.

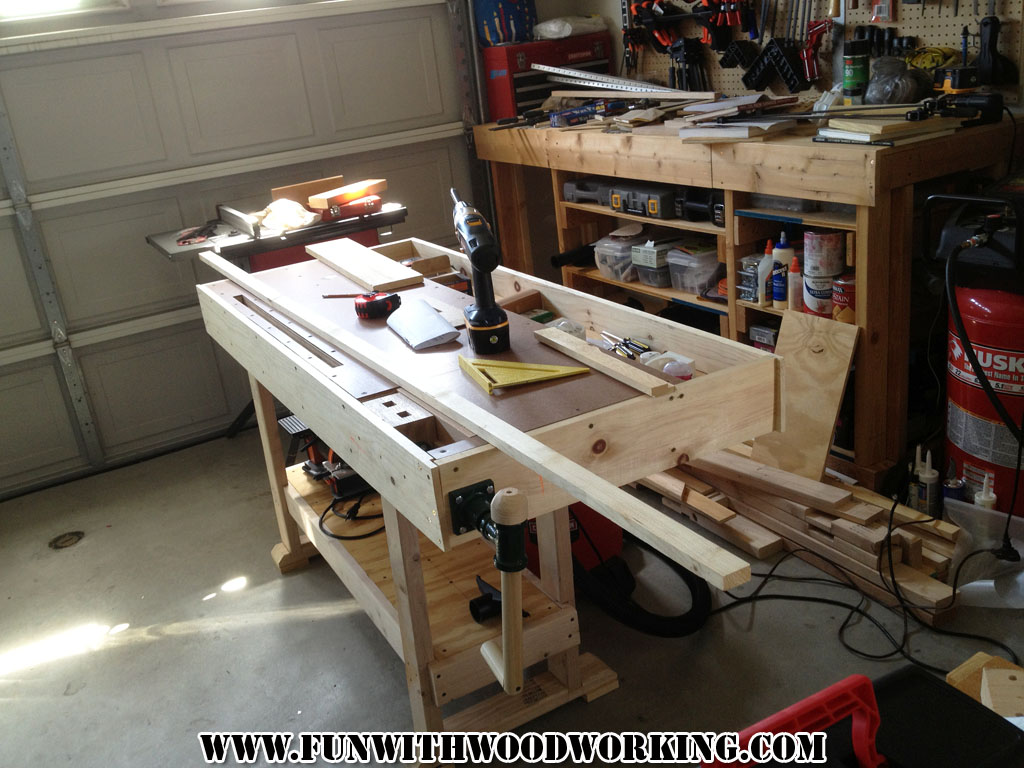
I used my router table with a 3/8″ straight bit to cut the groove for the foam board to sit in.
I made the groove with several shallow passes.
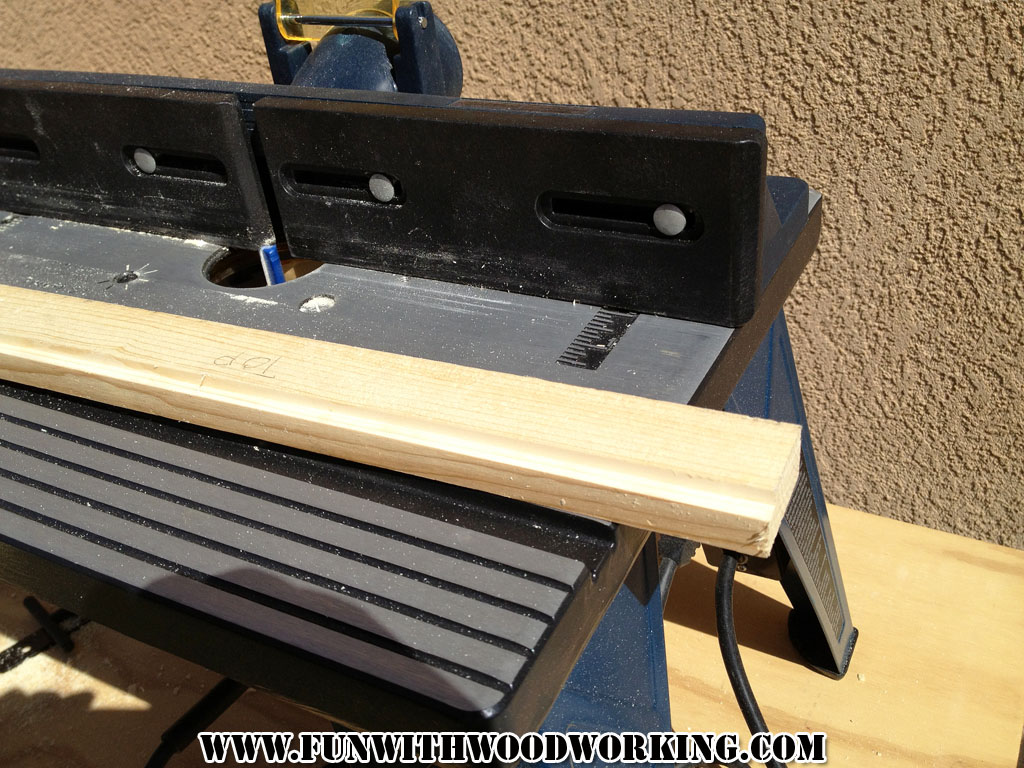
My wife didn’t like how wide the furring strip was so I made the groove wider rather then trying to rip the pieces into a smaller width.
I cut an extra bottom/top piece just in case and then sanded them all smooth.

I cut the outside edge using a Roman OG bit. I tried it at a couple of different depths until I found the profile that I liked. I ended up going with the one on the right.

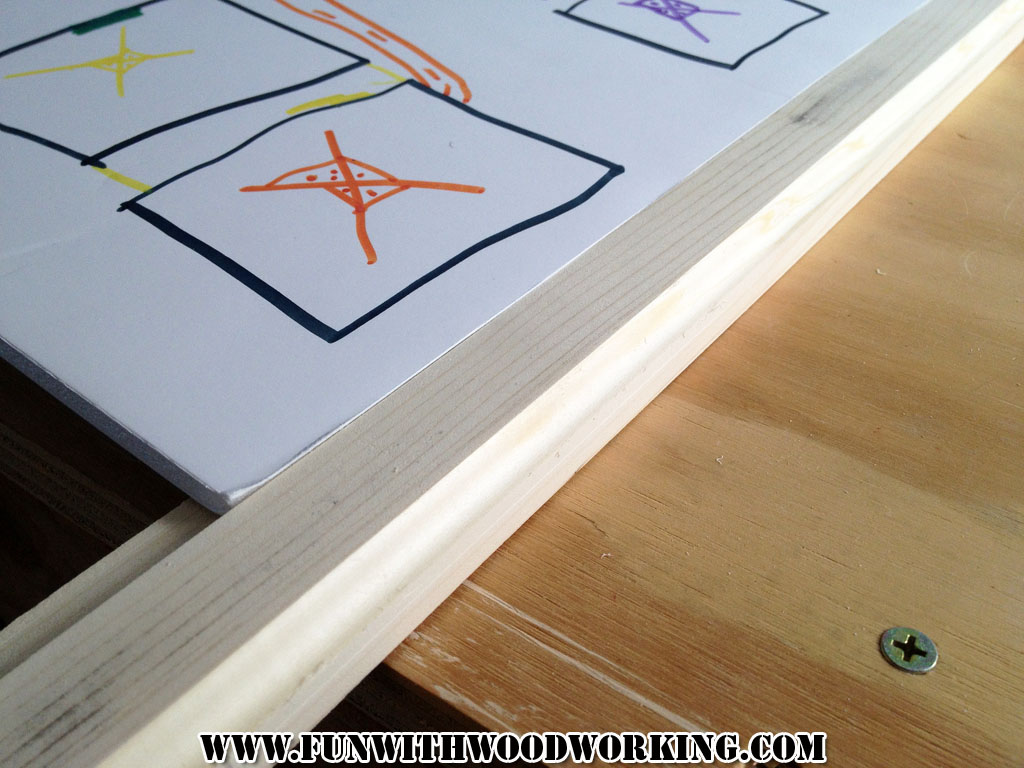
It looks like a good fit to me!
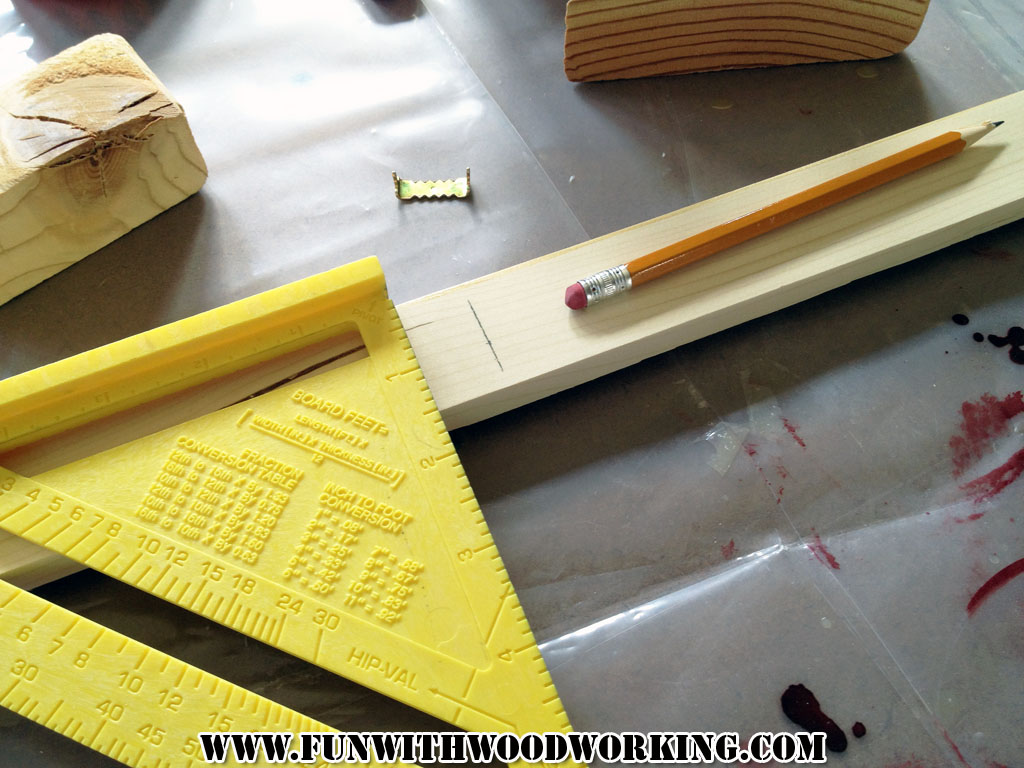
I try to label everything that I can so that I can keep everything straight in my head.
I made marks on the boards for the mitered angles on the ends to make sure that I cut them in the right direction.

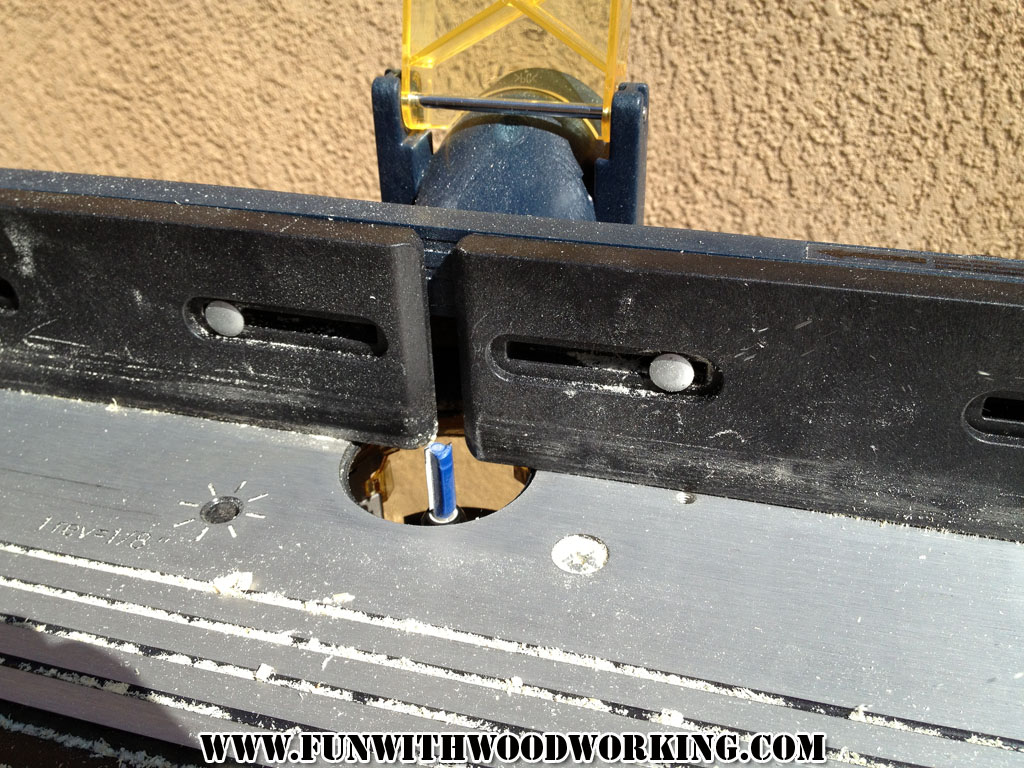
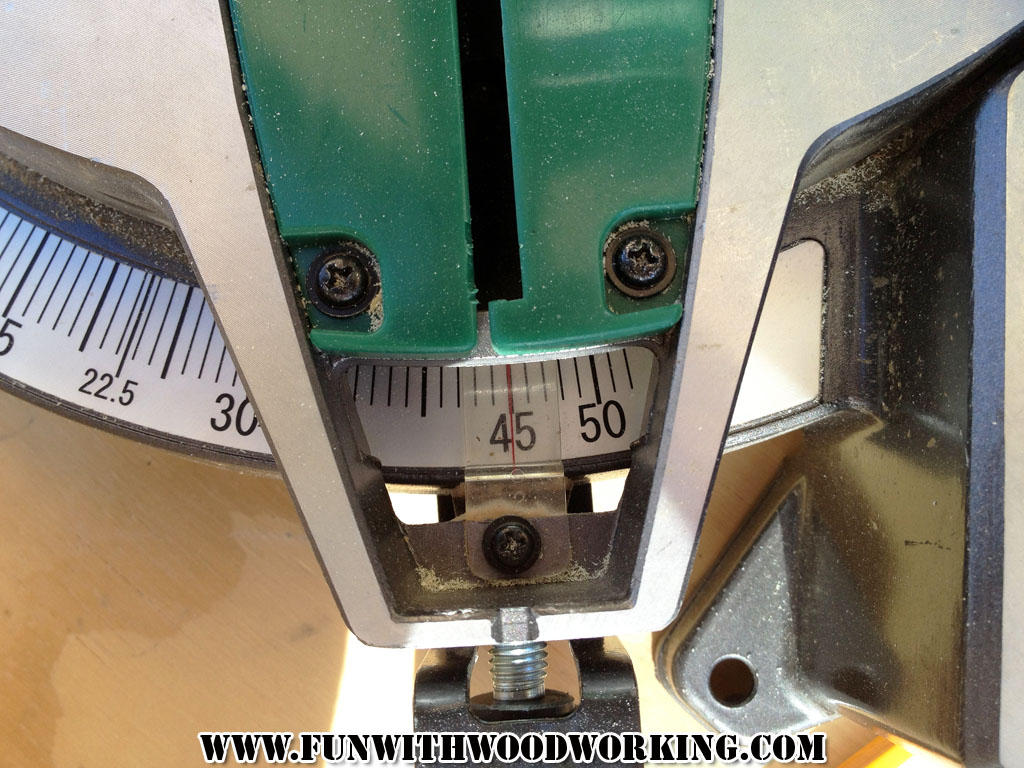
I made all the cuts at a 45 degree angle.
Here’s the first cut!

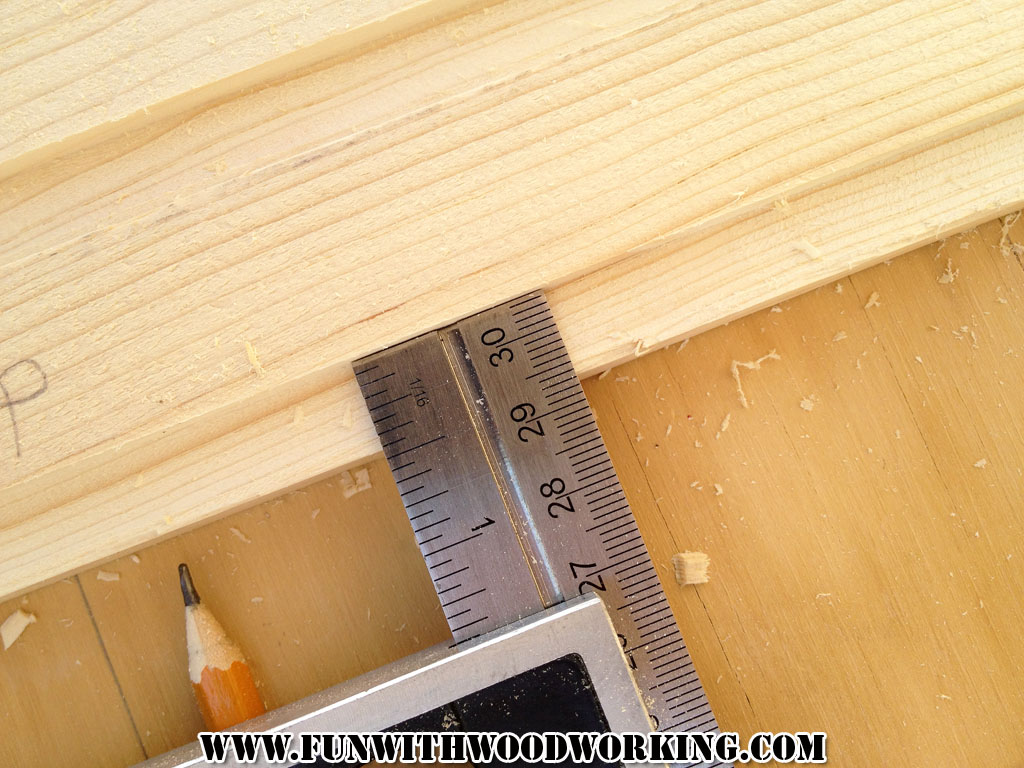
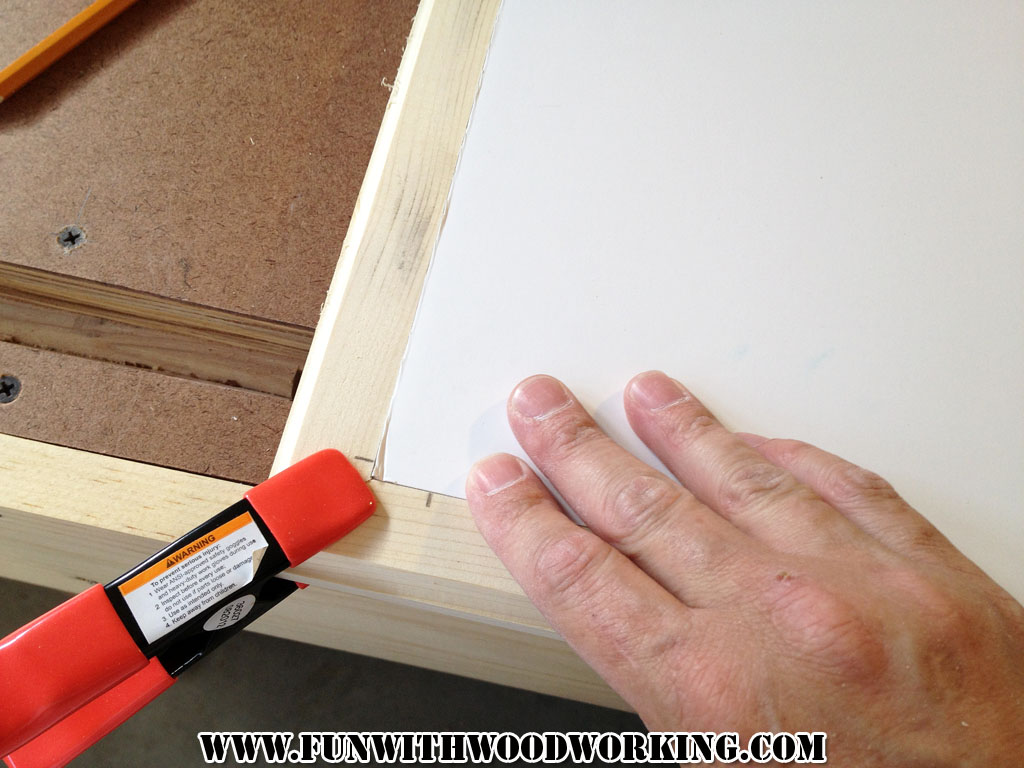
I clamped the 2 pieces together and set the foam board in so that I could check the fit and mark where I needed to make the next cuts.
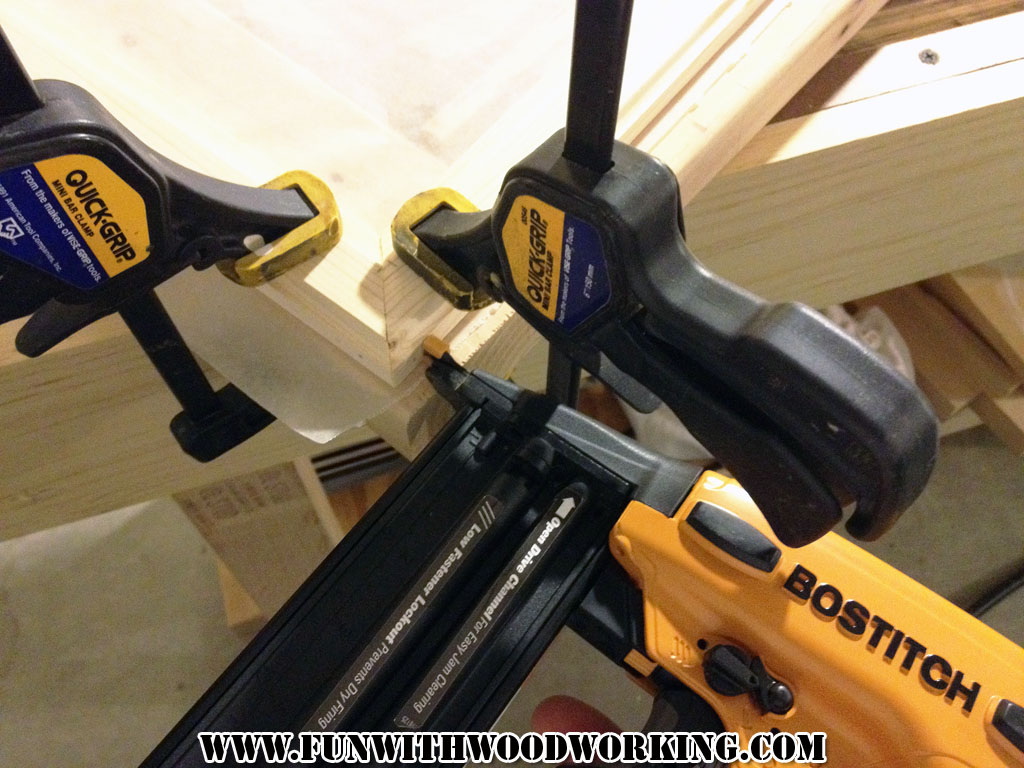
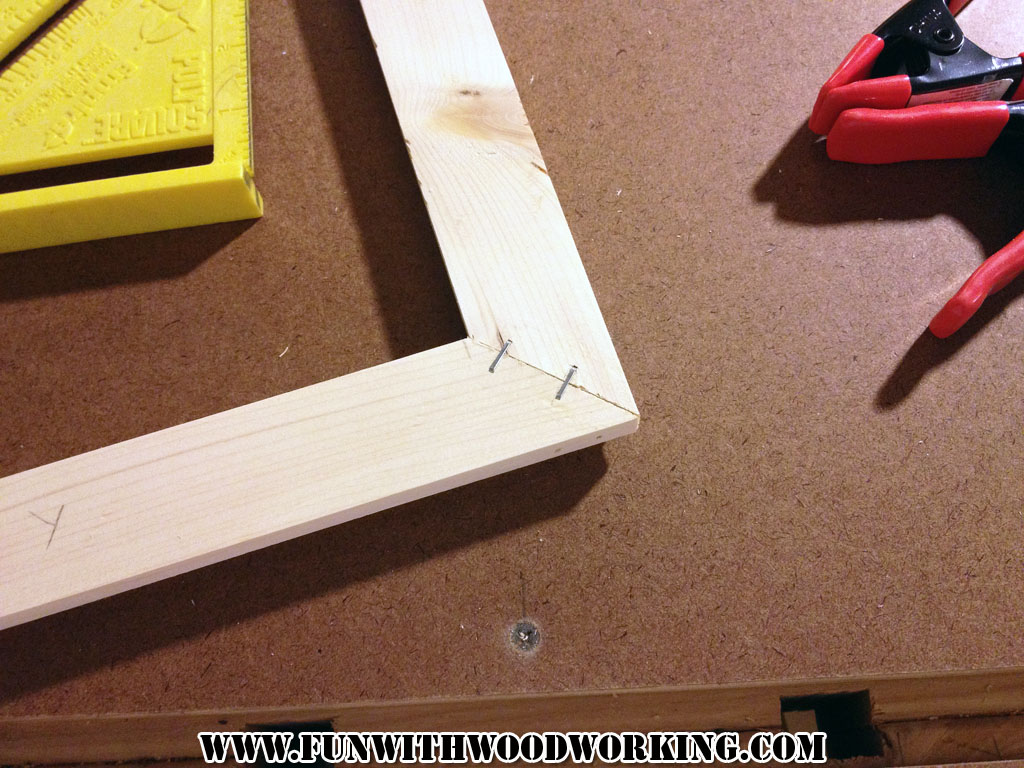
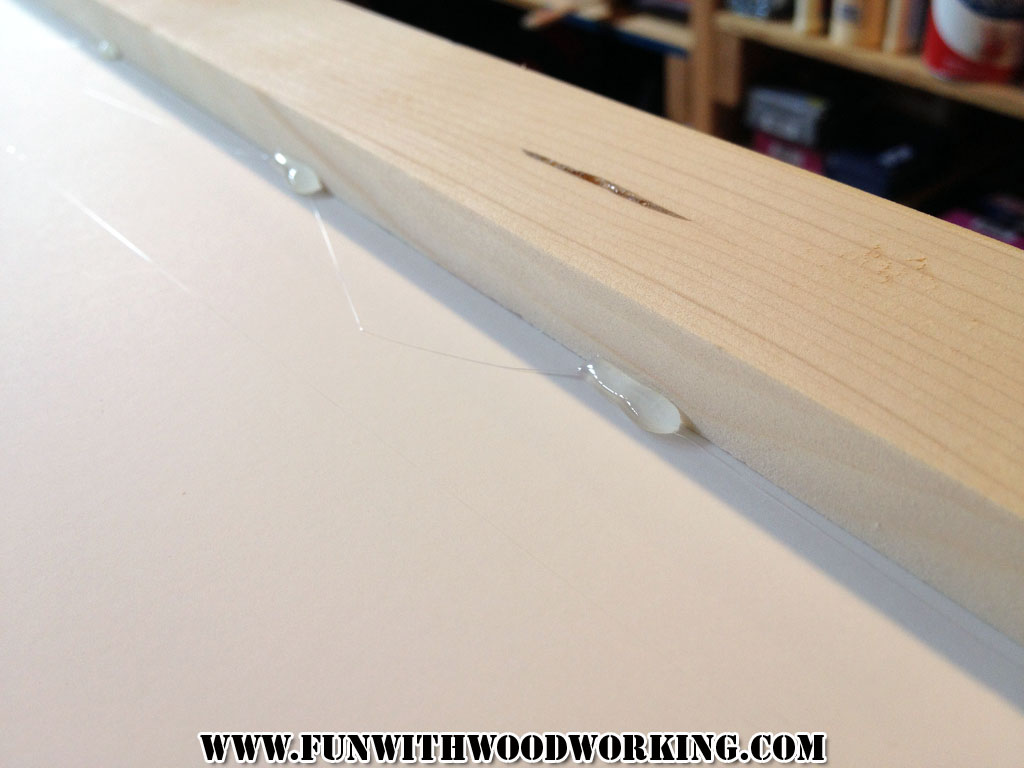
I put the frame together using glue

and brad nails.
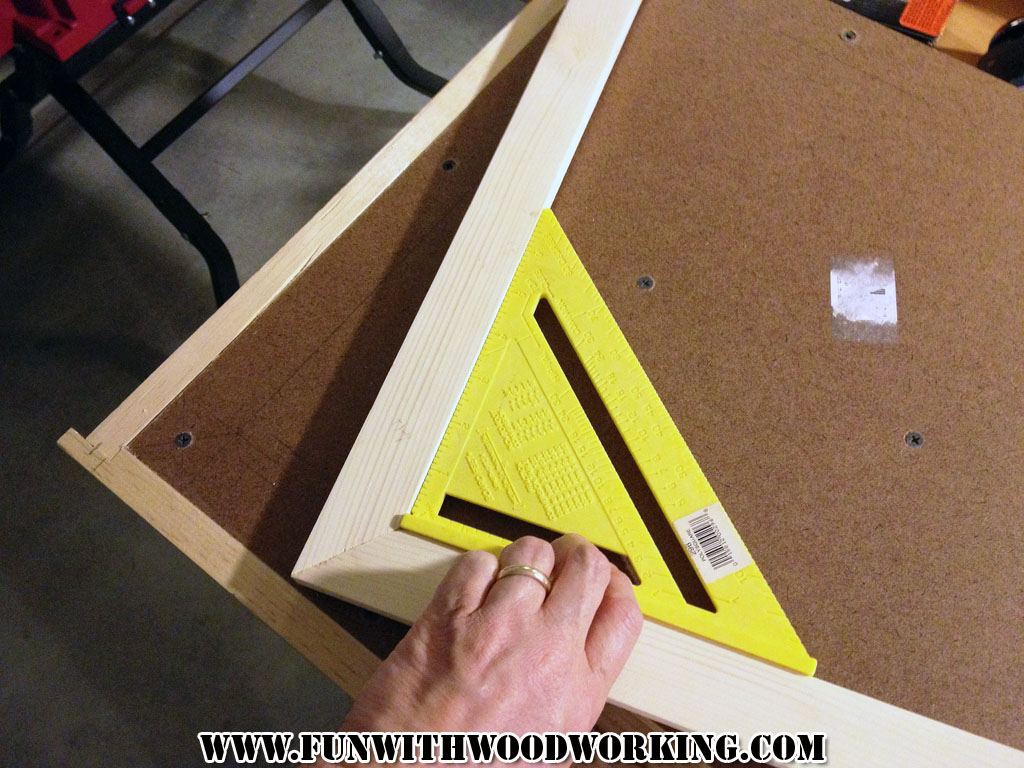
I checked the inside of the frame for square and it looked good.
I also put 2 staples in the back of each corner just to play it safe.
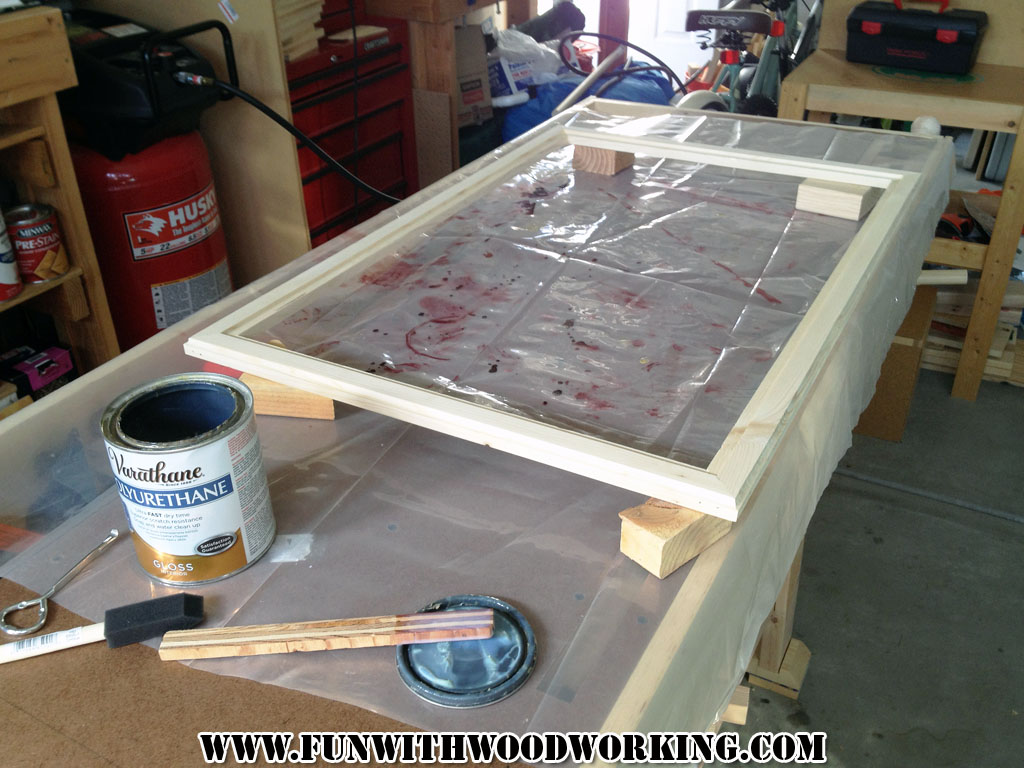
I applied 2 coats of polyurethane with a light sanding between each coat.
I marked the top for center
and hammered in a simple hanger. (I can’t think of the name of it right now)

I used hot glue on the back of the board to attach it to the frame.
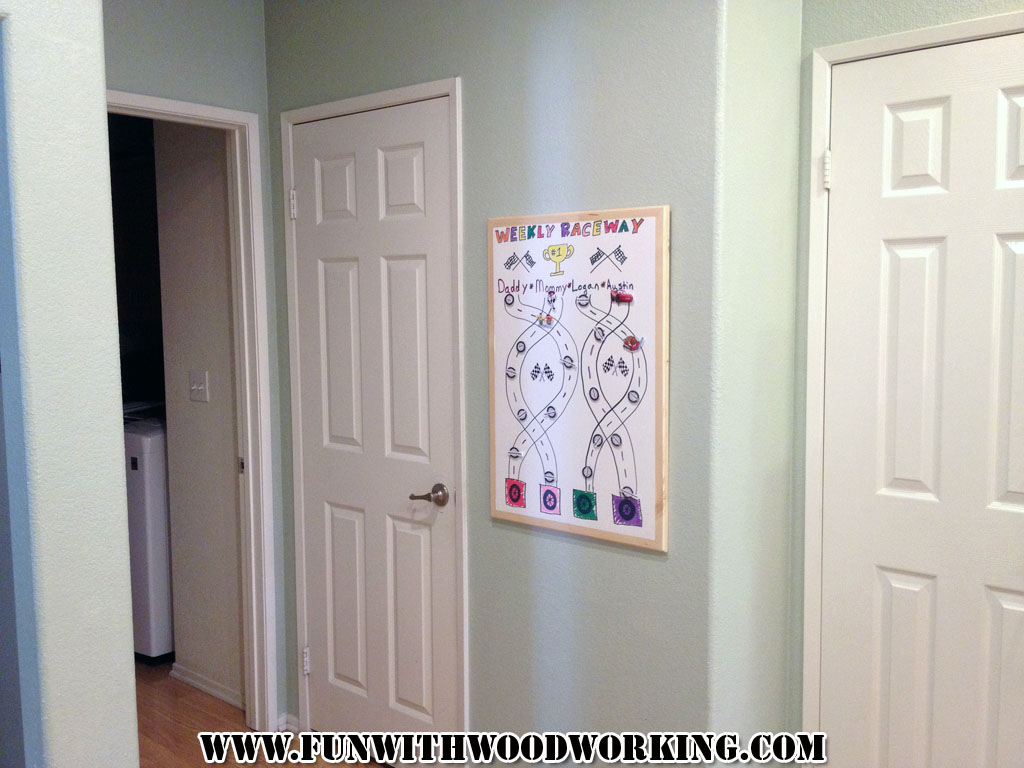
Here is the completed board hanging in our kitchen.
?
