My sister recently bought a used table on Craigslist but it only came with 3 chairs so she asked me to make her one. Her only request was that it be 17″ tall and flat black to match the other chairs. I did some looking around on the web and found the traditional 5 board bench design. I also found Charles Neil’s video on YouTube and figured that I could build a variation on that design. It also gave me an excuse to try out the new bandsaw. You can download a free sketchup file of this project in the downloads section of this site and you can also watch a video of me building it here: http://youtu.be/1_hz2n7v9ss
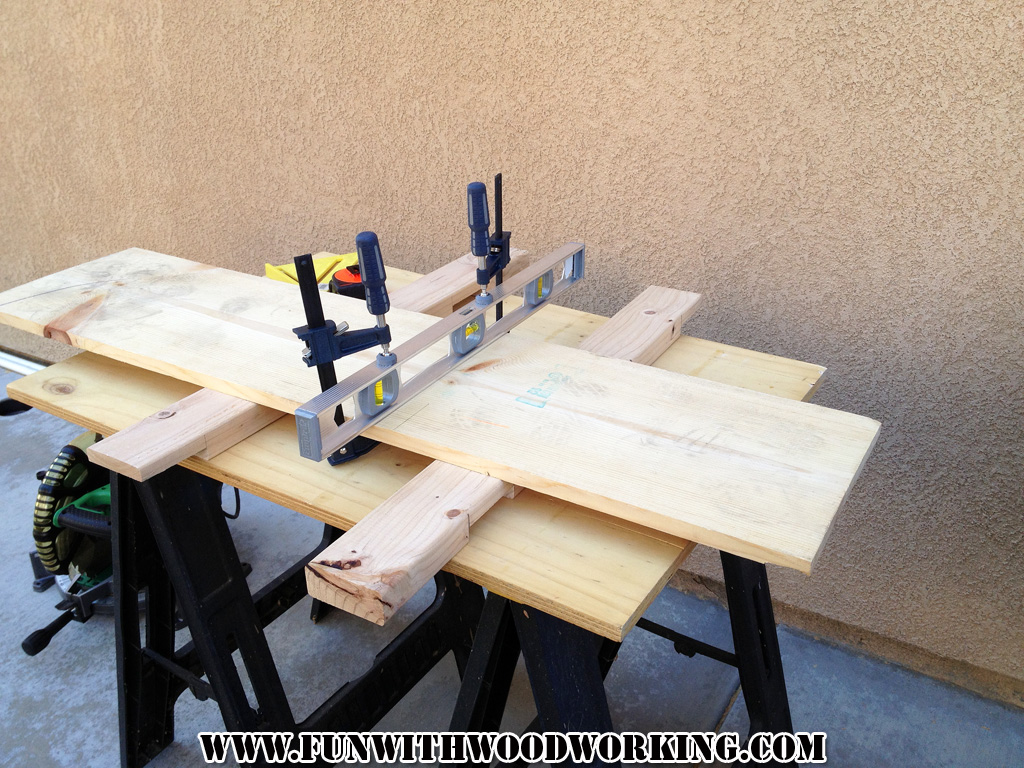
I started by cutting the legs to rough length using my little cordless saw. I don’t feel safe cutting
pieces that long on my contractor table saw.
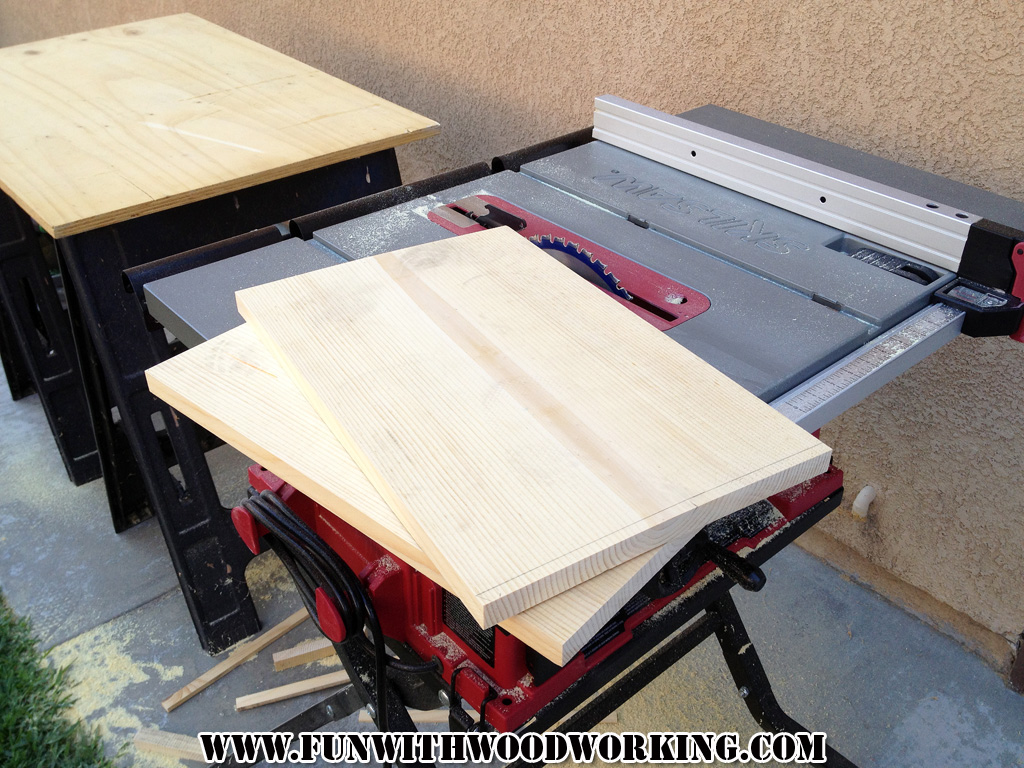
I then cut them to length and width on the tablesaw.
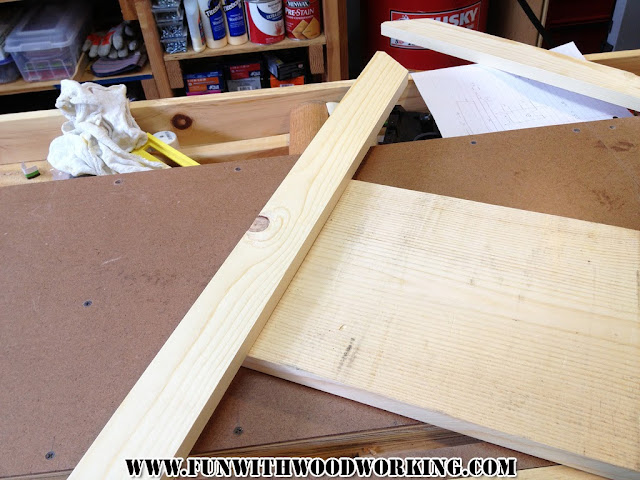
Here are all the pieces cut to size. There is 1 extra 1×6 in this picture because I was originally
going to put a support shelf under the seat but the legs are slightly bowed and it didn’t match
up when I cut the shelf straight so I decided not to use it.
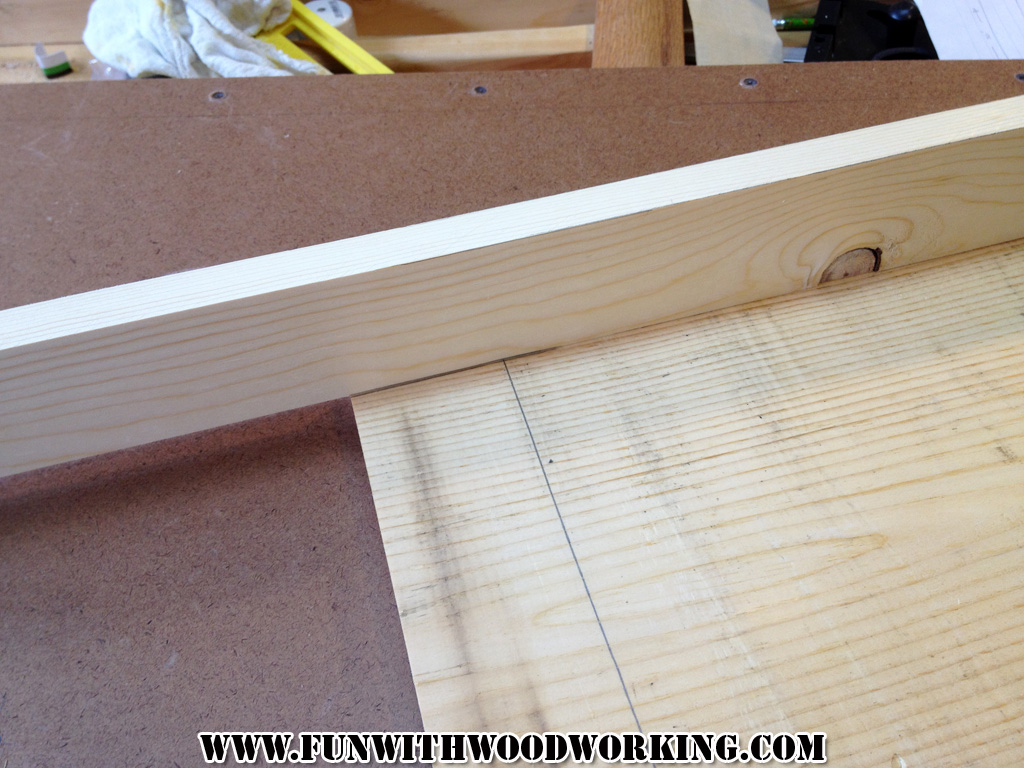
I used 1 of the side aprons to mark the notches on the legs.
This notch will be cut out and the side apron will rest in it.
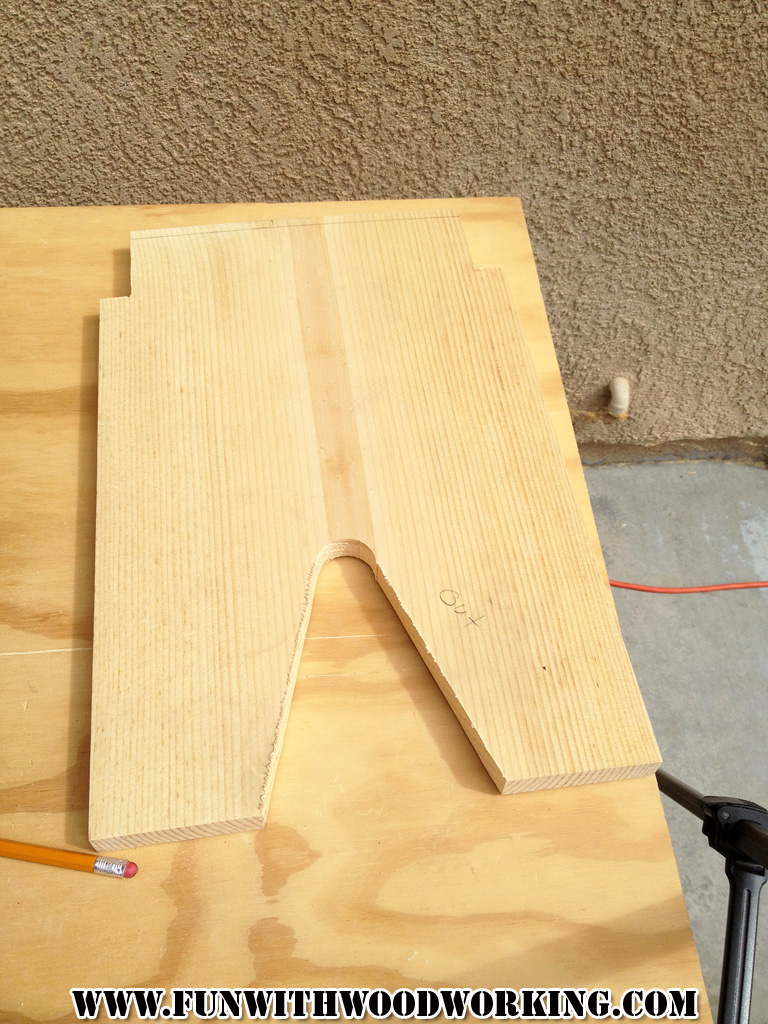
I then marked in 3″ on the other end of the board for the width of the bottom leg.
I marked the center of the board at 5″ to drill a hole later.
I then glued the aprons to the top pieces.
I drilled out a 1 1/4″ hole at that 5″ mark. It is recommended that you drill a hole rather than just cut a “V” there so that the board doesn’t split later on.
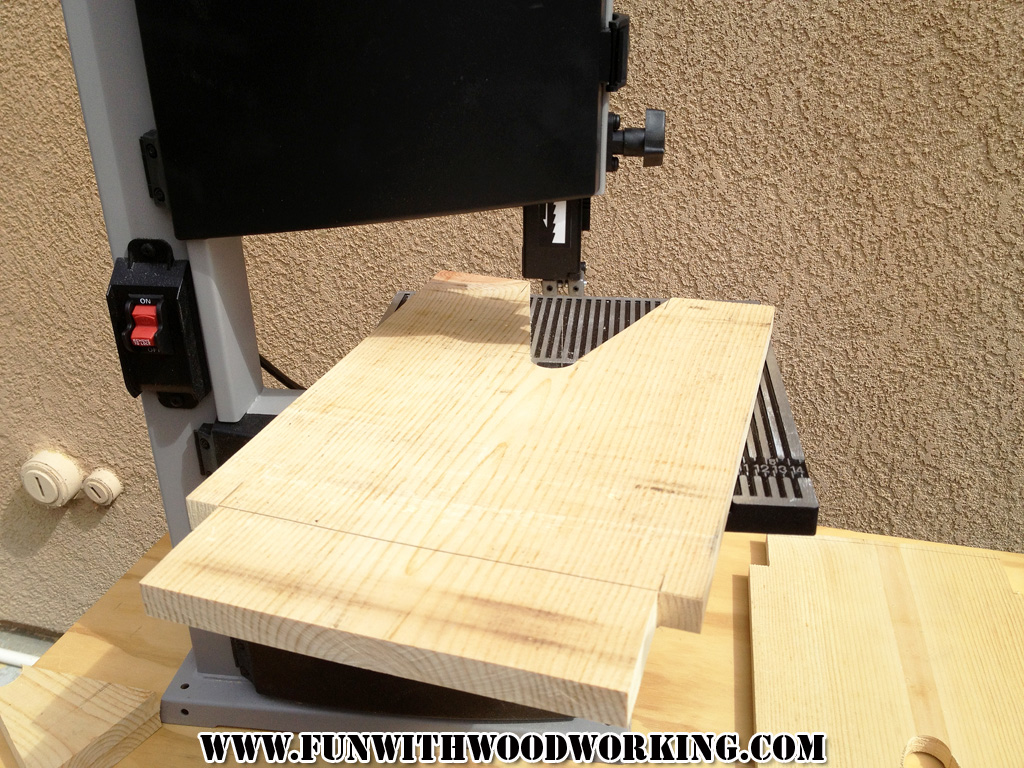
I then drew a line from each side of the hole down to the 3″ mark that I made earlier.
An d cut the shape out on the bandsaw. You could just as easily made these cuts with a jigsaw.
The legs are slightly bowed so I marked them to have the rounded side facing out.
I used the scrap pieces from the legs to make some blocks to glue in later.
I used my little sanding wheel on the drill press to smooth the inside of the legs. I found this one at
Lowes for under $10.
I then rounded over all the sides not getting glued to something else.
I sanded everything before assembly. I also only sanded it to 120 because I am going to paint it.
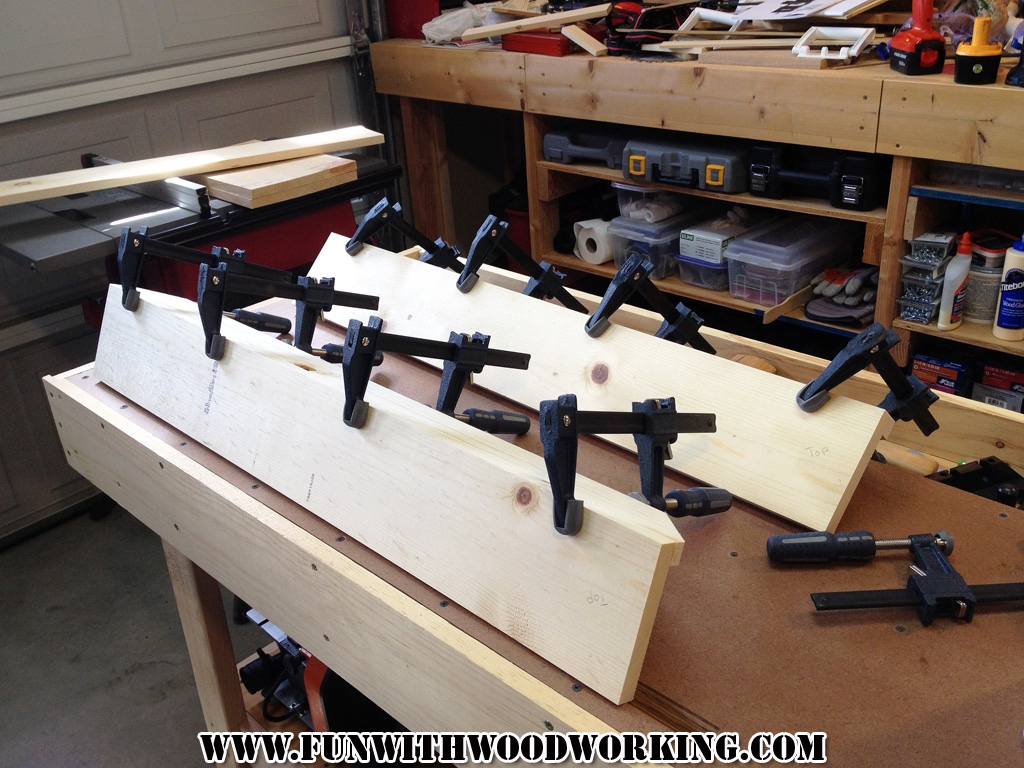
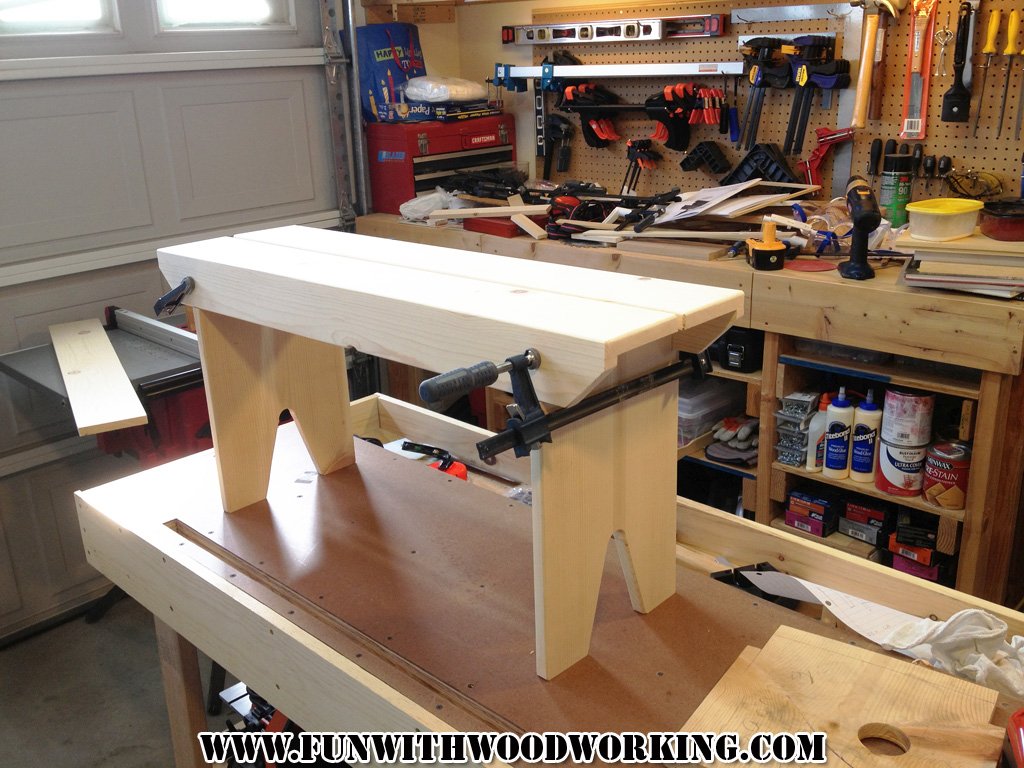
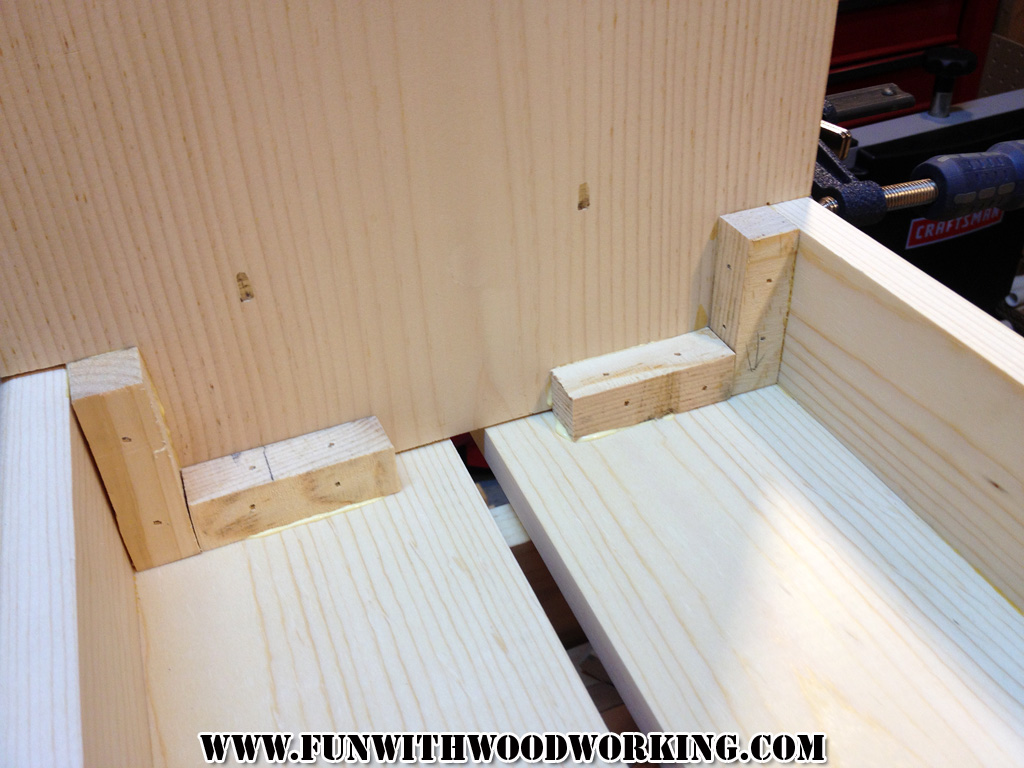
I clamped it up to see what it was going to look like.
I used a scrap piece of 2×4 as a spacer for the ends.
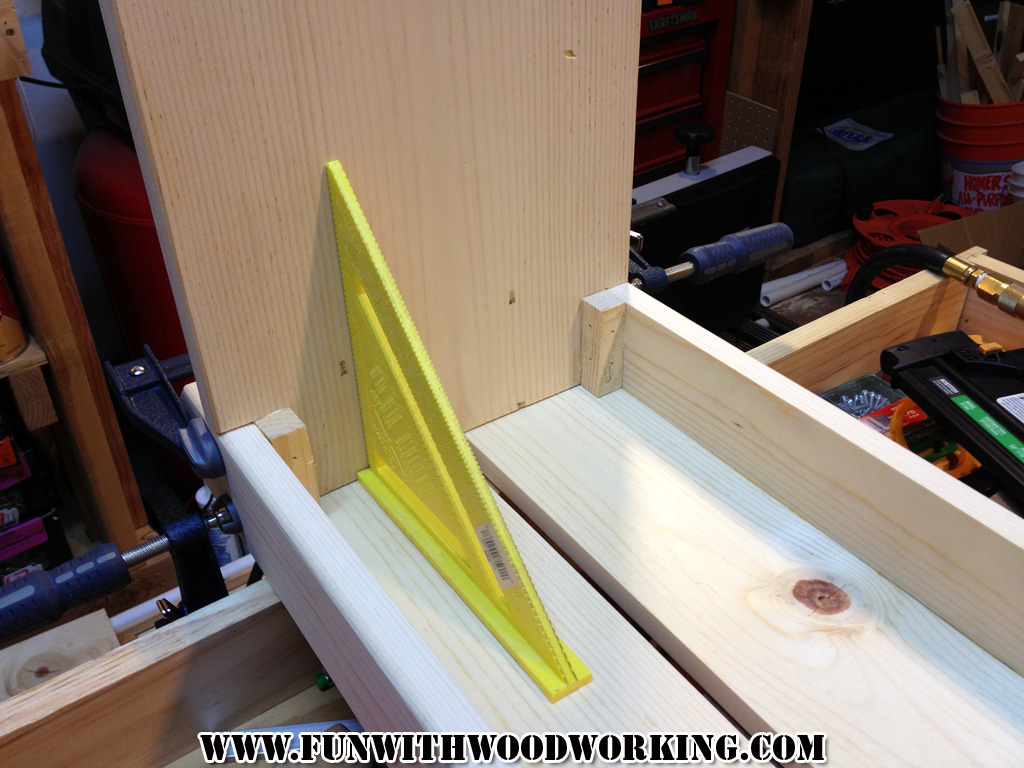
I glued the legs to the top/apron pieces and then made sure that they were square before clamping them up.
Here are those block that I cut out earlier.
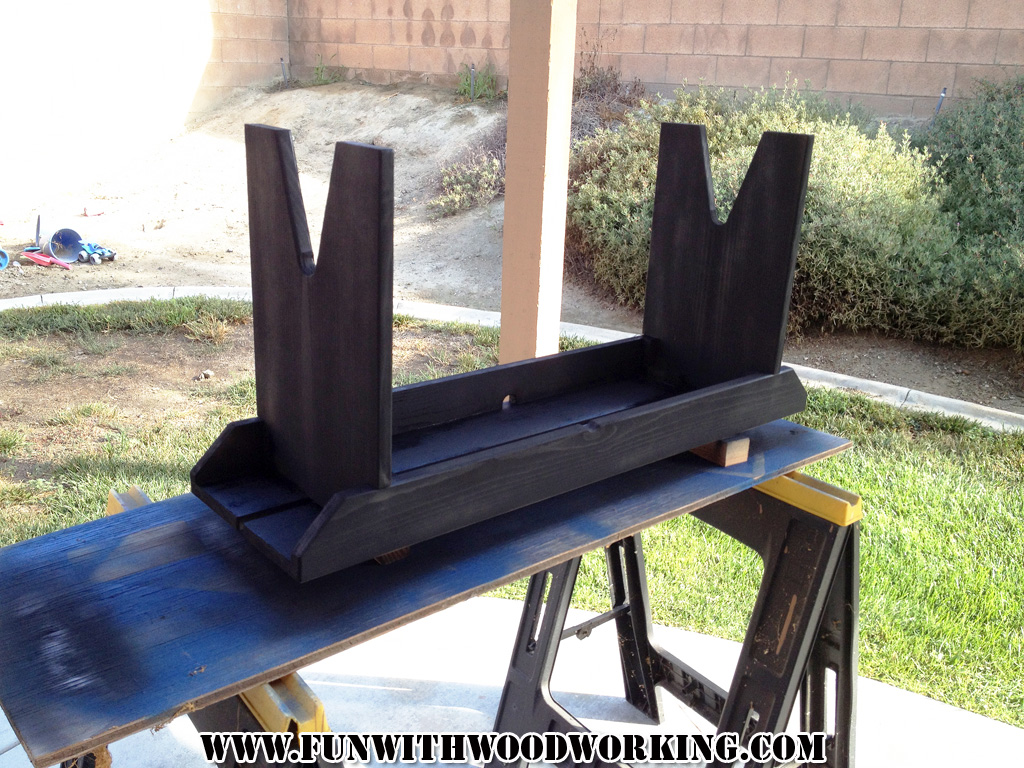
I took it out back and spray painted it flat black.
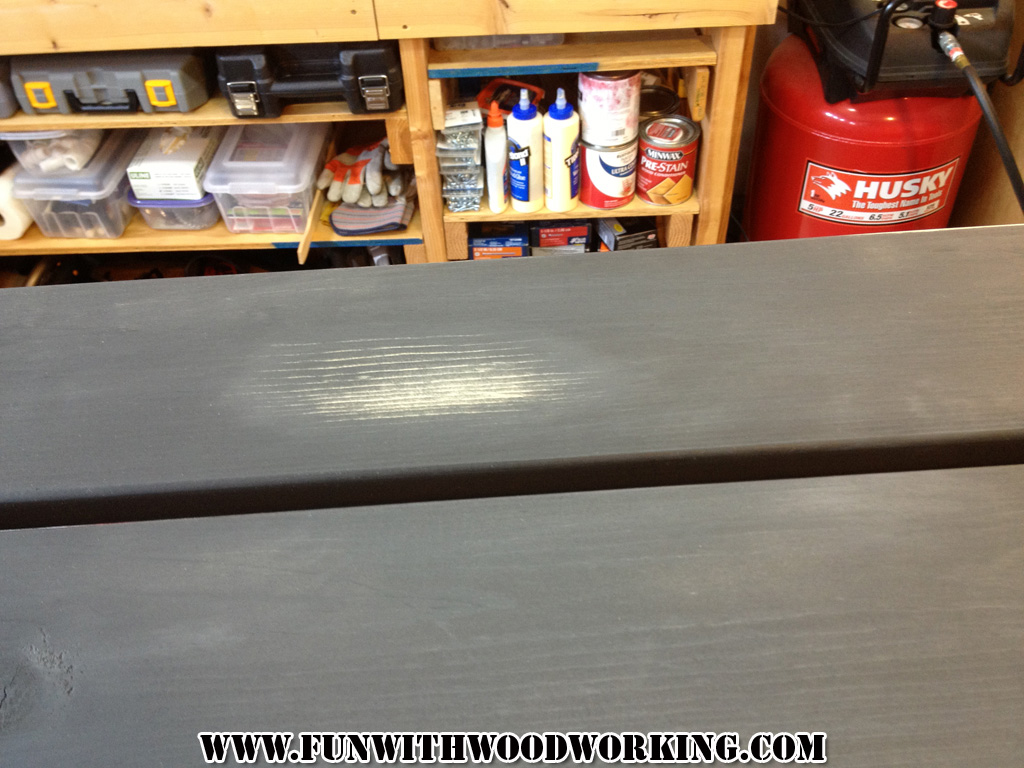
I sanded the whole thing with 220 to smooth it out and also gave it some distressing to make it
look a little older. I’m not a big fan of over distressed projects so I tried to keep a
semi-light touch.
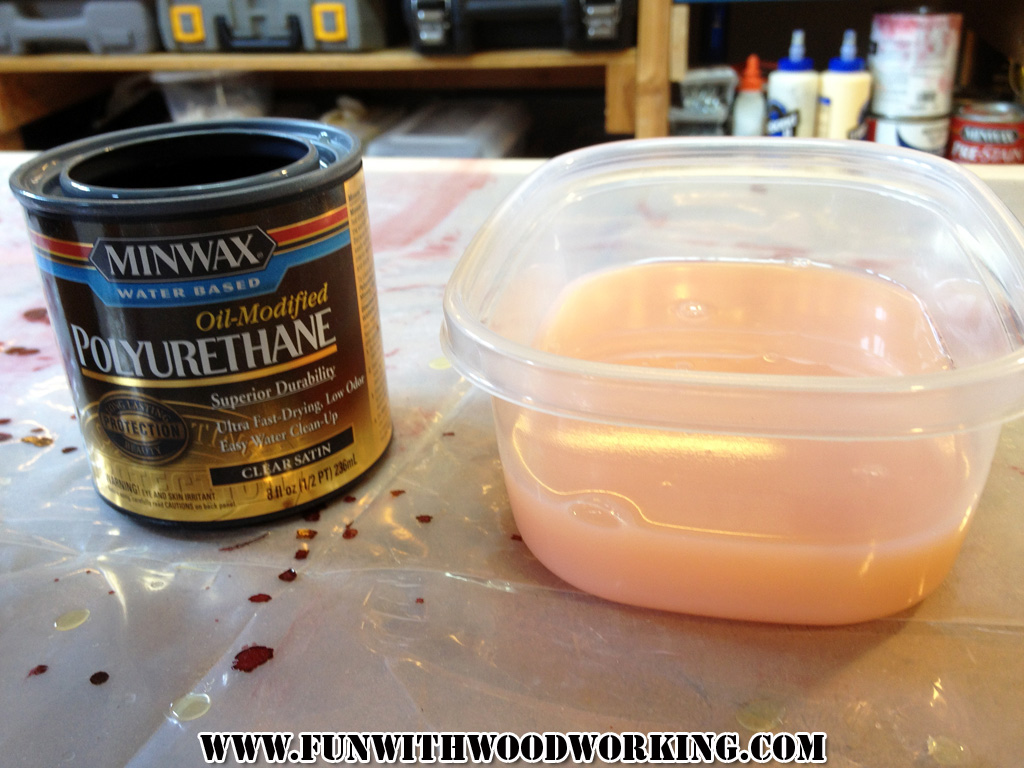
This was my first time using satin poly. I’ve only used gloss up to this point.
I ended up putting 4 coats on the top and aprons and 3 coats on everything else including the underneath. I also put some felt feet on it but forgot to take pictures.
?