Project – The Purple Heart Shaped Box
Today I’m going to show you how I made my wife a Purple Heart Shaped Box for Valentine’s day.
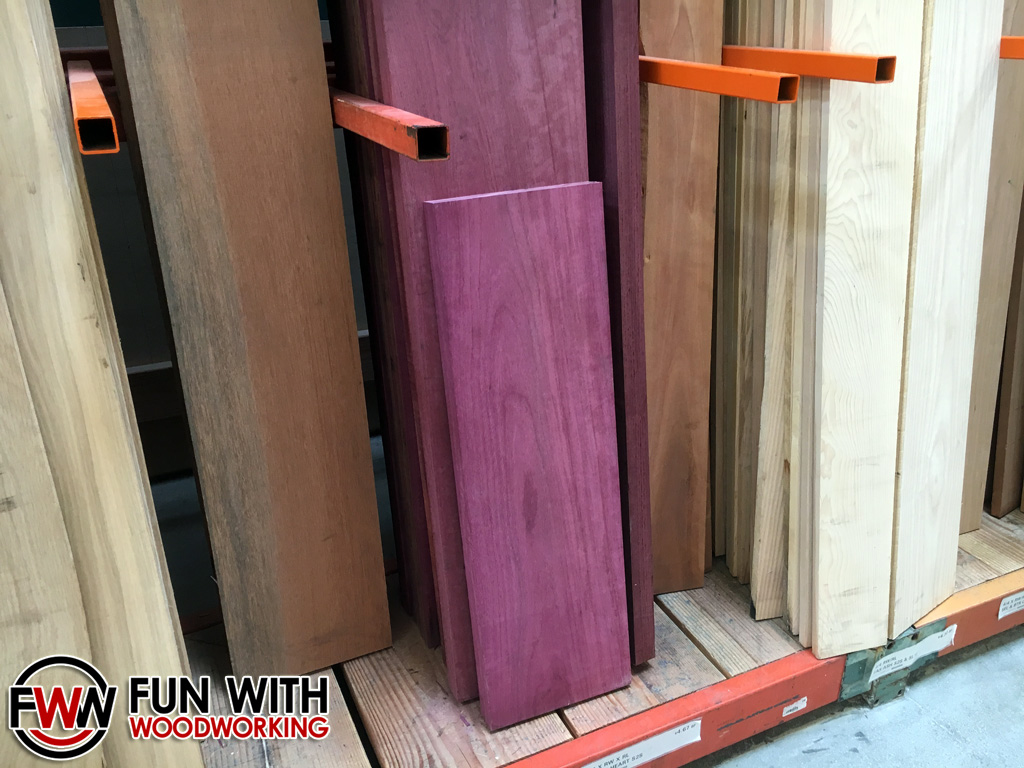
My first step was to go to my local lumber yard and pick up a big chunk of 28″ x 9 1/2″ x 7/4 purple heart for a little under $22.00.
I then cut 7 1/2″ off the end by making 2 shallow passes. 1 on each side of the board.

My table saw isn’t very strong so I set my fence to 1 1/8″ and ran a shallow cut on one side and then on the opposite side. I raised the blade up a little bit at a time, cut each side, repeated the process, and eventually cut through the whole piece.
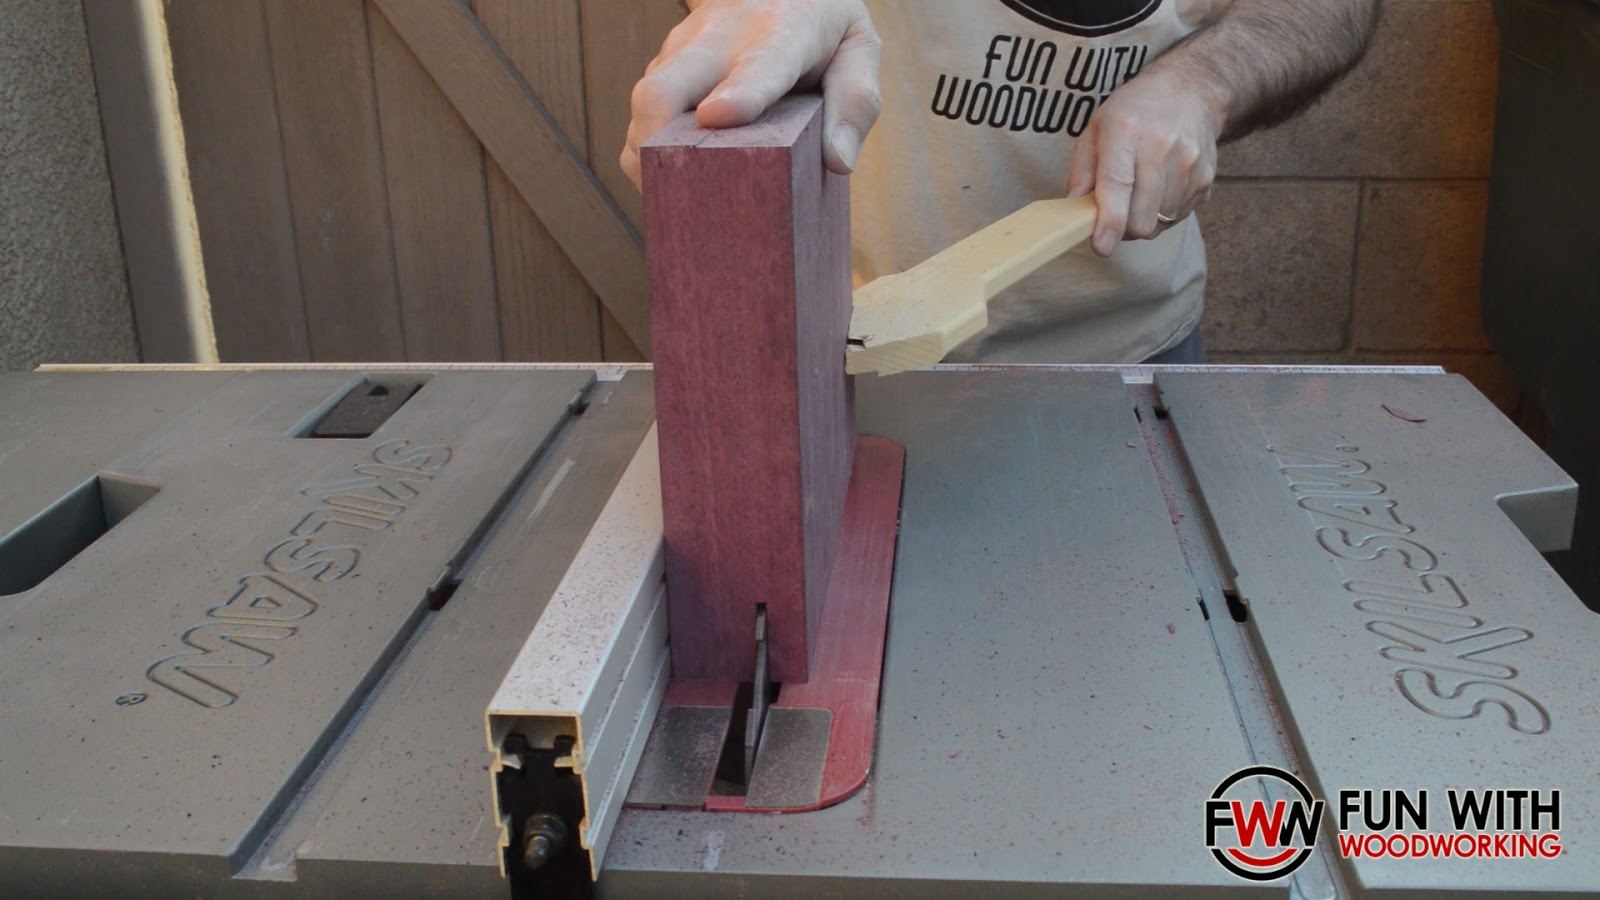
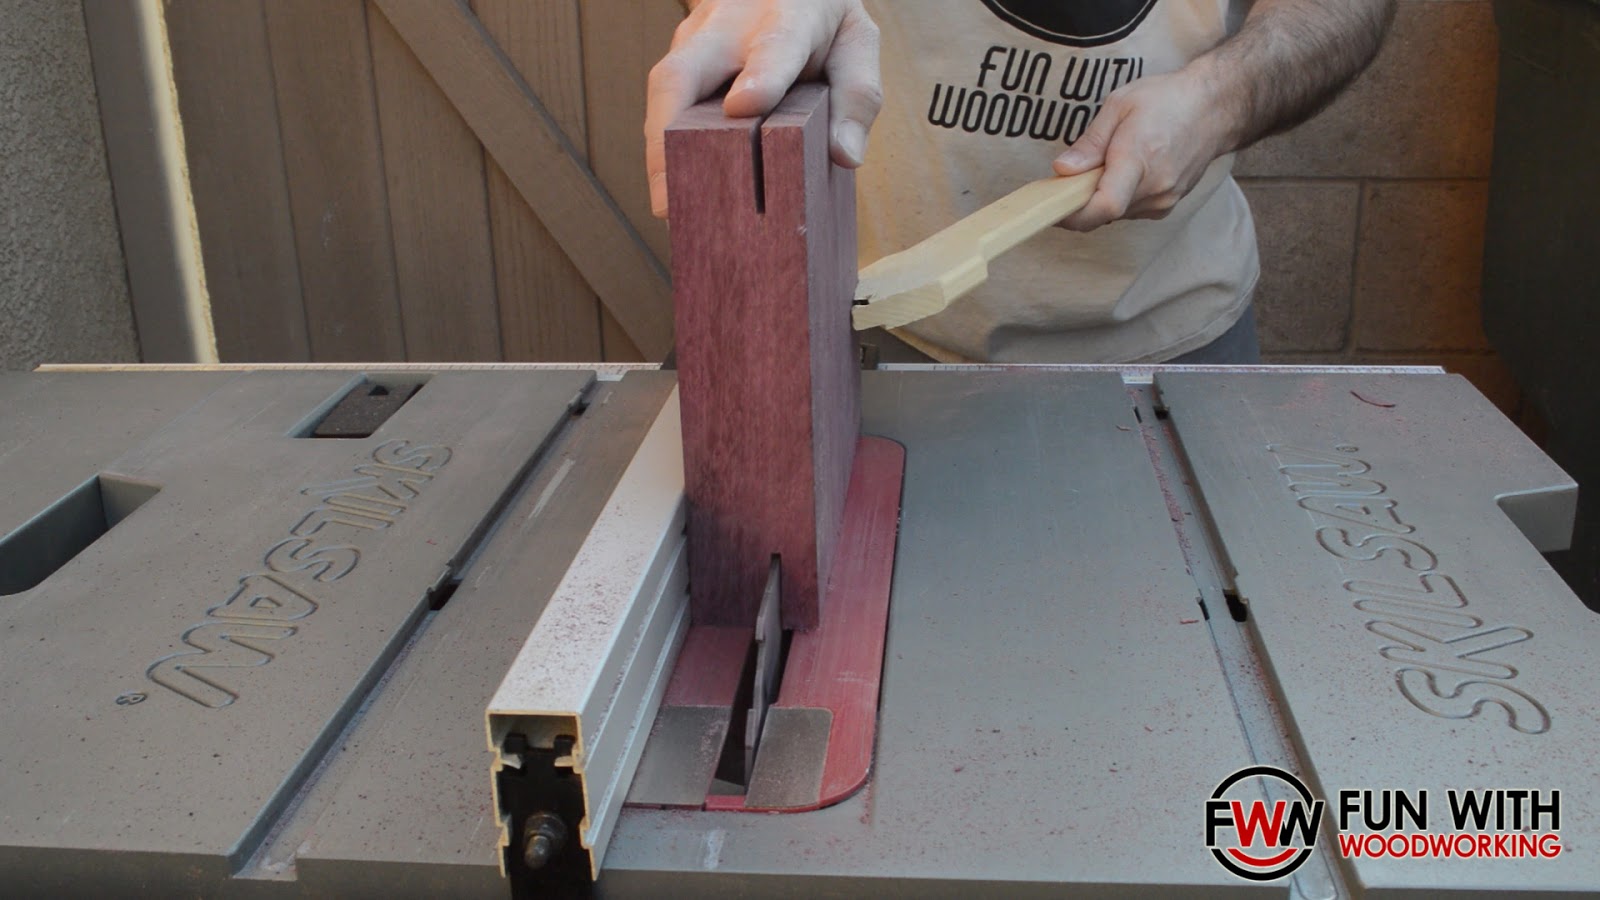

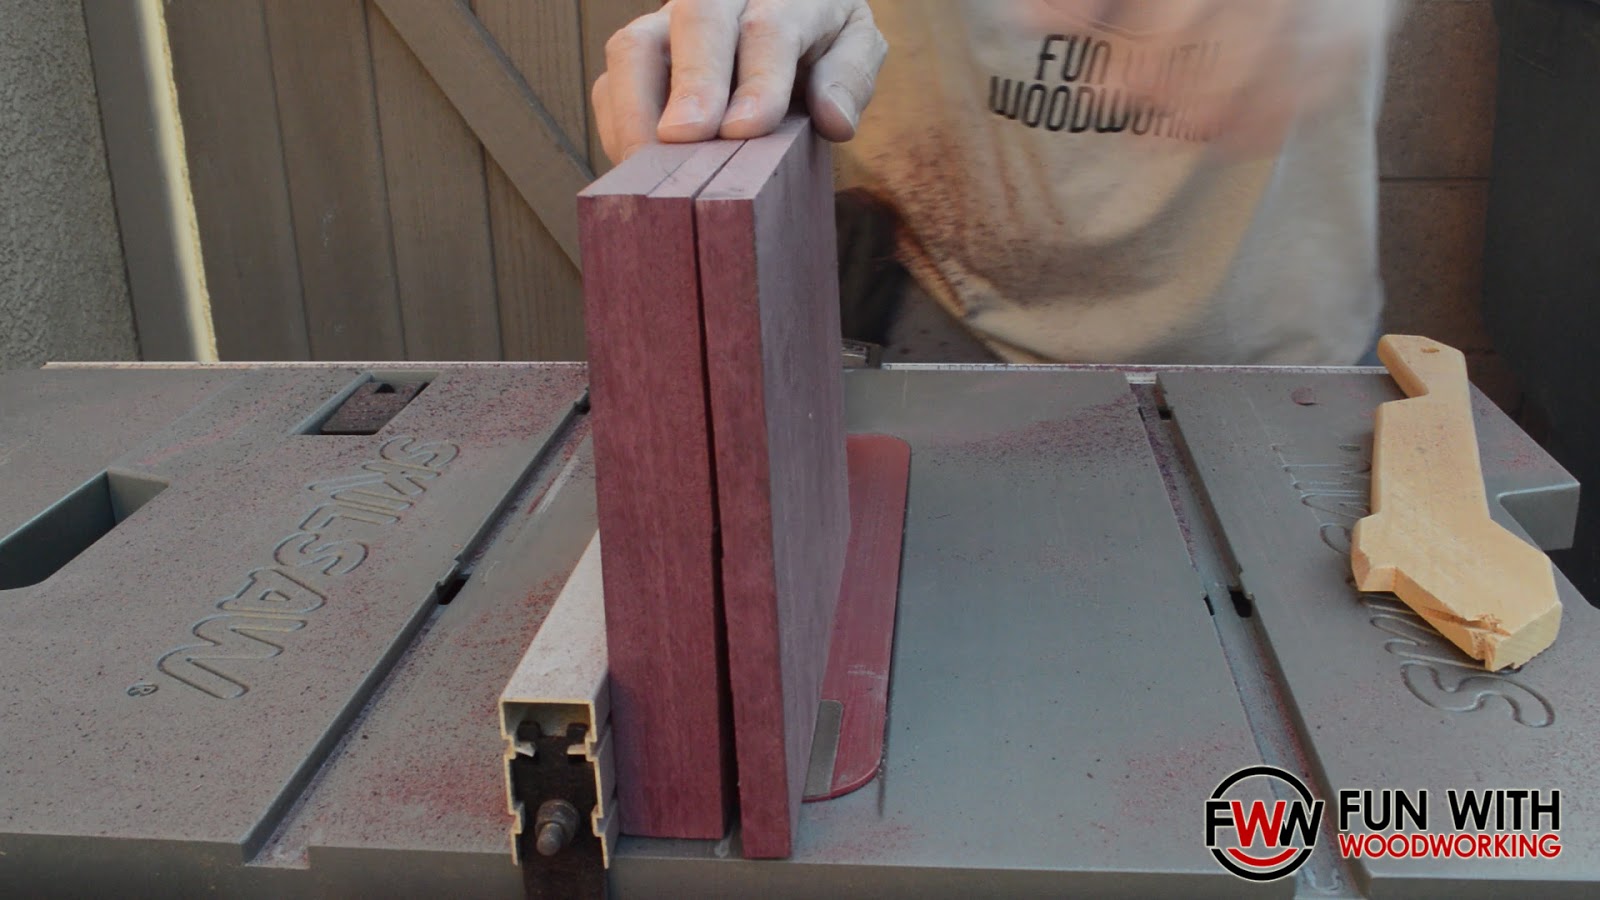
This left me with one board at 1 1/8″ thick for the base and one at 1/2″ thick for the lid.
I have an X-Carve CNC machine so my next step was to design a box using the free Easel software on the Inventables website. They had a heart shape already in the software so I made the lid by nesting 3 hearts on top of each and the base by nesting 4. The lid is on the right and the base is on the left. The center heart of the lid is set to 0.025″ to level out the wood. The white part around it is set to 0.125″ (1/8″) to create the lip. The black outline is set to 1/2″ to cut the outline of the heart.
The base on the left is cut similar except that center is cut down to 0.850″ for the tray. The other hearts are there to level the lip and cut the outside of the heart.

Next I secured the 1/2″ piece of Purple Heart for the lid to the base of the CNC machine and cut it out. The heart on the left was my first try. My wife came out to the shop to ask me a question and I bumped the CNC machine on my way to talk to her and knocked it out of alignment. The second try cut with no problems.
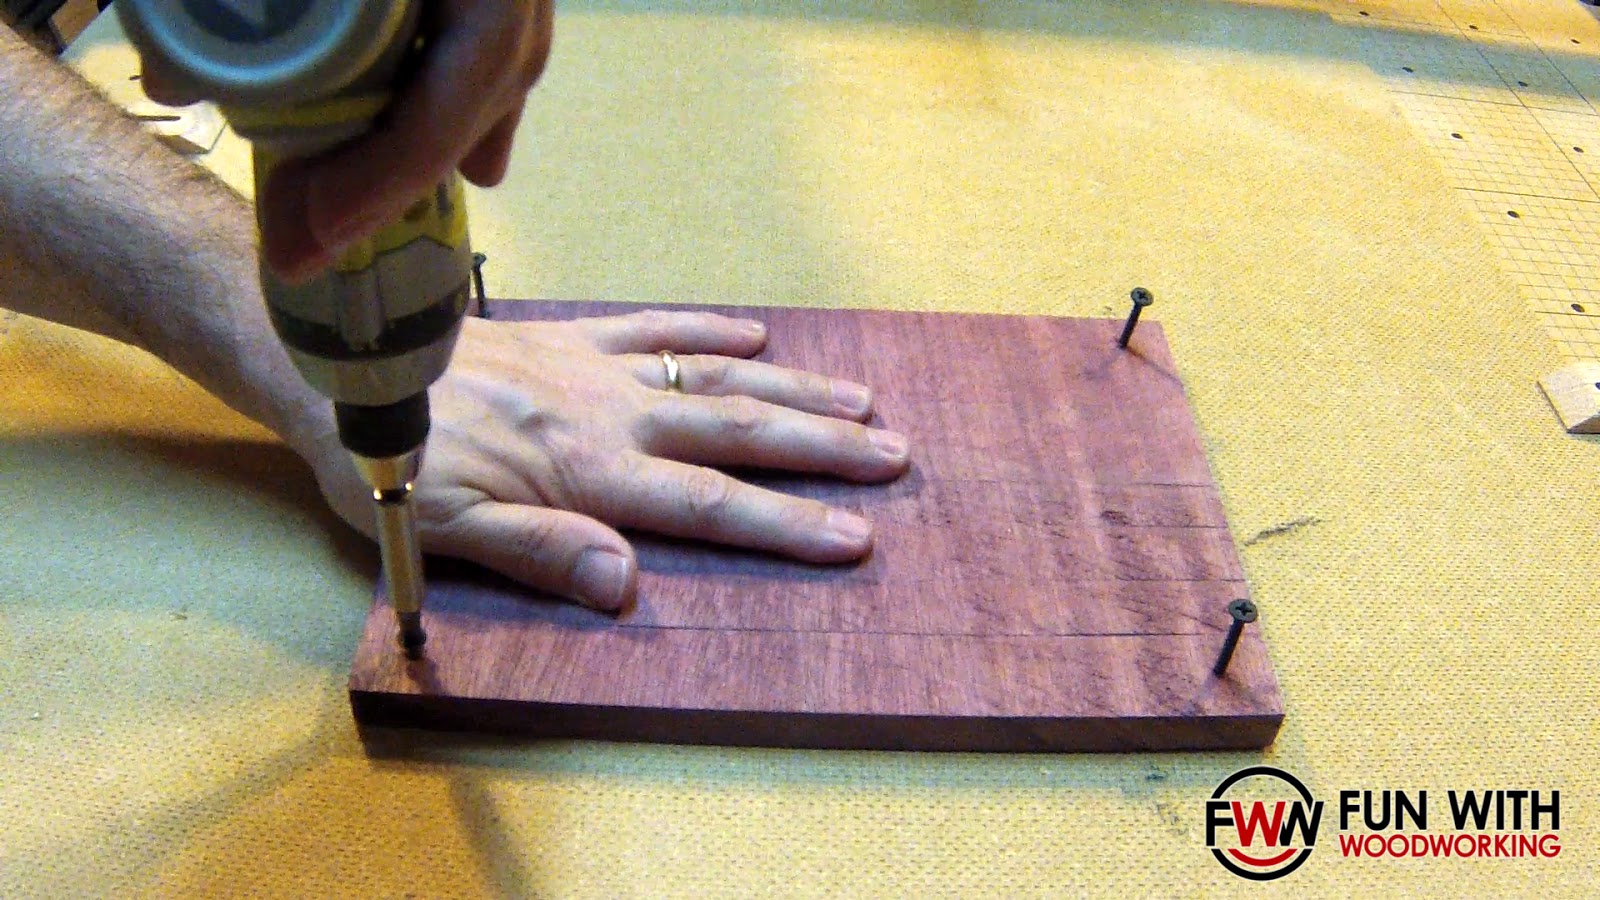
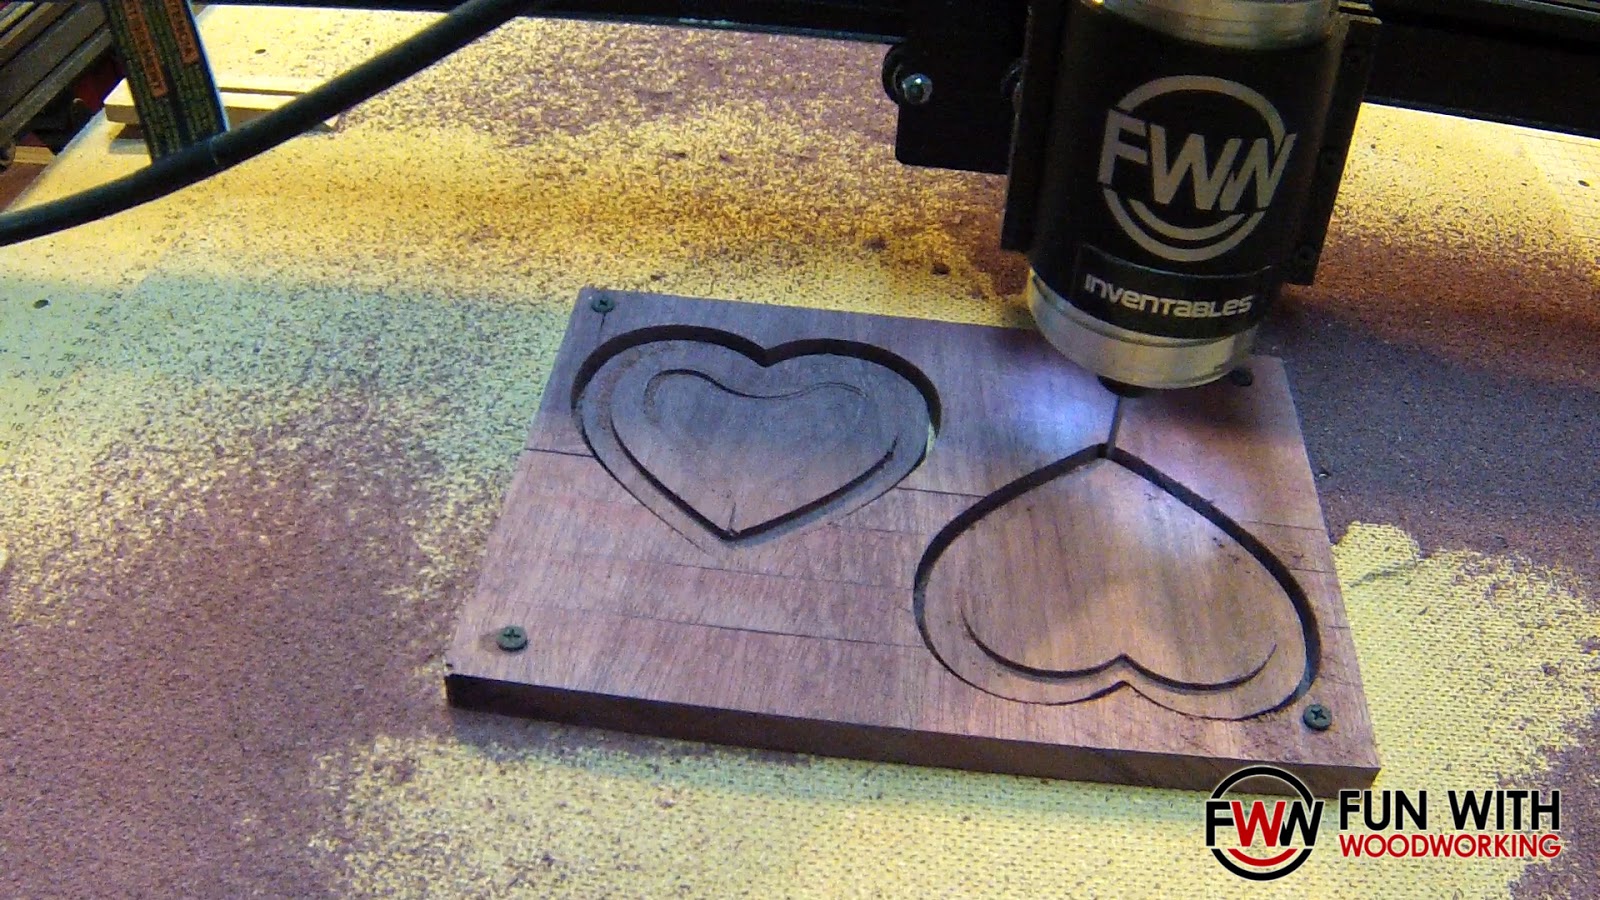
I attached the 1 1/8″ piece and cut out the base. When I set up the software to cut the first tray I forgot to change the cut settings from Pine to Hardwood and it cut too fast and too deep and snapped the 1/8″ bit that I was using. I was able to cut a larger heart shaped tray the next day and salvage that part of the wood.

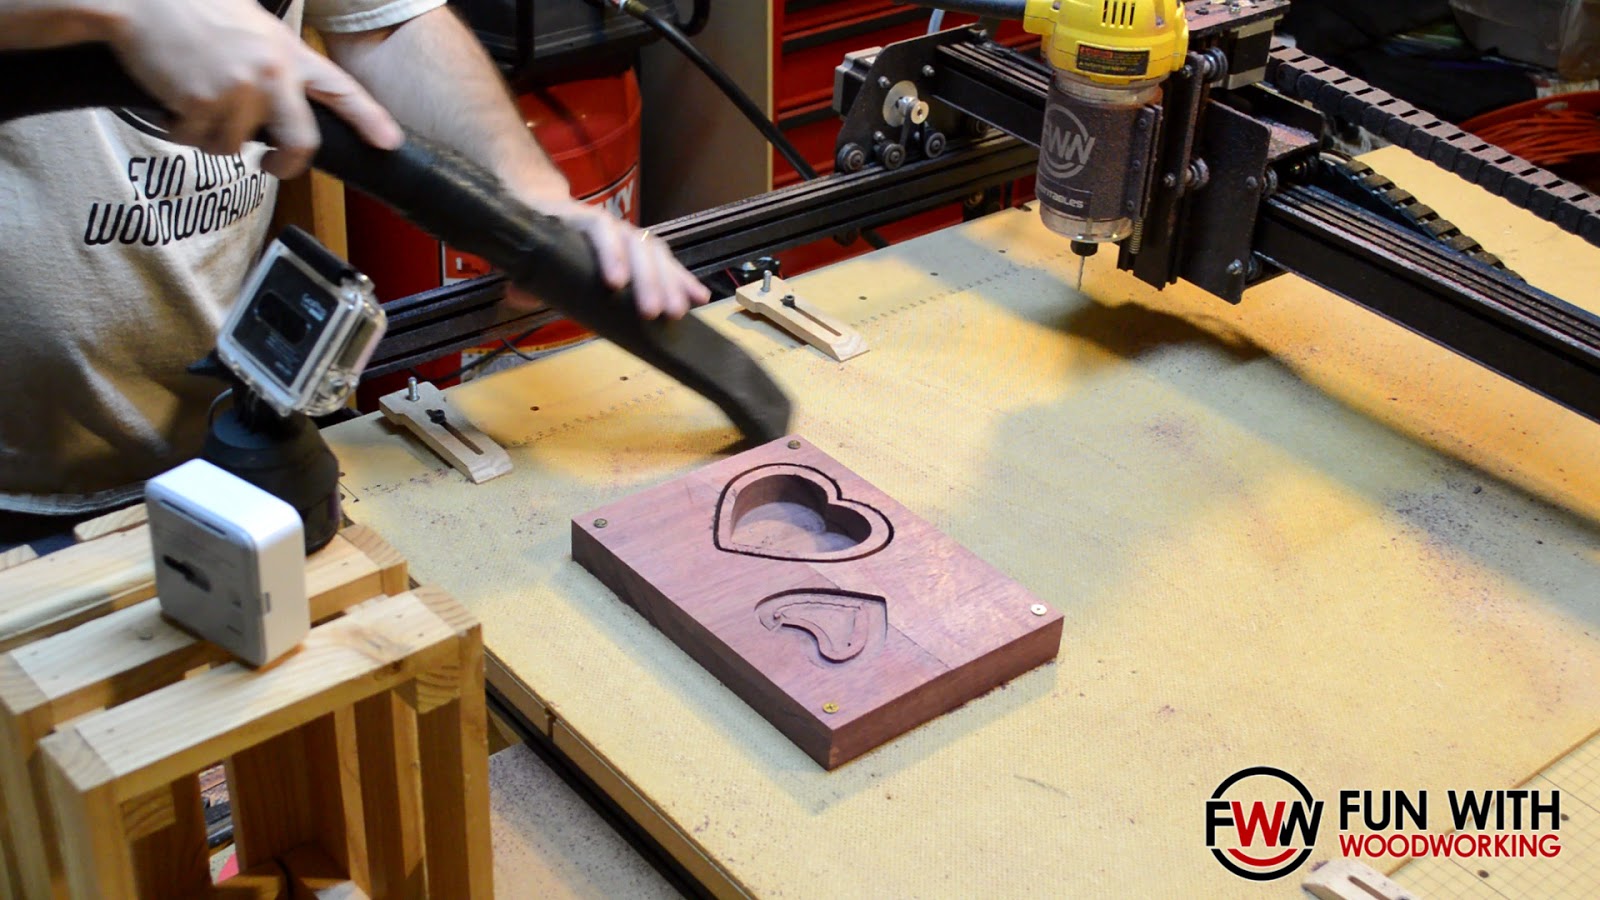

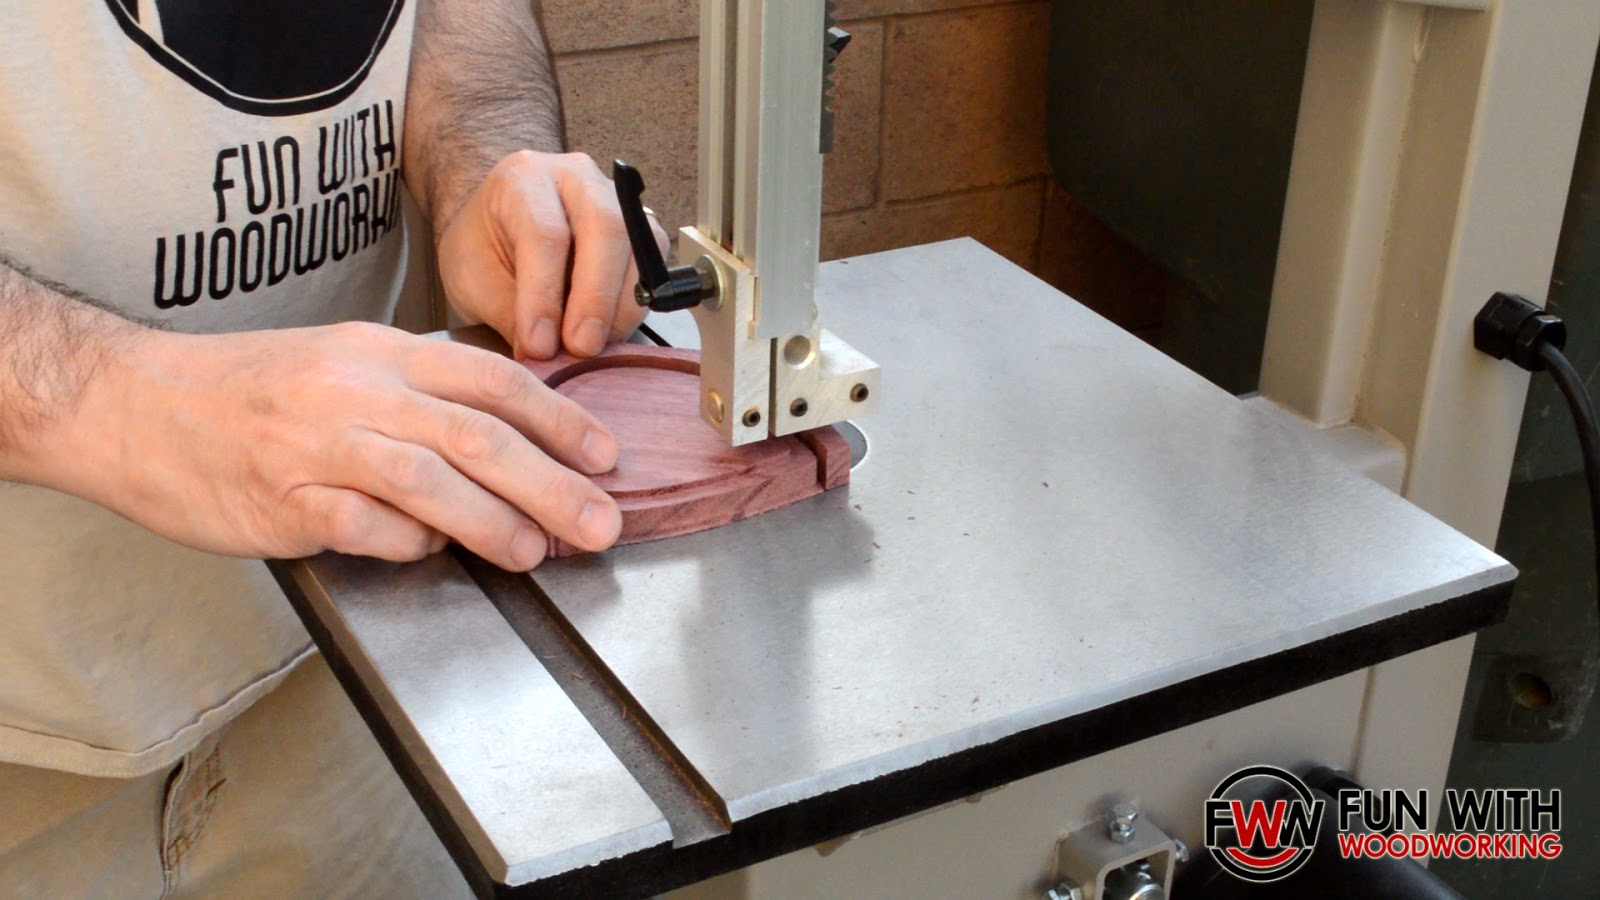
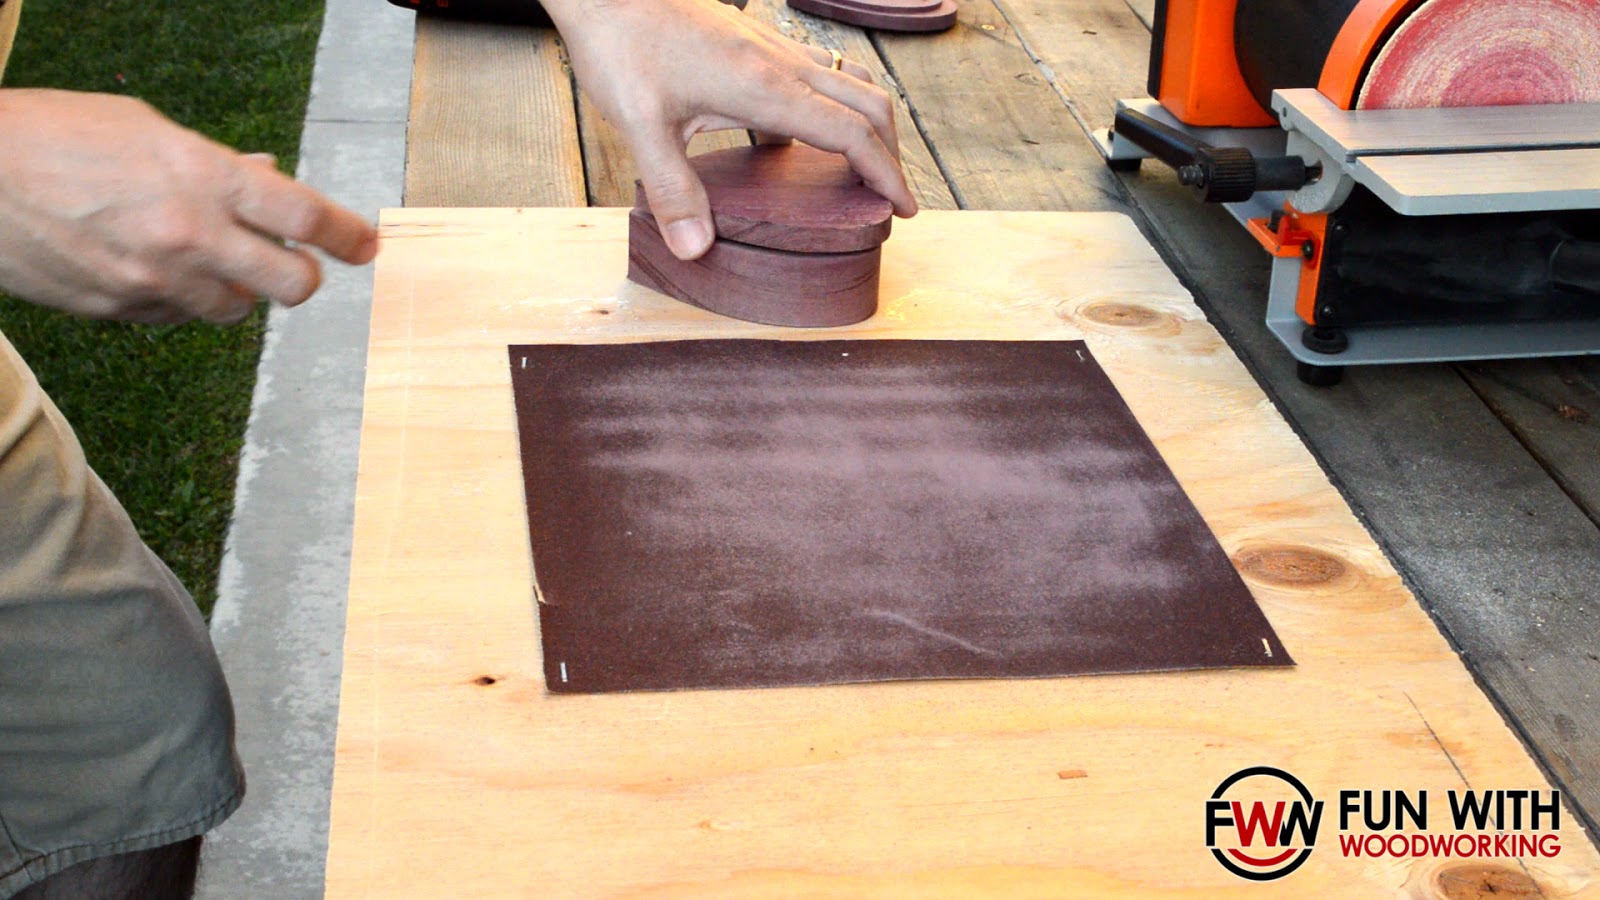
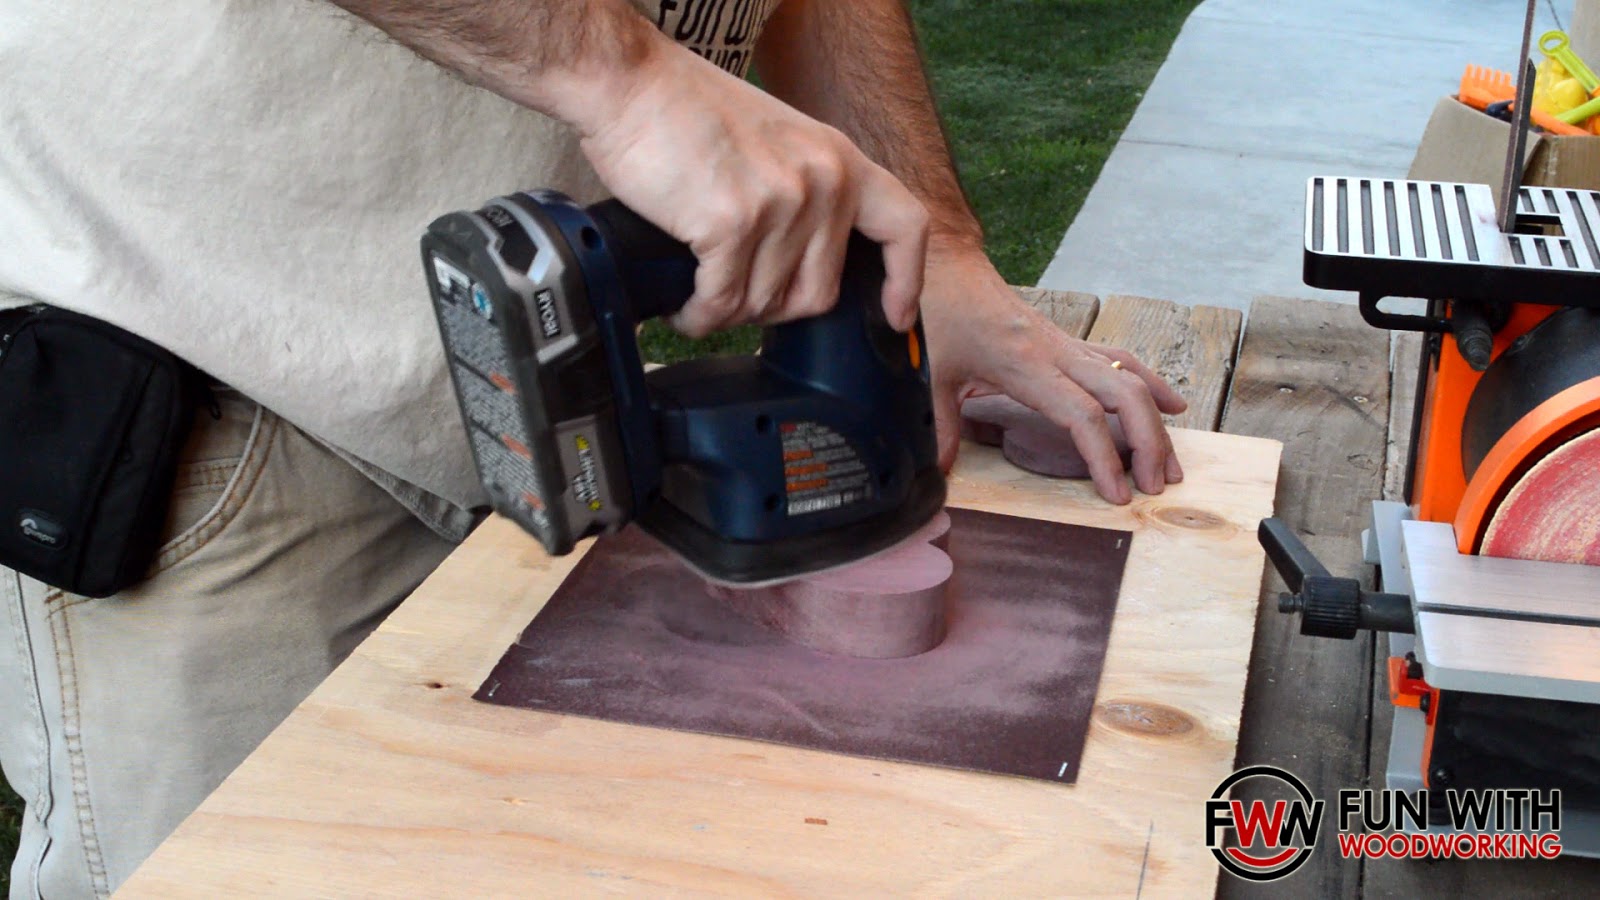
Once I had both pieces CNC’ed I finished cutting them out on the band saw and cleaned up the edges on my disc/strip sander.

I spray glued and stapled a sheet of 100 grit sandpaper to some plywood to be able to sand the bottom of the lid and the top of the base flat to each other.
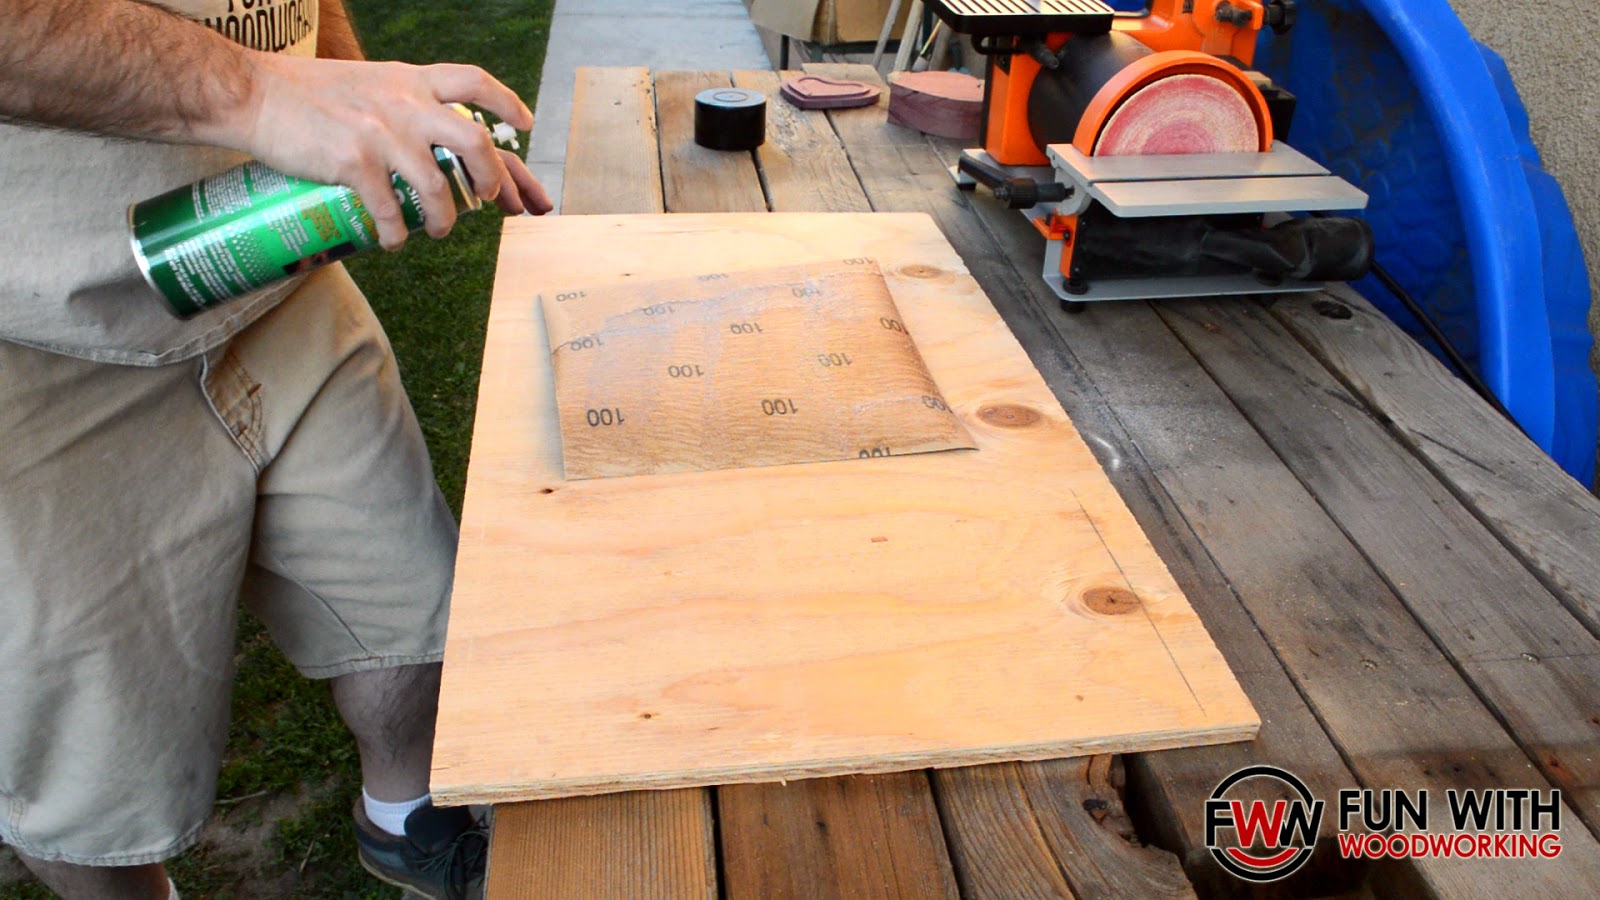

I then sanded the rest of it to 120 grit, 180 grit, and then 220 grit.


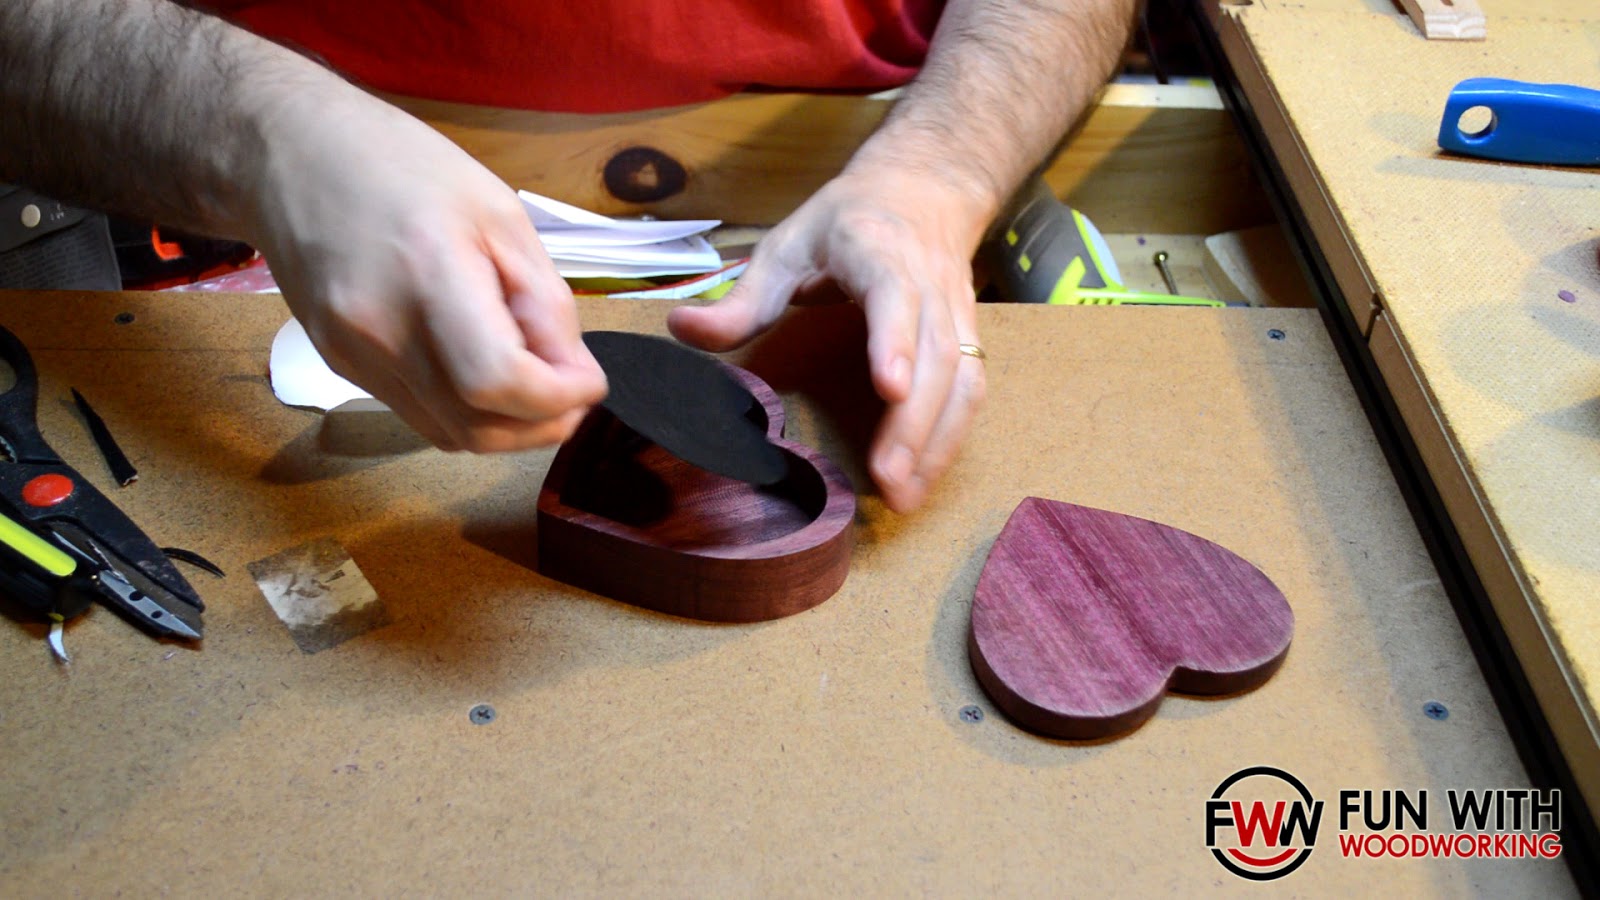
Everything that I read on the internet said to not use a water based finish on Purple Heart so I picked up some Tung Oil and applied 2 coats according to the directions on the can.


Once the finish was cured the final step was to trace out and cut some adhesive backed felt paper and apply it to the inside of the base.


If you have any questions feel free to leave them below and I will get to them as soon as I can.

3 Replies to “Project – The Purple Heart Shaped Box”
Alfred07
March 17, 2016 at 2:19 pm
Great job looking forward to replicate it how did you manage to design the heart shape? have you used any particular software? please let me know. keep up the good work.
Donald LeBlanc
March 18, 2016 at 12:02 am
I copied this straight from the article above:
I have an X-Carve CNC machine so my next step was to design a box using the free Easel software on the Inventables website. They had a heart shape already in the software so I made the lid by nesting 3 hearts on top of each and the base by nesting 4. The lid is on the right and the base is on the left. The center heart of the lid is set to 0.025" to level out the wood. The white part around it is set to 0.125" (1/8") to create the lip. The black outline is set to 1/2" to cut the outline of the heart.
The base on the left is cut similar except that center is cut down to 0.850" for the tray. The other hearts are there to level the lip and cut the outside of the heart.
Rock-n H Woodshop
March 30, 2016 at 11:11 am
Great great work Donald! Thank you for linking this to the show! I am glad that we could help inspire to make this blog a reality.