The Mallet is almost done! Finally….
I was finally able to work a little bit more on the mallet this past weekend. All I need to do now is cut off the excess wood from the wedges and give it a final sanding and then apply some boiled linseed oil and it will be finished!
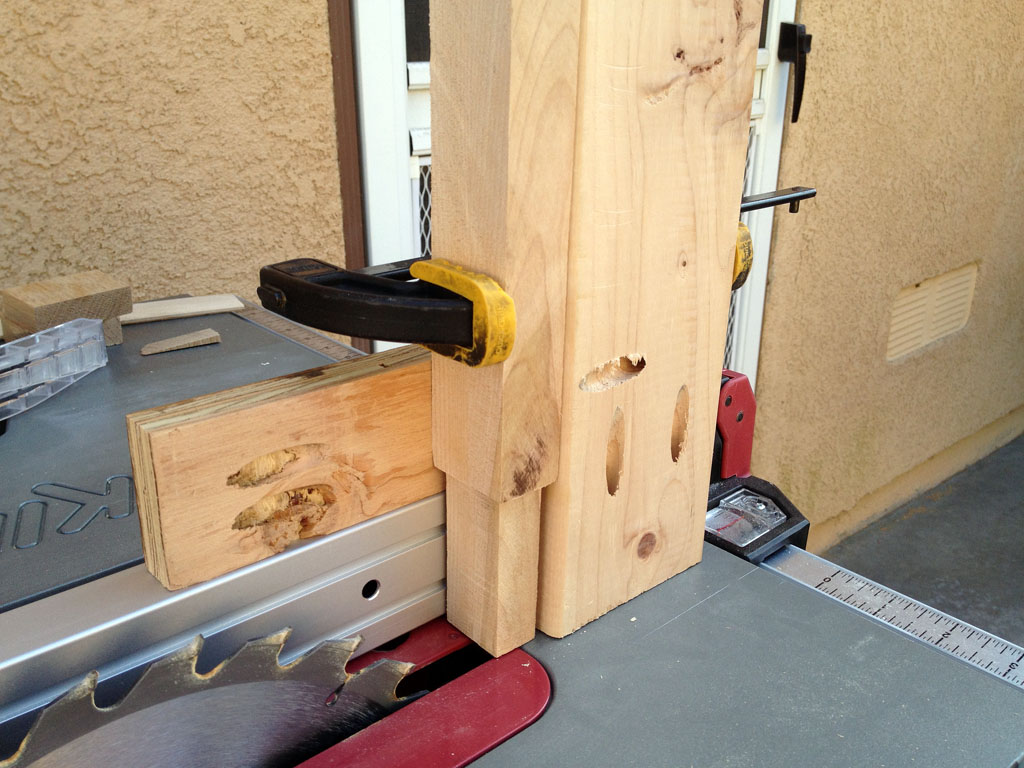
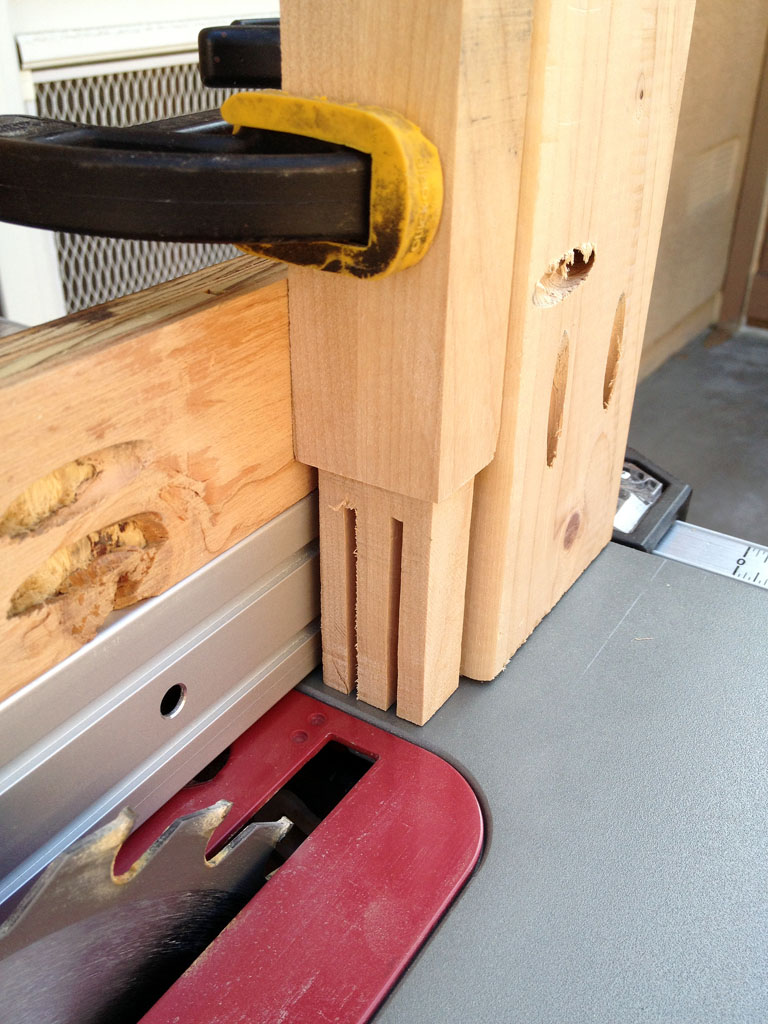
I made a quick jig to cut the slots for the wedges to go into.

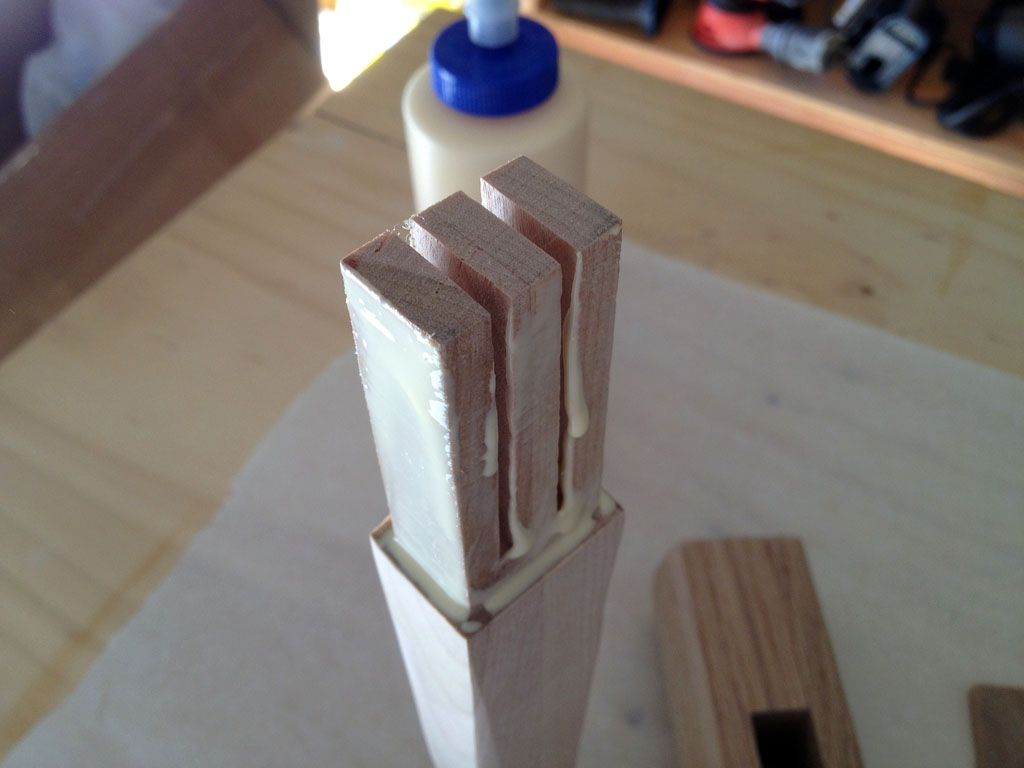
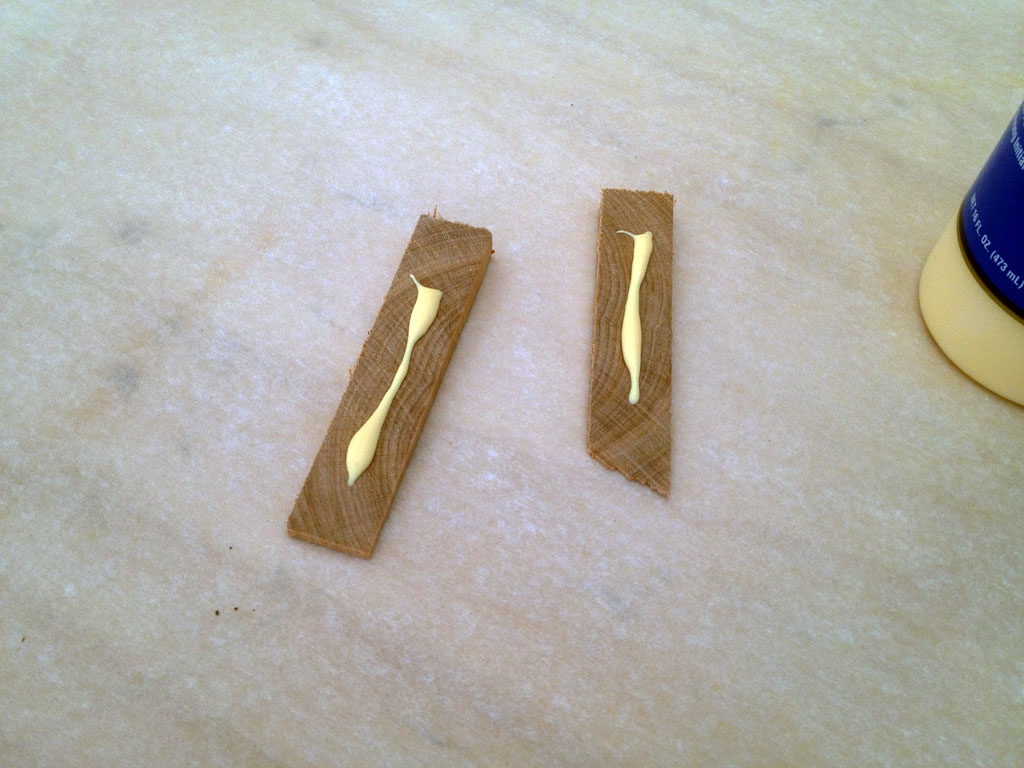
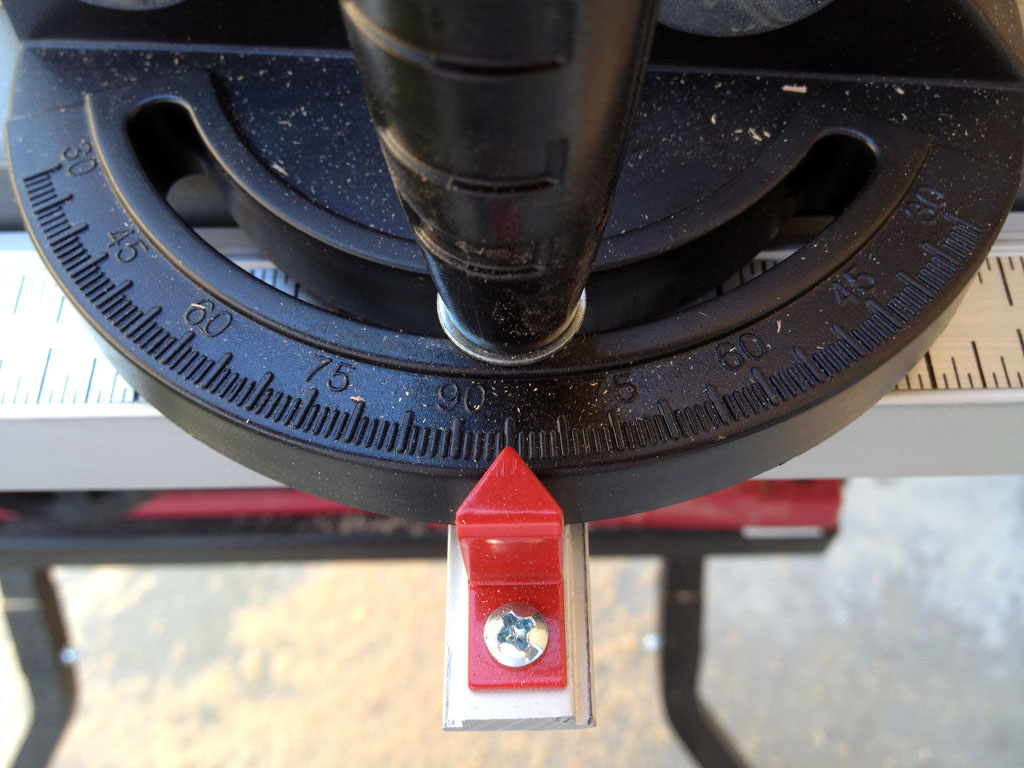
I cut the wedges for the top of the handle at 5 degrees. Next time I think that I will try 3 or 4 degrees.
5 ended up being just a little too big.

5 ended up being just a little too big.
I bought enough wood to make 2 mallets so this is the piece that I am going to
use to make the head of the 2nd mallet. It is the same species that I used for the handle of
my current mallet.

use to make the head of the 2nd mallet. It is the same species that I used for the handle of
my current mallet.

I bought a drum sander kit at Lowes to shape the handle. It is amazing what 50 grit sandpaper can do!
I shaped it with the 50 and then smoothed it with 80 and then 120.
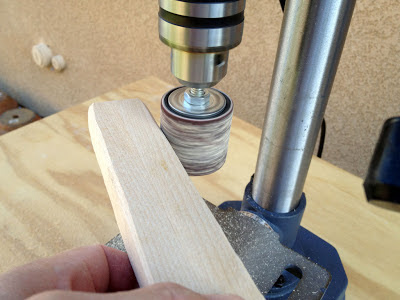
I shaped it with the 50 and then smoothed it with 80 and then 120.


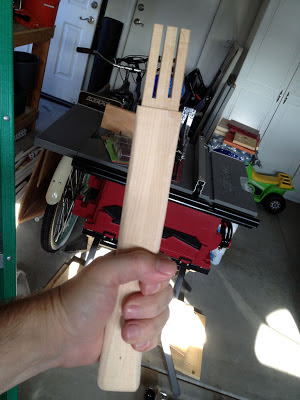
It fits in my hand nicely!

I filed the shoulder down a little so that the head would fit snugly and then sanded everything with
the orbital sander with 120 grit sandpaper.
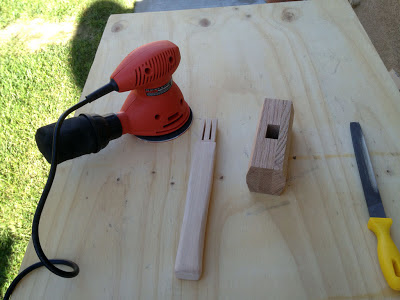
the orbital sander with 120 grit sandpaper.


I glued the head onto the handle and then the wedges into the slots.