Thumb Chair update
I was able to work on the thumb chair and it is progressing nicely.
The plans call for 1×12’s for the seat and back but my local Home Depot never has
1×12’s that aren’t warped so I glued two 1×6’s for the back
and two 1×6’s and a 1×2 for the seat.

The back all glued up.
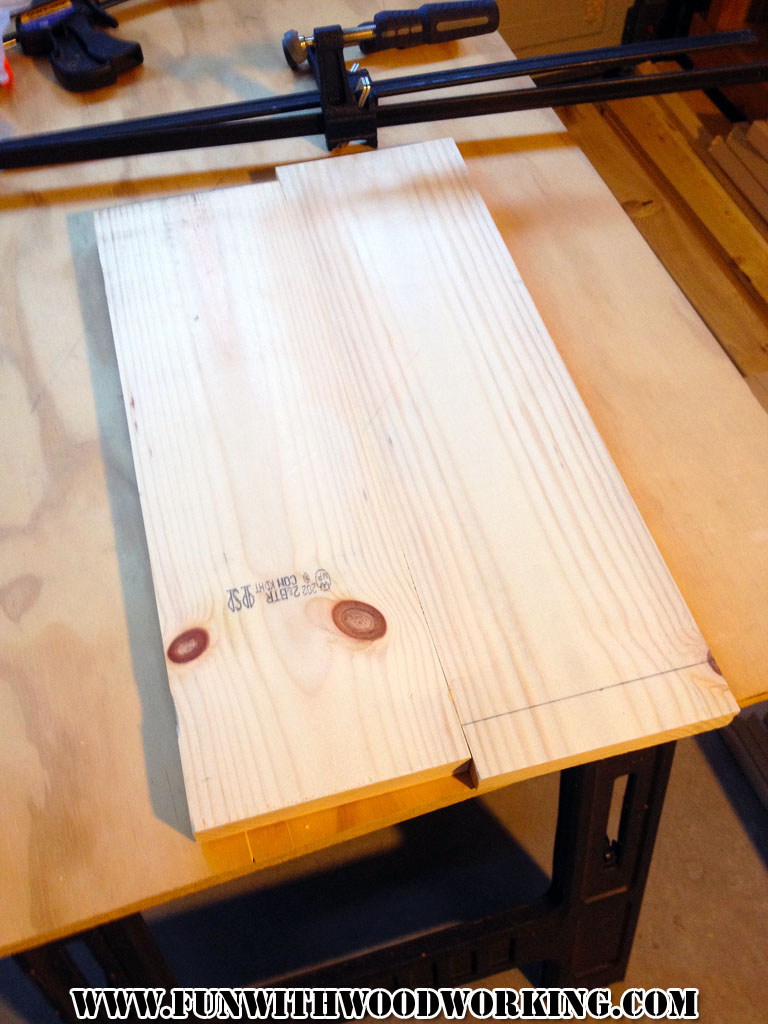
I cut the seat and back to length on the tablesaw.

Safety first!

I try to involve my son whenever I can.

The seat back cut to length and width.

The back is cut at a 10 bevel to allow it to lean back.
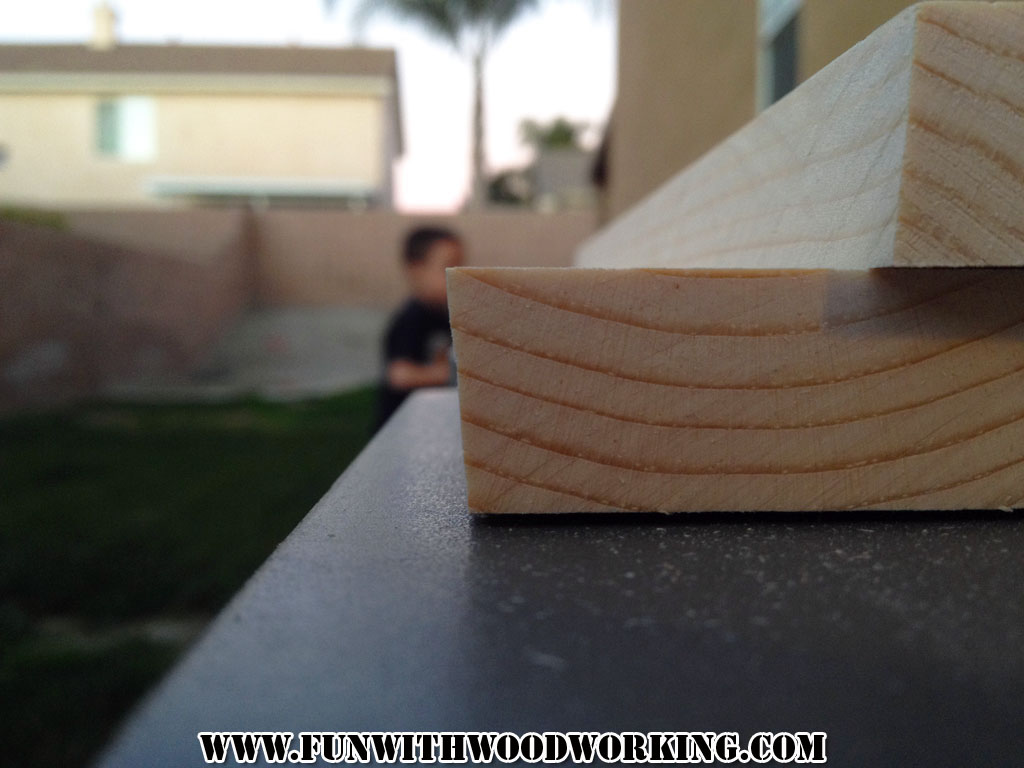
I also cut the seat at the same level so that it would match up.

I used a 1/4″ roundover bit on my router table to round the top of the seat.
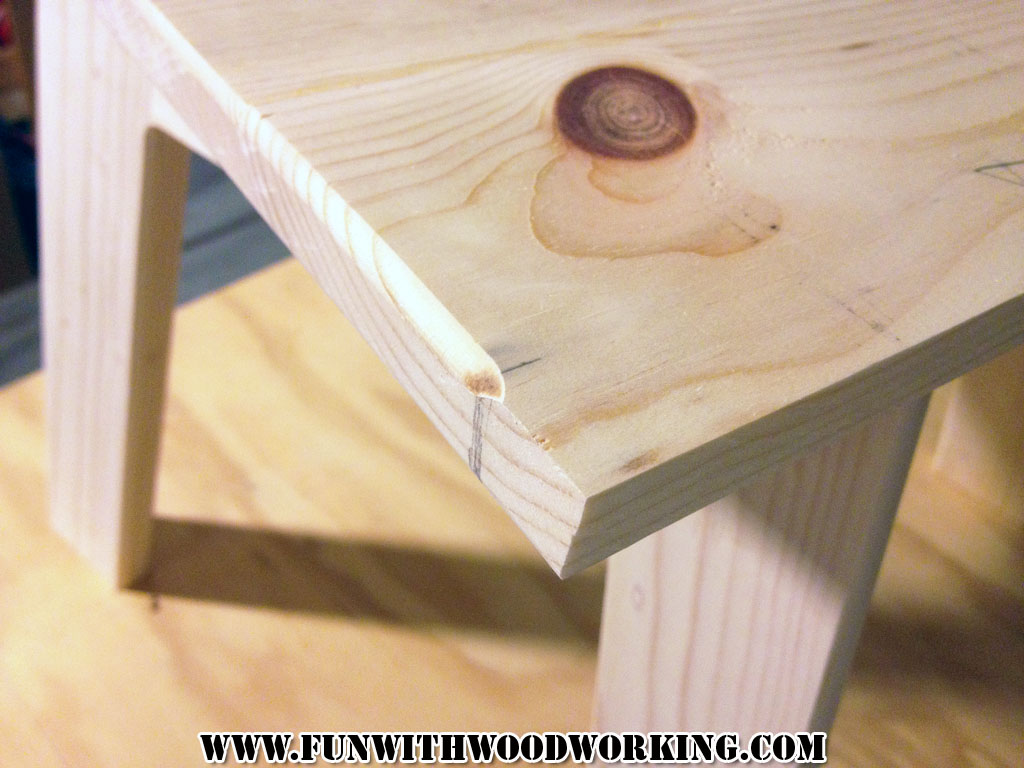
I stopped it right before the seat back to make a cleaner joint.

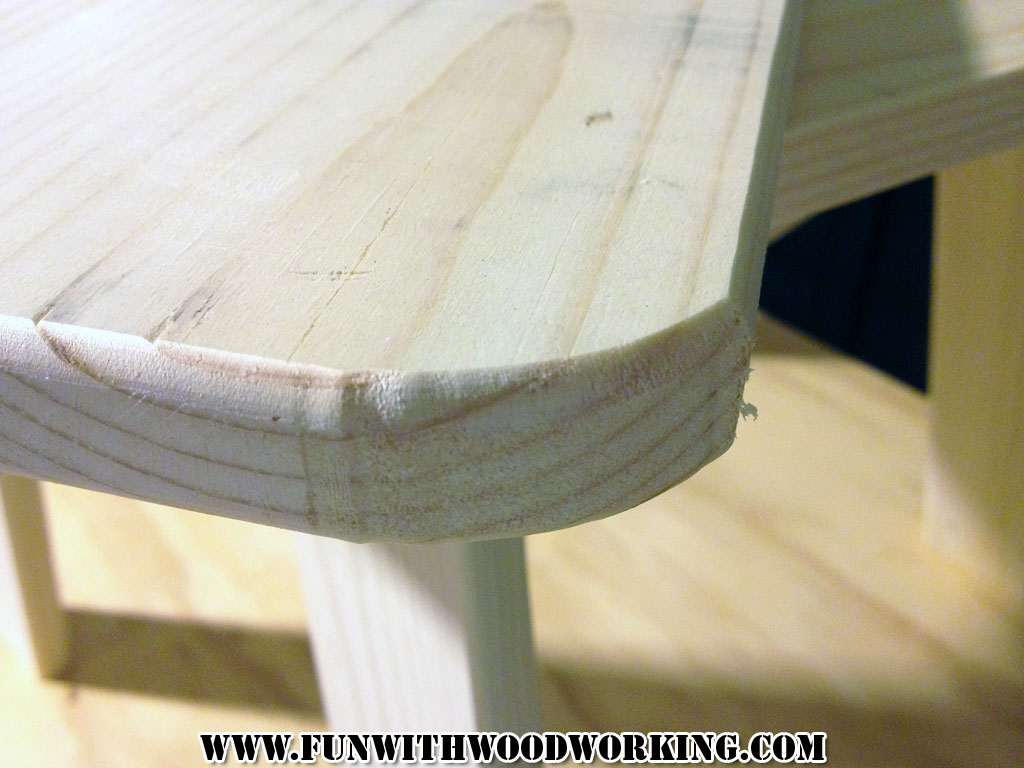
I used my jigsaw to round the corners on the top of the seat back.
This is post 2 of a 3 part series.
You can read part 1 here:
http://funwithwoodworkingtoo.blogspot.com/2013/01/lets-make-thumb-chair.html
http://funwithwoodworkingtoo.blogspot.com/2013/01/lets-make-thumb-chair.html
and part 3 here:
